Mac Mail – Set-up & synchronisation
1. Start and add account
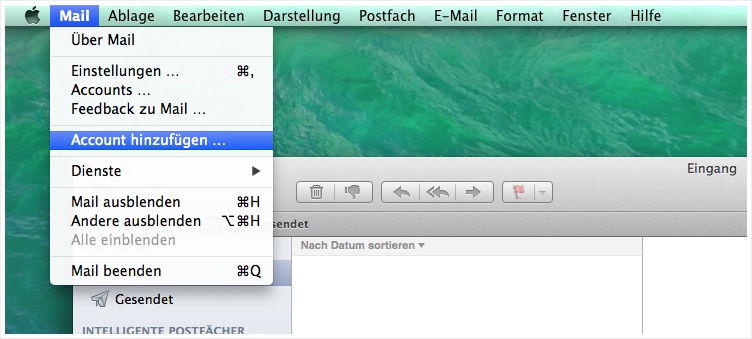
Open the mail program and then in the menu click on Mail → Add account…
2. Add other email accounts
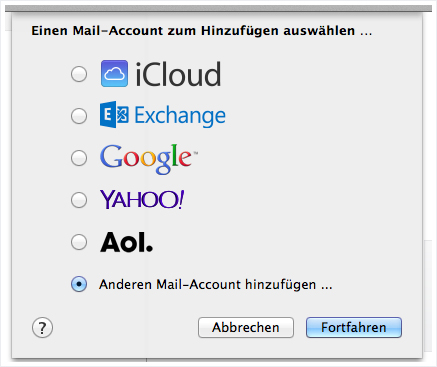
Select the Add other email accounts option and click Next.
3. Login details
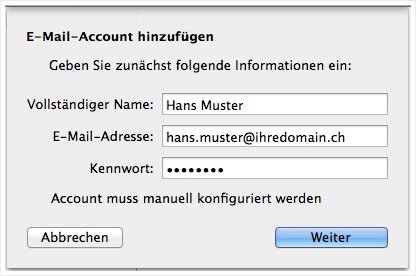
Now enter your data, as seen in this image, into the relevant fields and click on Next. If the set-up automatically continues at this point, cancel the set-up and restart it. In the second attempt, deliberately enter an incorrect password to block the automatic configuration.
Full name: Enter your name in this field. You can also leave this field blank if desired. If left blank, the recipient will see your email address as the sender, otherwise they see the name entered in this field.
Email address: Enter the email address you wish to configure. If you are unsure whether the address has already been set up on the server, refer to the guide to setting up an email address for MailPro in My Panel.
Password: The password you selected for the email address in My Panel or supplied with your MailPro order.
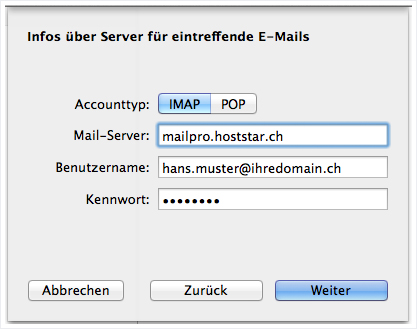
4. Incoming mail server
Enter the data as shown in the example and then click on Next.
Account type: Select IMAP.
Mail server: The name of the mail server for MailPro is mailpro.hoststar.at.
User name: The user name is the email address you wish to configure.
Password: The password you selected for the email address in My Panel or supplied with your MailPro order. (If you had to enter an incorrect password in the previous step to stop automatic functions, please ensure you enter your password correctly here).
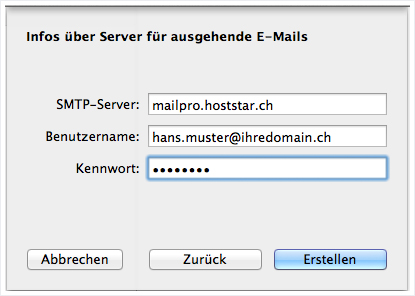
5. Outgoing mail server
Now, complete the data for the outgoing mail server and then click on Create. If all the data is correct, the account should already function for sending and receiving emails. If you do not wish to set up synchronisation of calendar and/or contact data you can finish the configuration at this point.
6. Open Calendar
Open the Apple calendar and select Settings from the Calendar menu.
7. Add calendar account
To add a new account, switch to the Accounts menu item in calendar settings and then click on the + symbol.
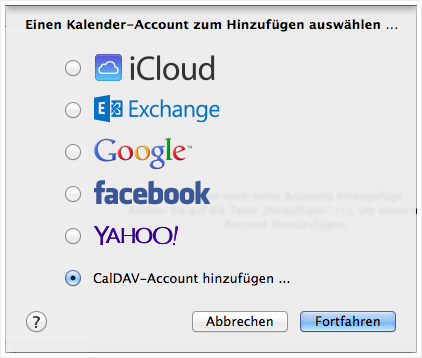
8. Add CalDAV account
Select the Add CalDAV account… option.
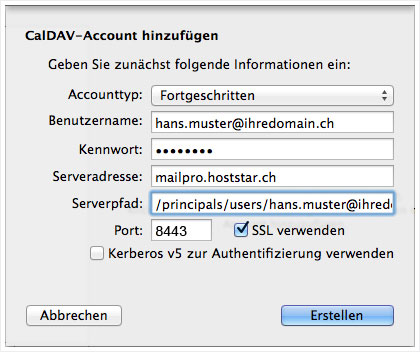
9. Configure CalDAV account
Configure the CalDAV account as shown below. Then confirm the configuration by clicking on Create.
Account type: Advanced
User name: The email address you wish to set up.
Password: The password for the email address you wish to set up (the same as for your email account).
Server address: mailpro.hoststar.at
Server path: /principals/email@domain.name/ (replace the email address shown in grey – email@domain.name – with the email address for which you would like to integrate the address book)
Port: 8443 (without SSL: 8008)
Use SSL: enabled
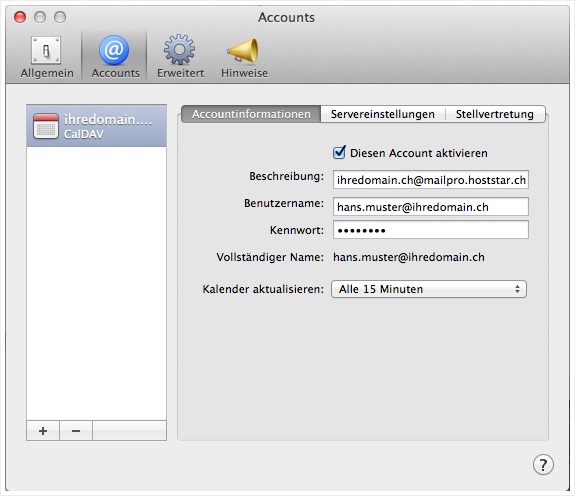
10. Configure calendar
The account should now be visible under the calendar accounts. With the Refresh calendar setting, you can define how often the calendar should be refreshed.
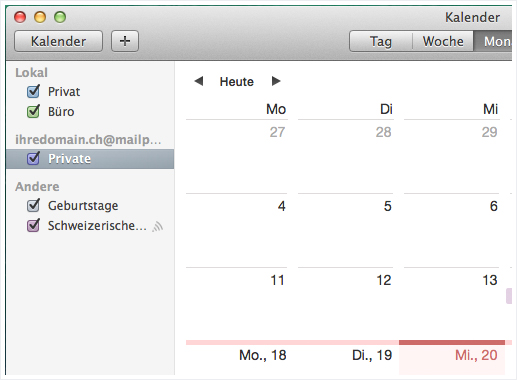
11. Display calendar
The calendar should then be visible immediately. It will be attached to a new calendar group that bears the name associated with the email address.
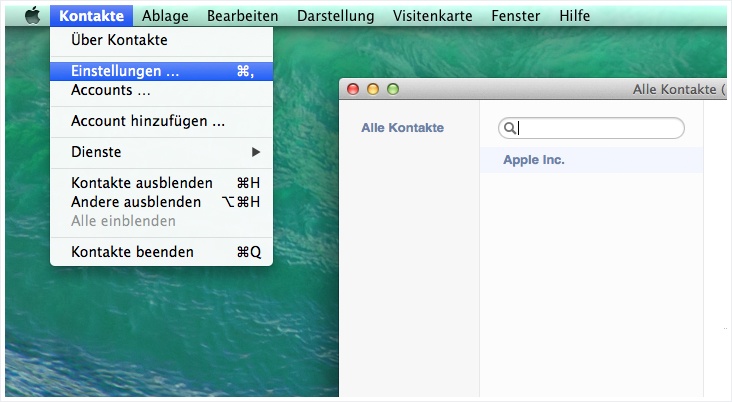
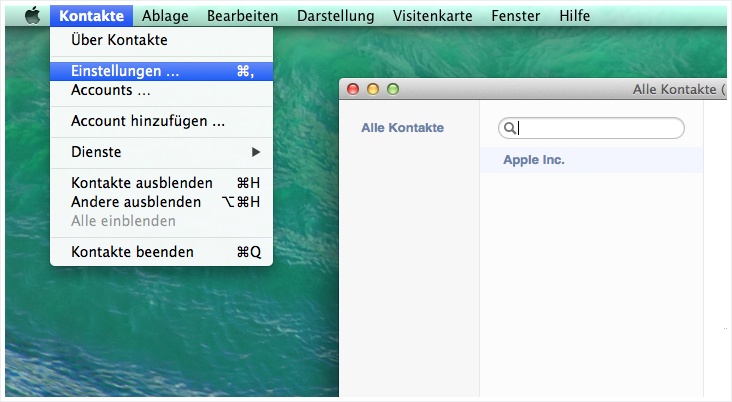
12. Open address book
Open the Apple address book and in the Contacts menu click on Settings.
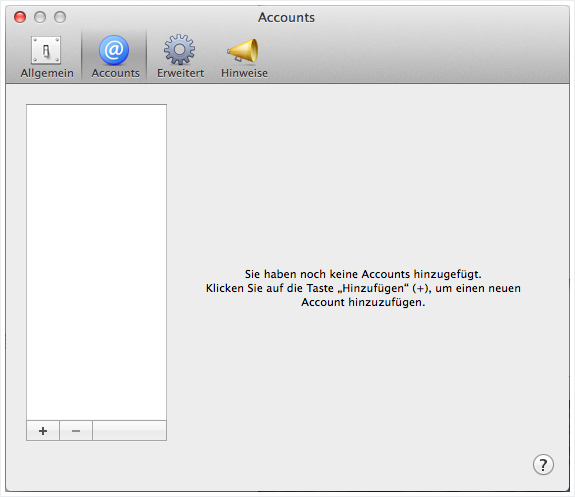
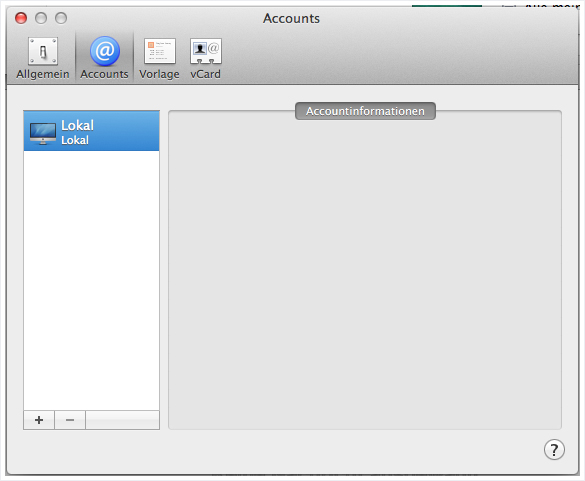
13. Add address book account
To add a new account switch to Accounts and then click on the + symbol.
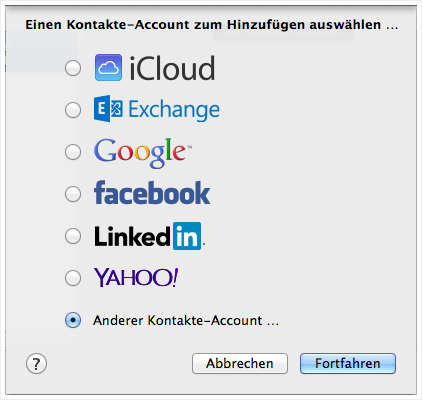
14. Add other contact accounts
Select the option Add other contact account... and click Next.
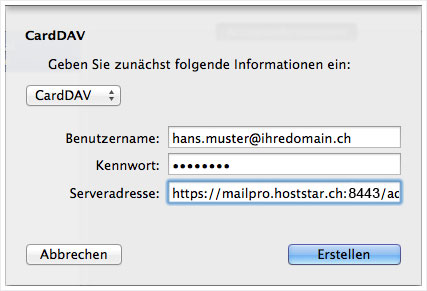
15. Configure CardDAV account
Configure the CardDAV account as shown below. Then confirm the configuration by clicking on Create.
User name: The email address you wish to set up.
Password: The password for the email address you wish to set up (the same as for your email account).
Server address:
With SSL: https://mailpro.hoststar.at:8443/addressbooks/email@domain.name/
Without SSL: http://mailpro.hoststar.at:8008/addressbooks/email@domain.name/
(replacing the email address shown in grey – email@domain.endung – with the email address of the address book you wish to integrate)
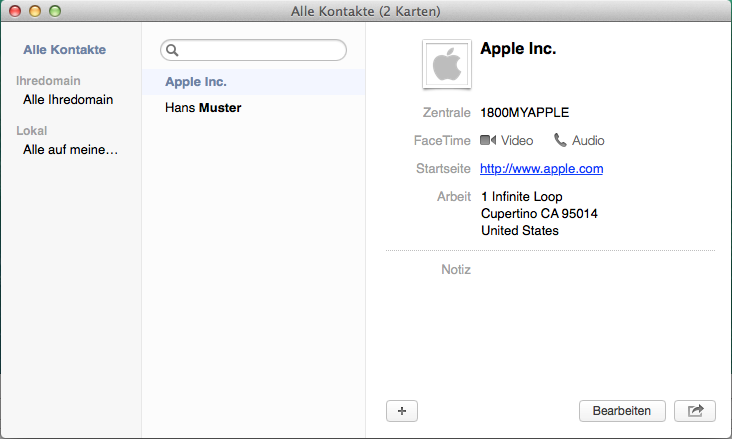
16. Check address book
The account should now be visible under Accounts.
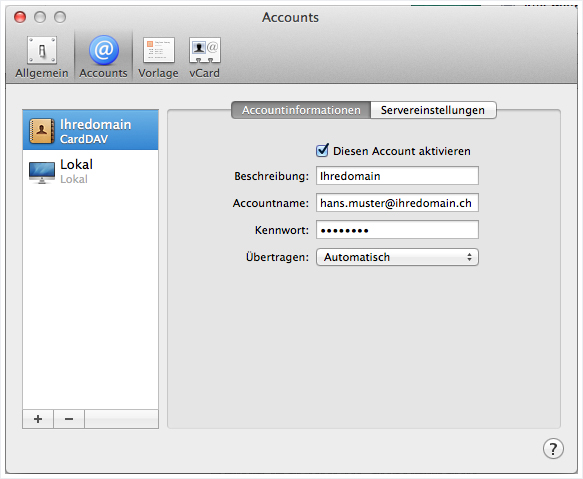
The first synchronisation will be carried out immediately. If you receive a new contact with your own email address, the set-up has succeeded (or you may receive more than one contact if contacts for the email address have previously been managed through Webmail). You have now finished setting up synchronisation.