Edit image details
Each image area has some image details and settings stored. These can be adjusted at any time and supplemented for SEO.
After you have logged in to the Designer you will find yourself in the Designer Editor on the start page and thus in the Site editor area. Proceed as follows:
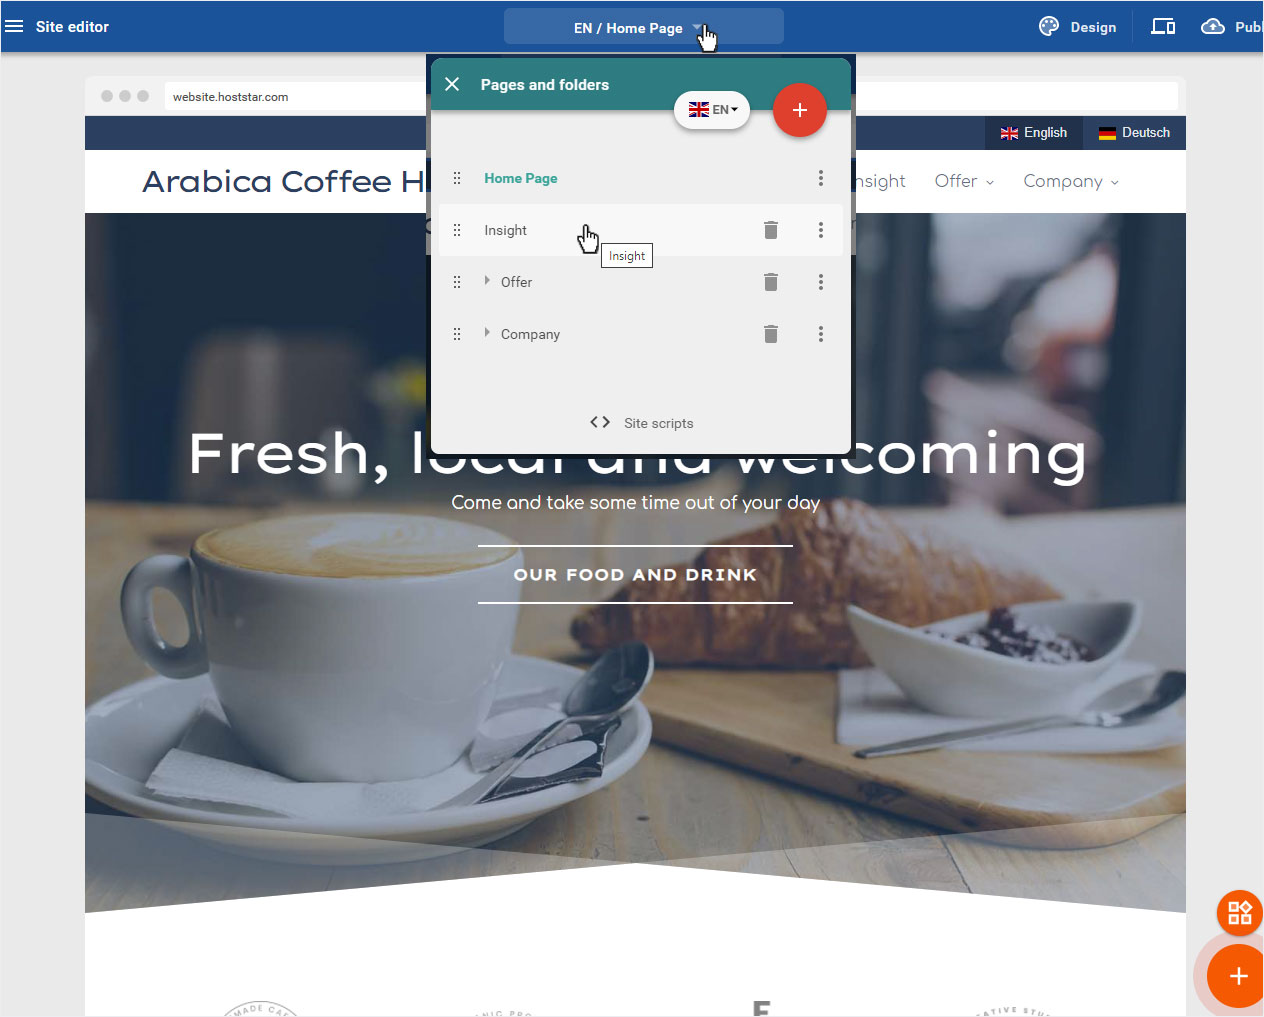
1. Navigate
To get to the desired page, click on the blue header bar (which currently shows the start page, here EN / Home Page). The area Pages and folders opens. Select the desired page by clicking (here Insight).
2. Select image area
Click on the image, or the image area (multiple images) where you want to adjust or add image details.

3. Bilddetails bearbeiten
A popup will show you the image details. You can customize the following adjustments:
- Add image
- Select from existing images
- Edit image
- Image link
- Edit options (scale and alignment)
- SEO (Alt attribute, title, description)
- Picture element editing options
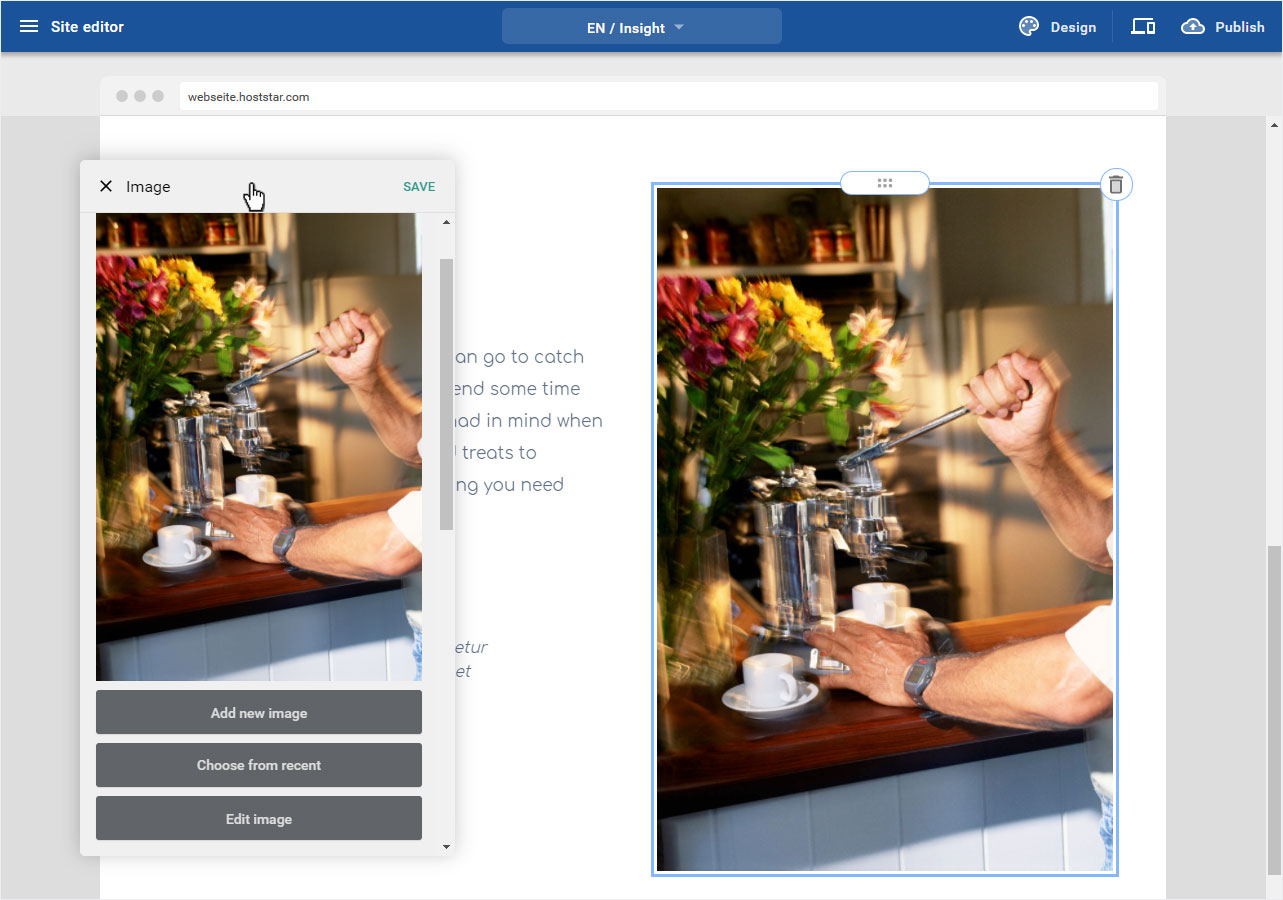
3.1 Add image
To add a new image instead of the one shown here, click on the Add new image button and follow the instructions in Add image - point 6.

3.2 Select from existing images
To select another image from existing images instead of the one shown here, click on the button Choose from recent and follow the instructions in Add image - Recent.

3.3 Edit image
To edit the existing or selected image with Hoststar Designer Photo Editor, click on the Edit image button and follow the Photo editor / Image editing instructions.

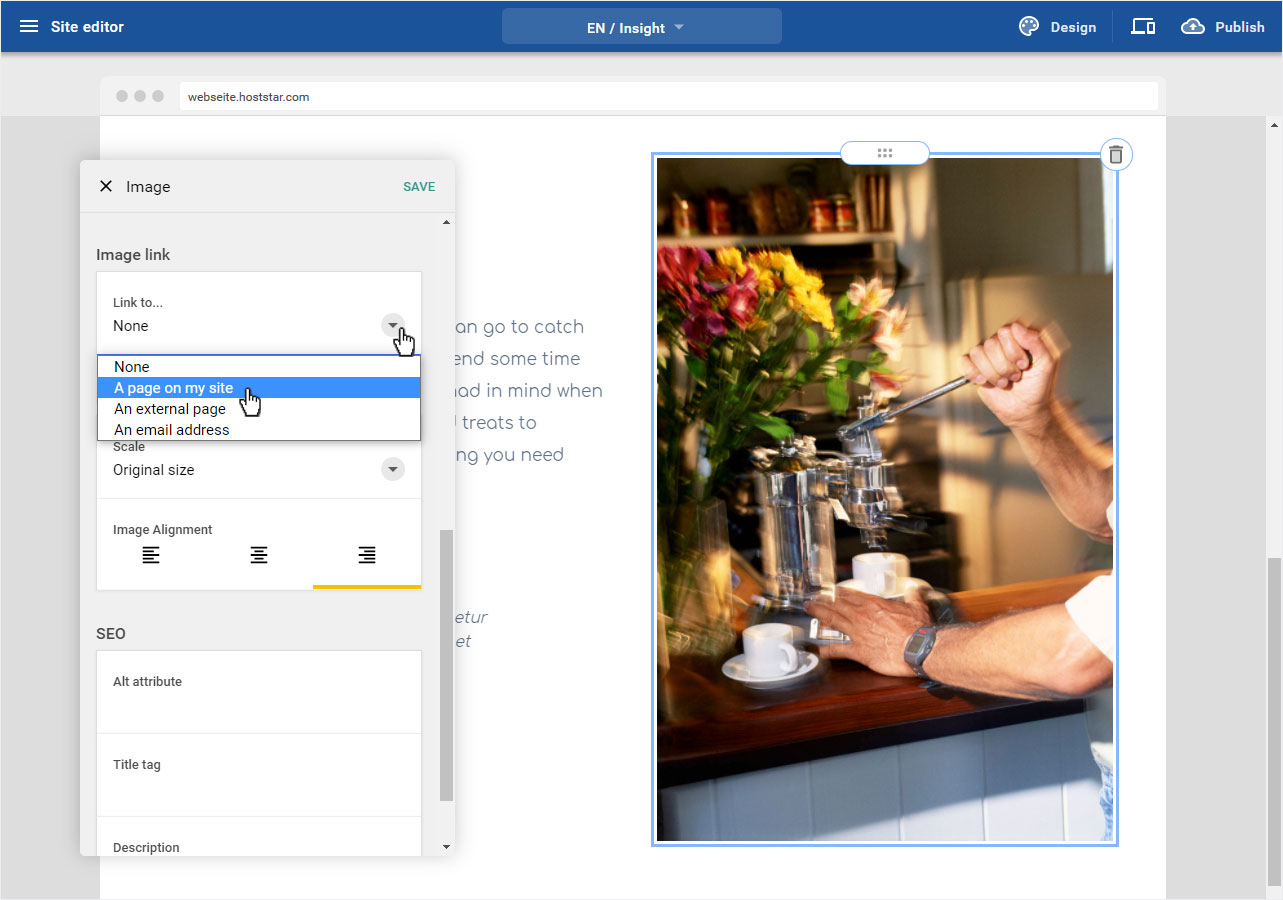
3.4 Image link
To add a link to the image, click on the drop-down arrow in the Image link area and select from the 3 options:

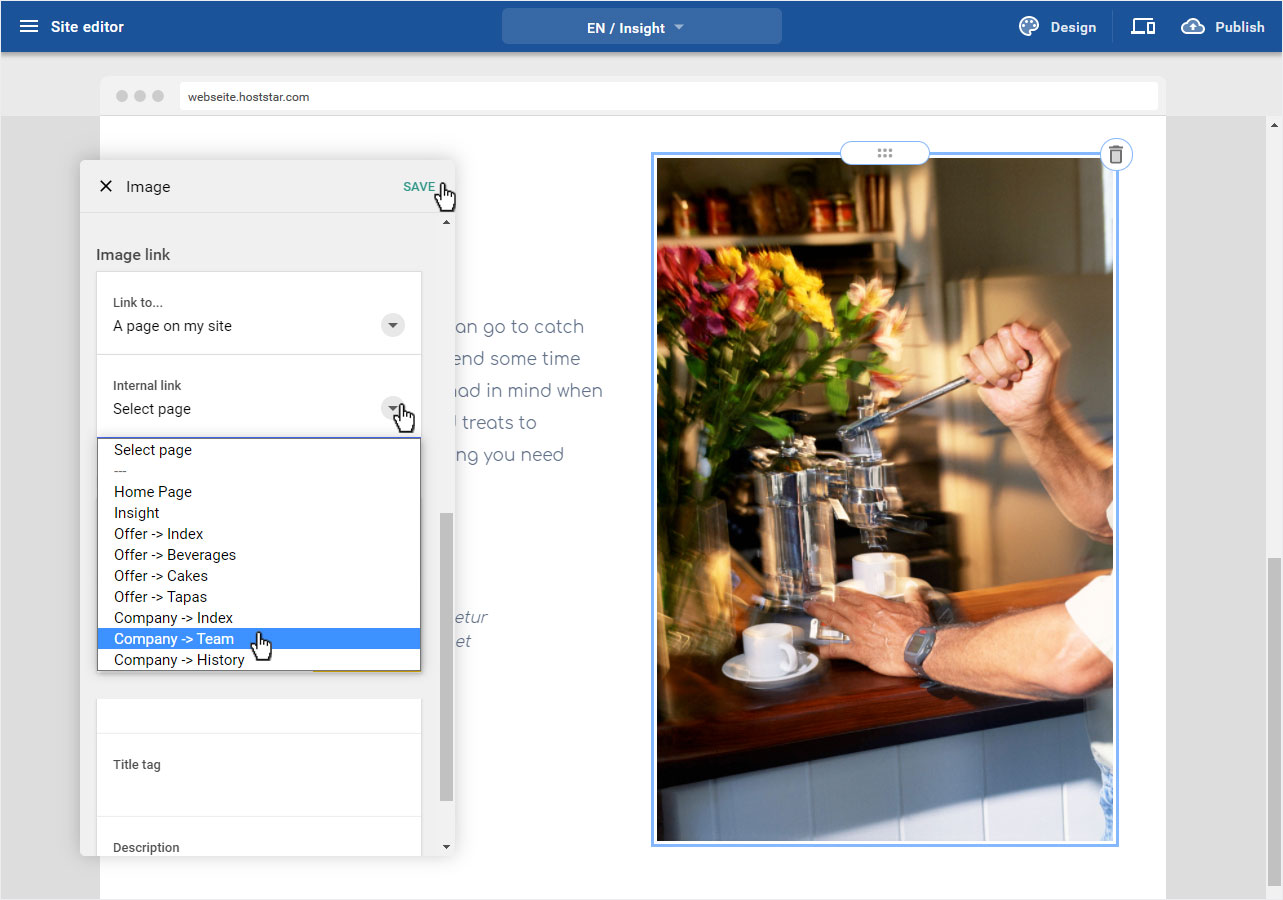
3.4.1 Link - A page on my site
To link an existing page on your website with this image, select A page on my site.
A new area Internal link is immediately displayed below the Link to... area. Click on the drop-down arrow and select the desired page on your website and then click on Save.
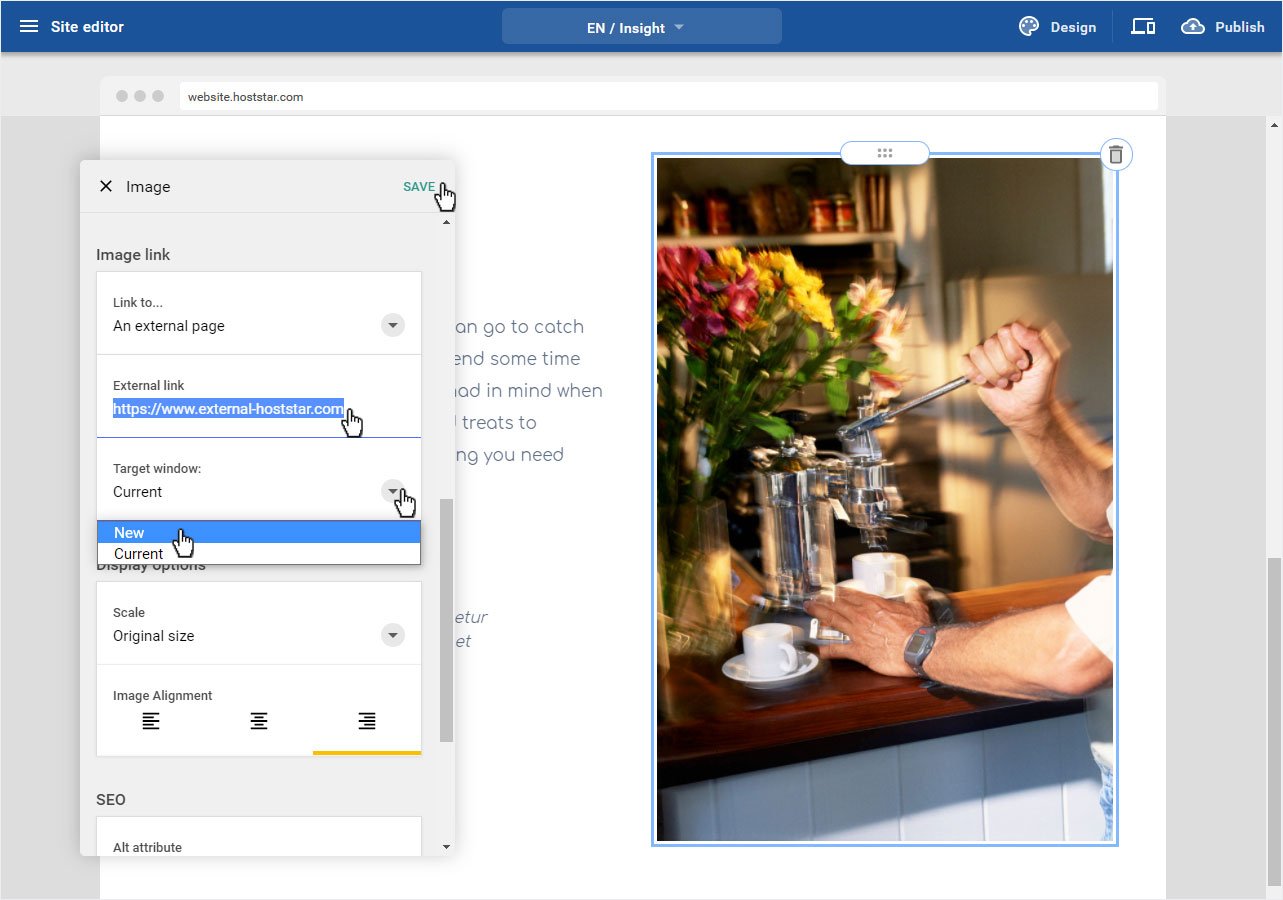
3.4.2 Link - An external page
To link an external website, or an external URL, to this image, select An external page.

Two new areas External link and Target window are immediately displayed below the Link to... area.
Insert the desired URL in the External link area and select in the Target window area whether the link should be opened in the current tab (_self) or in a new tag (_blank). Then click on Save.
3.4.3 Link - An email address
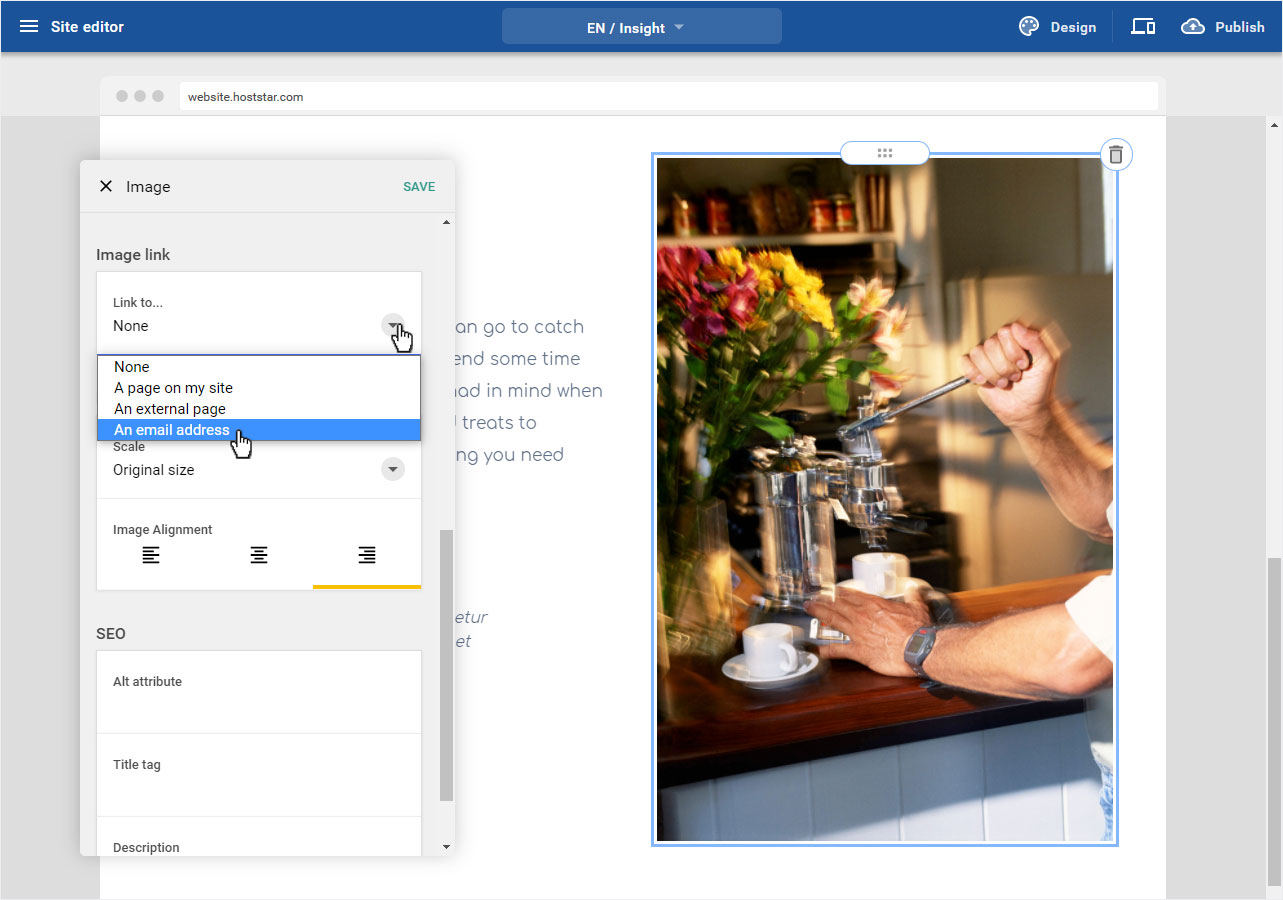
Immediately a new area Mail is displayed below the area Link to... . Please enter the correct e-mail address and click on Save.

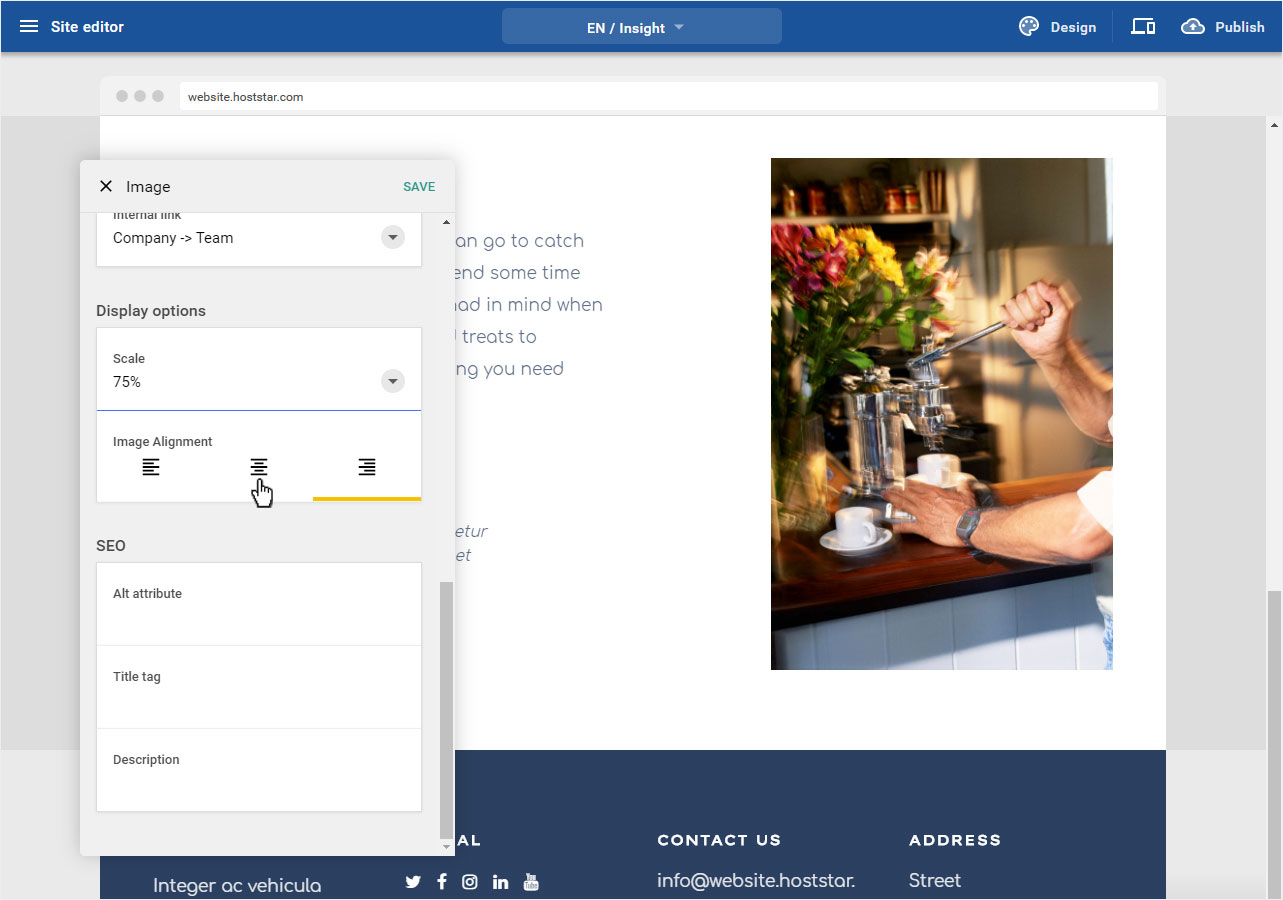
3.5 Edit options (scale and alignment)
In the Display options section, you can now first adjust the scale of the display of this image.
To do this, click on the drop-down arrow in the Scale area and select the size that suits you best.
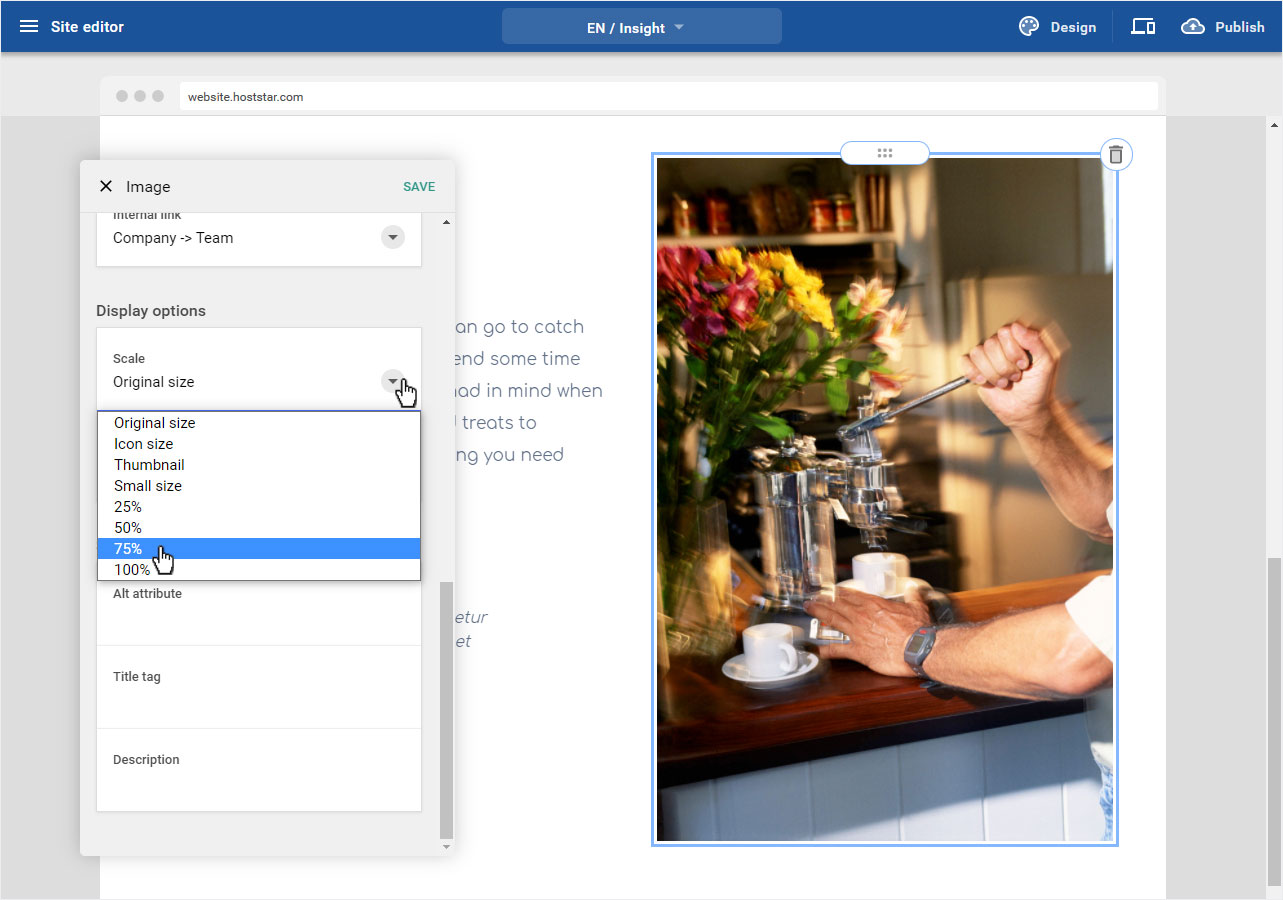
By clicking on the desired size, the view will be adjusted immediately.
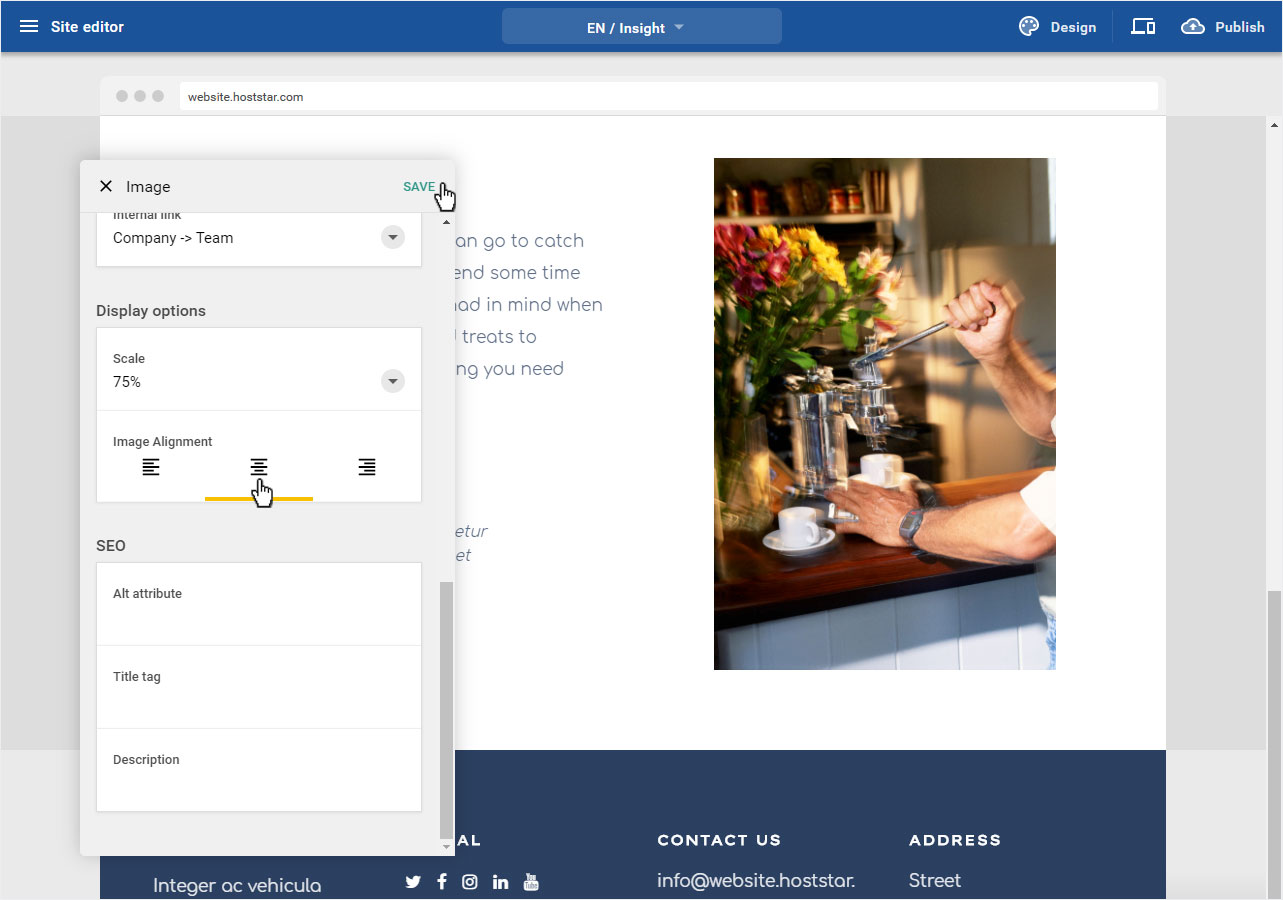
Now click on the desired position in the Image alignment area.
The view is updated automatically. If you are satisfied with the settings, click on Save.
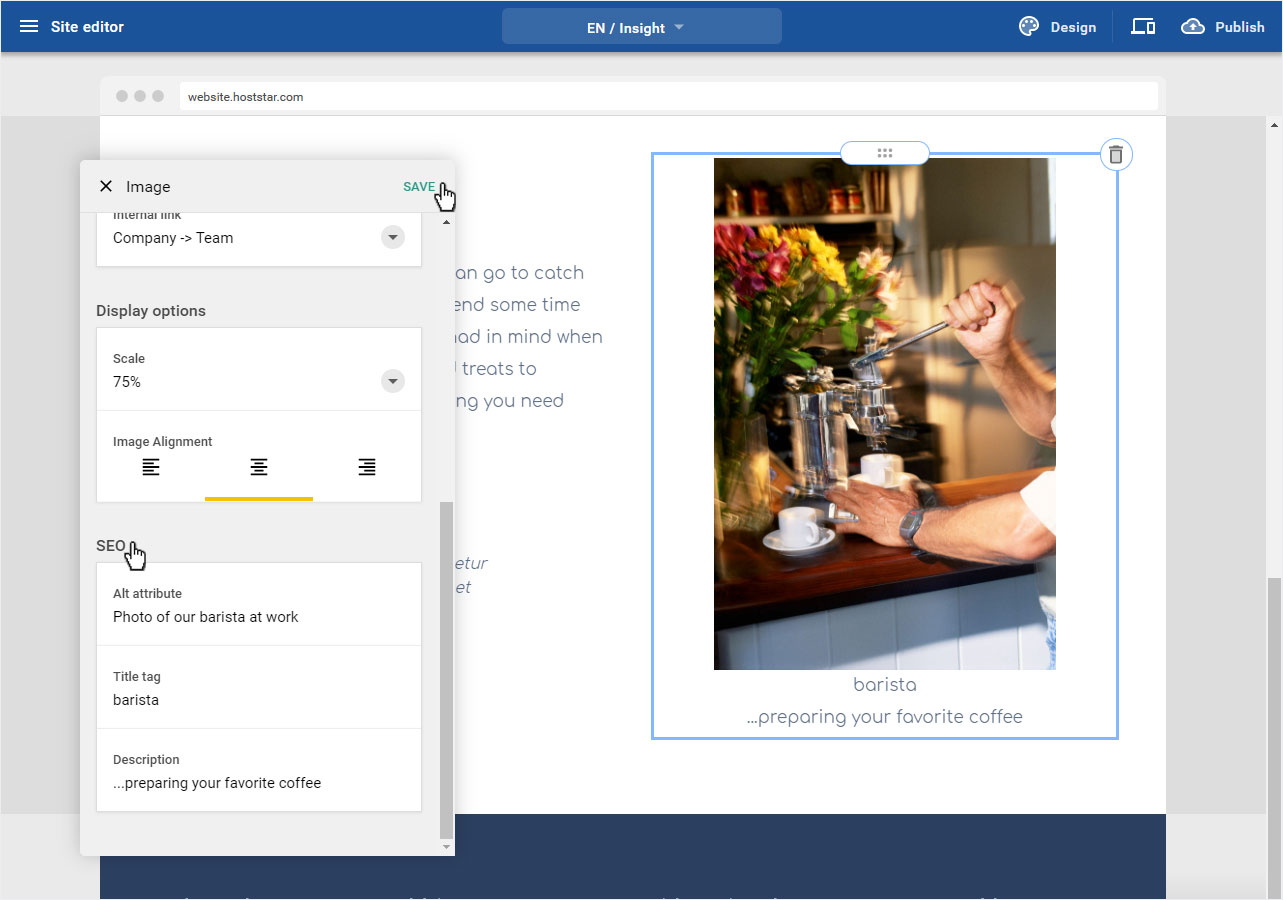
3.6 SEO (Alt attribute, title, description)
In the SEO section, you can now store important information such as Alt attribute (information for people with visual impairments), Title tag (displayed below the image) and Description (also displayed as text below the image).
Then click on Save to save your information and adjustments.