Areas – Edit content
You can exchange, edit or update titles, text and images in the individual sections of your website at any time. Depending on the website area (title, header, content or footer) in which you make the adjustments, the editing will behave differently.
After you have logged in to the Designer you will find yourself in the Designer Editor on the start page and thus in the Site editor area. Proceed as follows:
1. Navigate
On each page, here on the start page of the construction kit, the pages are composed of different elements (areas). These can be adapted at any time.
2. Area variants
There are different area or content types. Depending on the types, the editing options for title, text and image are different. We will discuss the following here:
• Contact & social bar
• Title & Menu Bar
• Header area
• Content area pictures
• Content area with title and texts
• Content area with button
• Footer
3. Contact & social bar
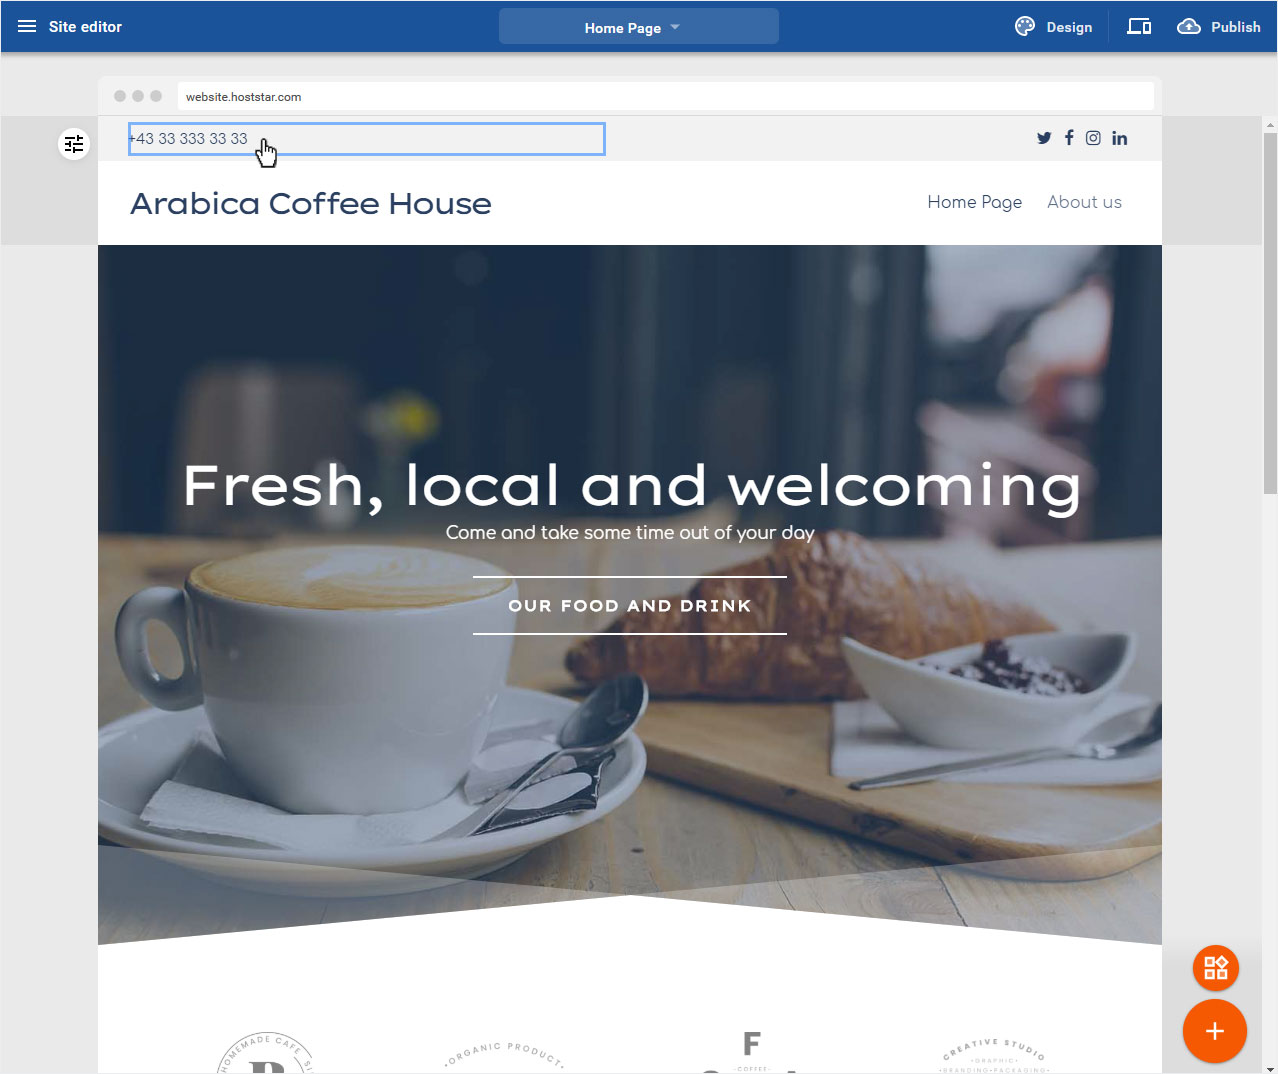
Depending on the Header layout you have chosen, the Phone contact and Social media area will be displayed.
This area is part of the title menu bar.
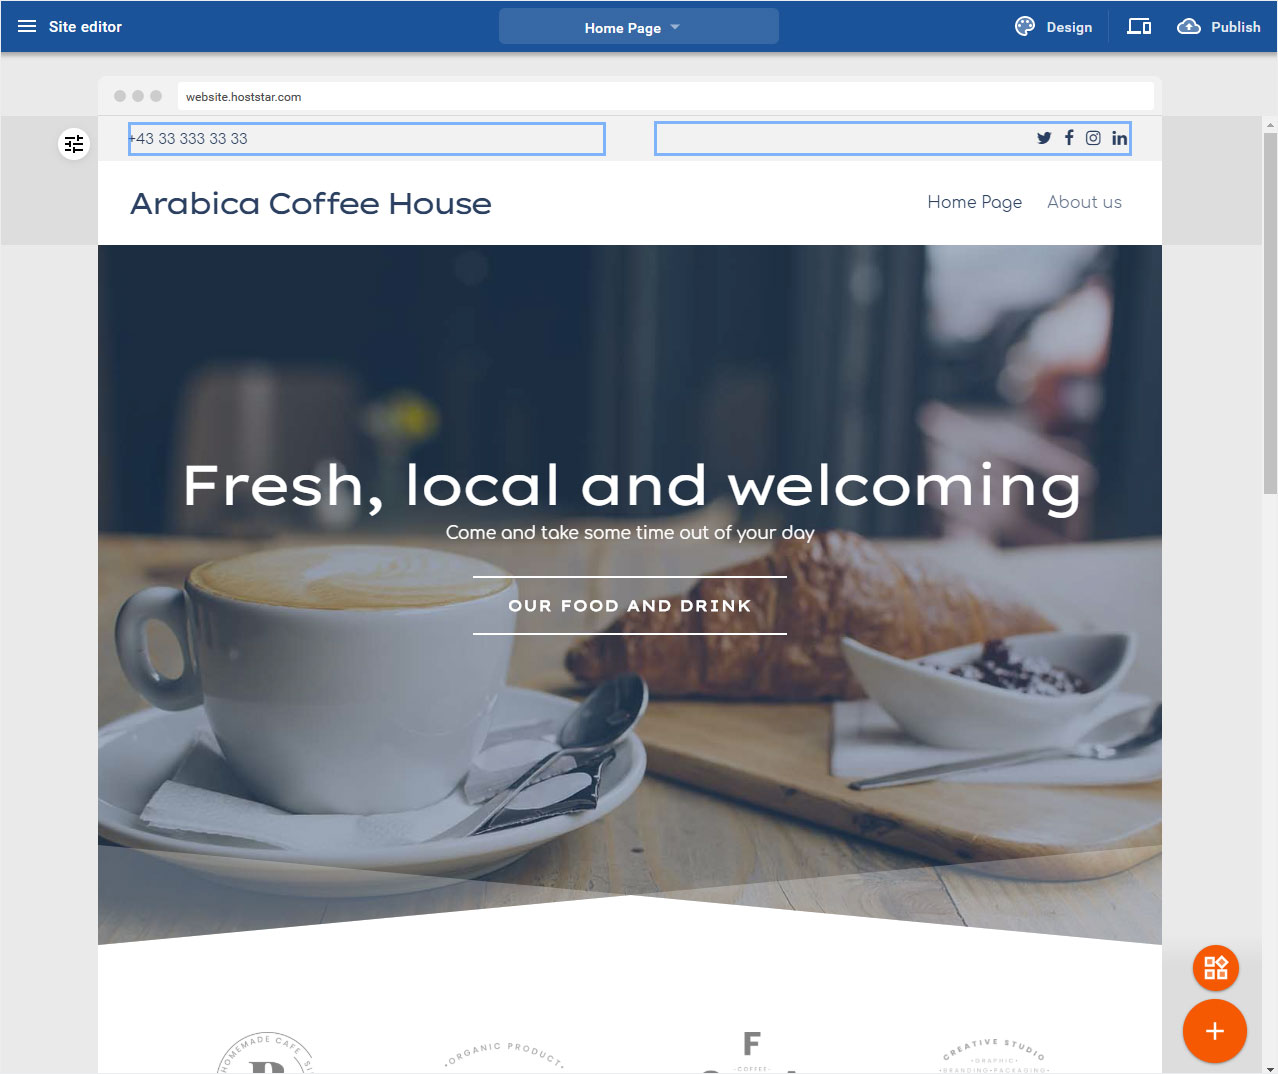
3.1 Phone contact
To edit this area, click on it.
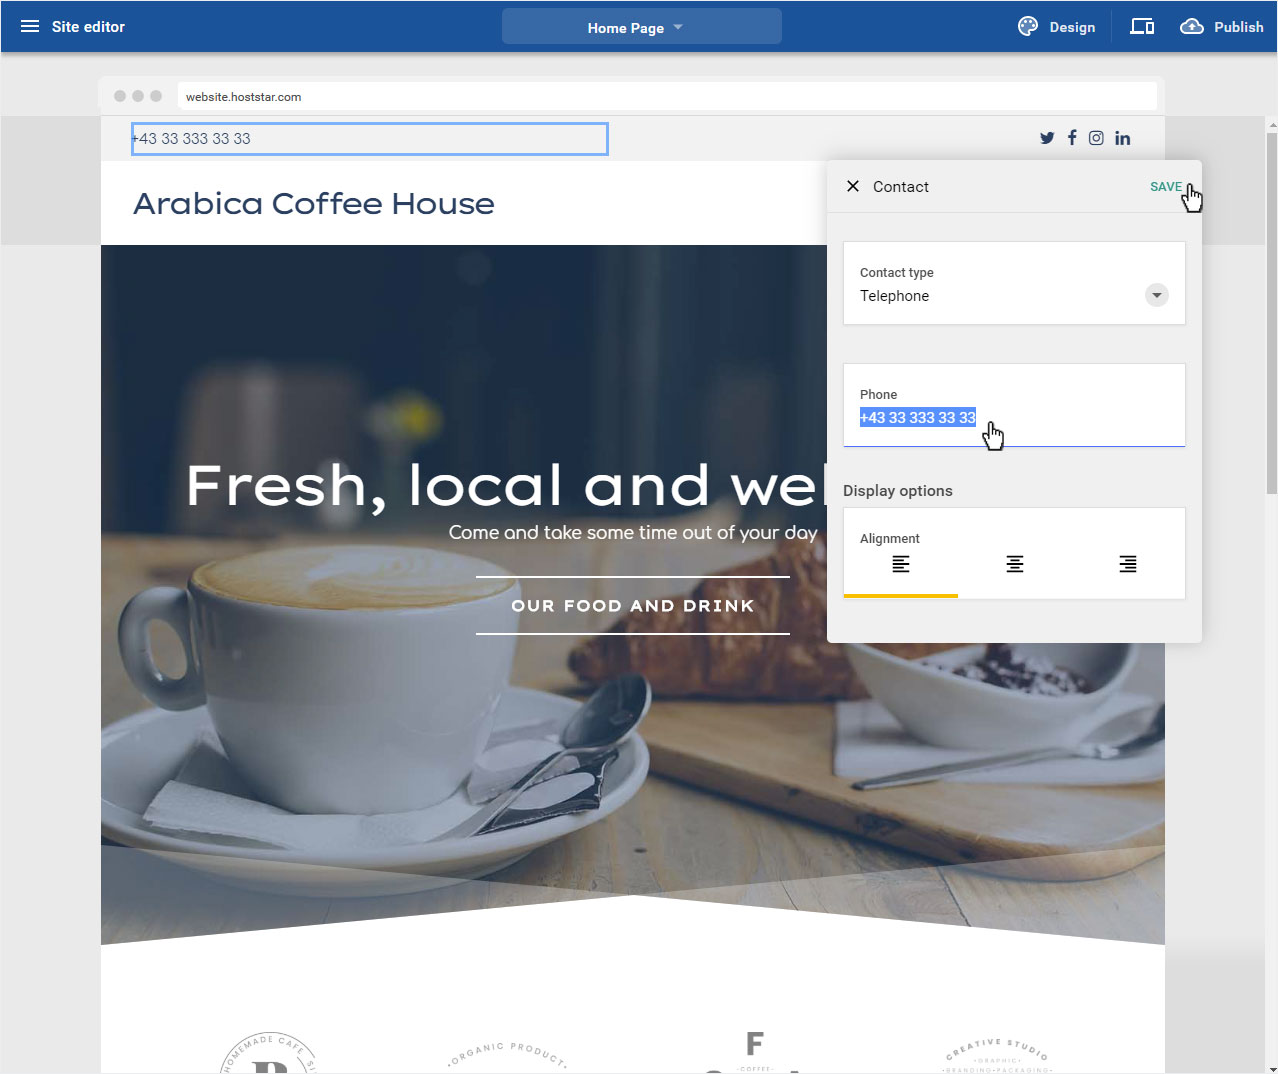
The Contact area opens in a pop-up window. Here you can now choose whether you want to display the phone number or e-mail address, define the corresponding text and the alignment.
When you have finished the adjustments click on Save.
3.2 Social Media Area
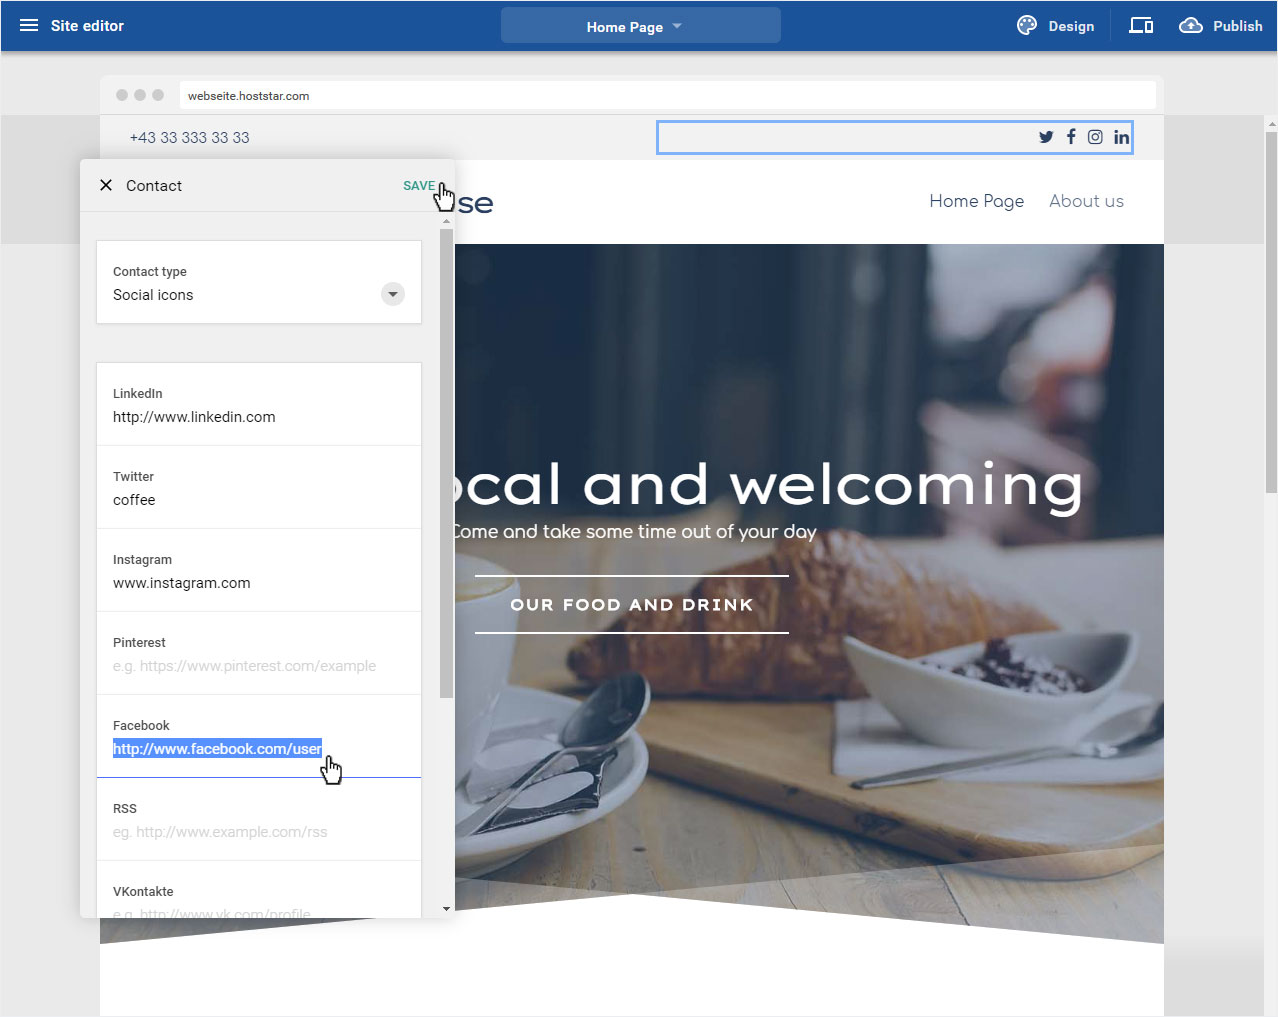
To edit this area, click on it.

The Social Icons area opens in a pop-up window. Here you can now insert all links to your social media channels.
When you have completed the adjustments, click on Save.

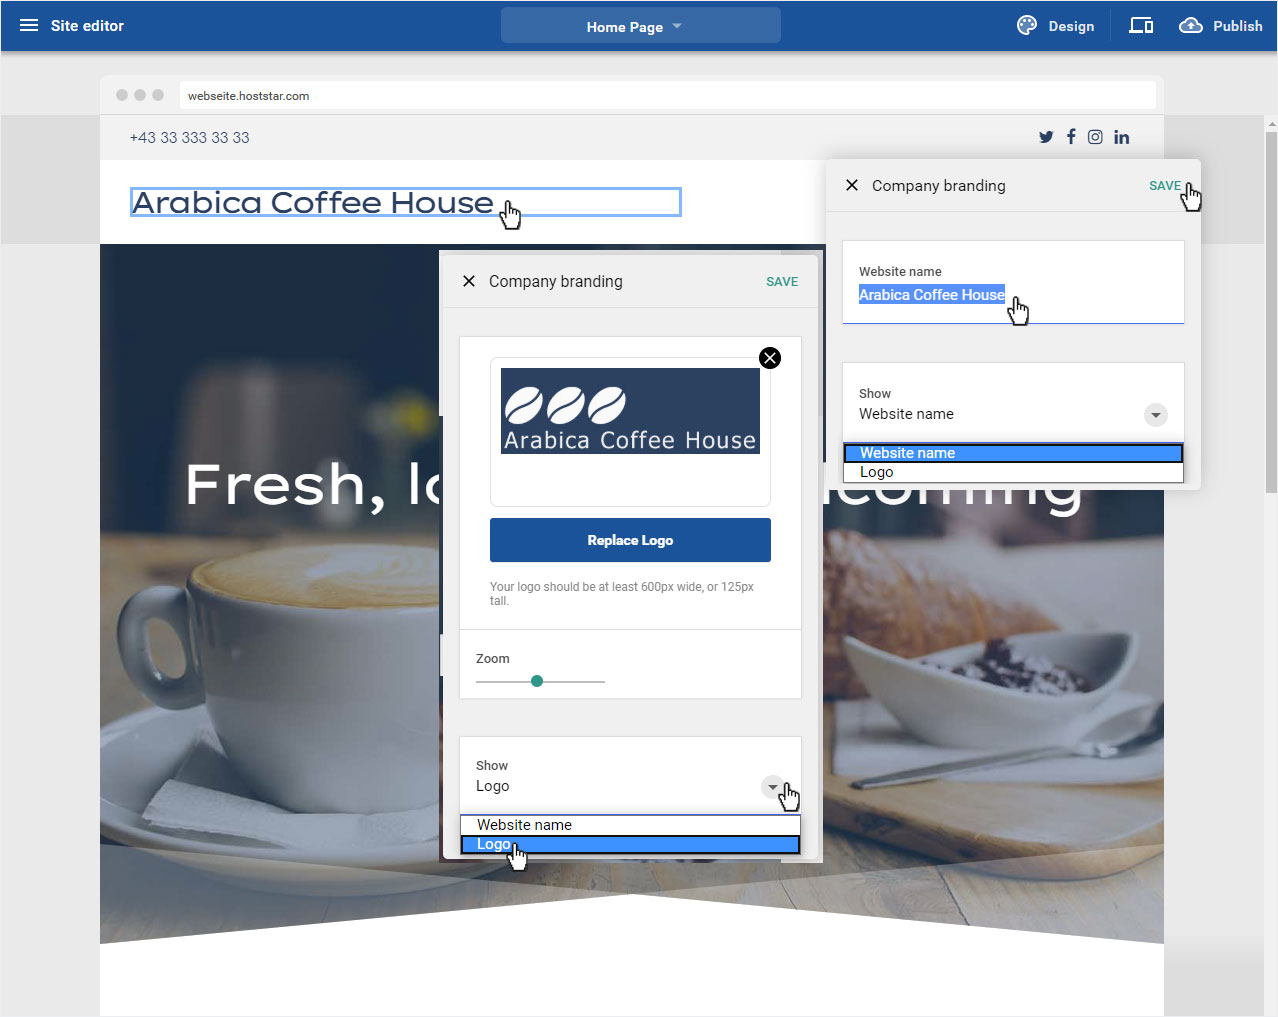
4.1 brand name / title
Click on the name to change it or to display a logo.

The Title of the web page area opens in a pop-up window. Here you can adjust the displayed name under Company name.
If you would rather have your company logo displayed, select Logo in the drop-down menu in the Display area. The pop-up window will be updated immediately and you can now upload your company logo here via Upload logo or Replace logo. Under Zoom you can now set the size of your logo.
If you are satisfied with the adjustments, click on Save.
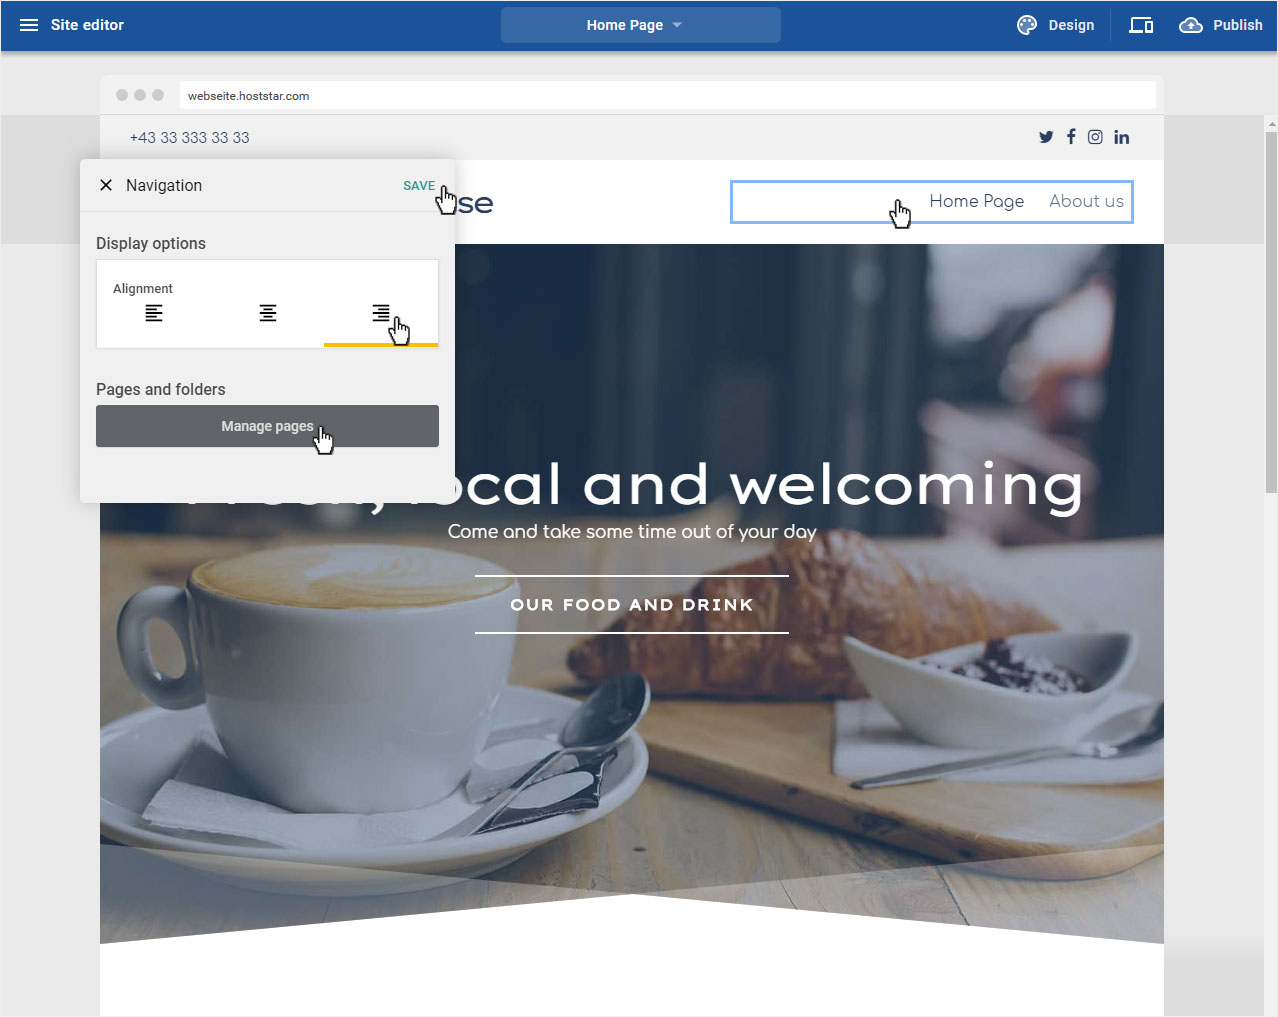
4.2 Menu area
Click in the menu area to customize it.
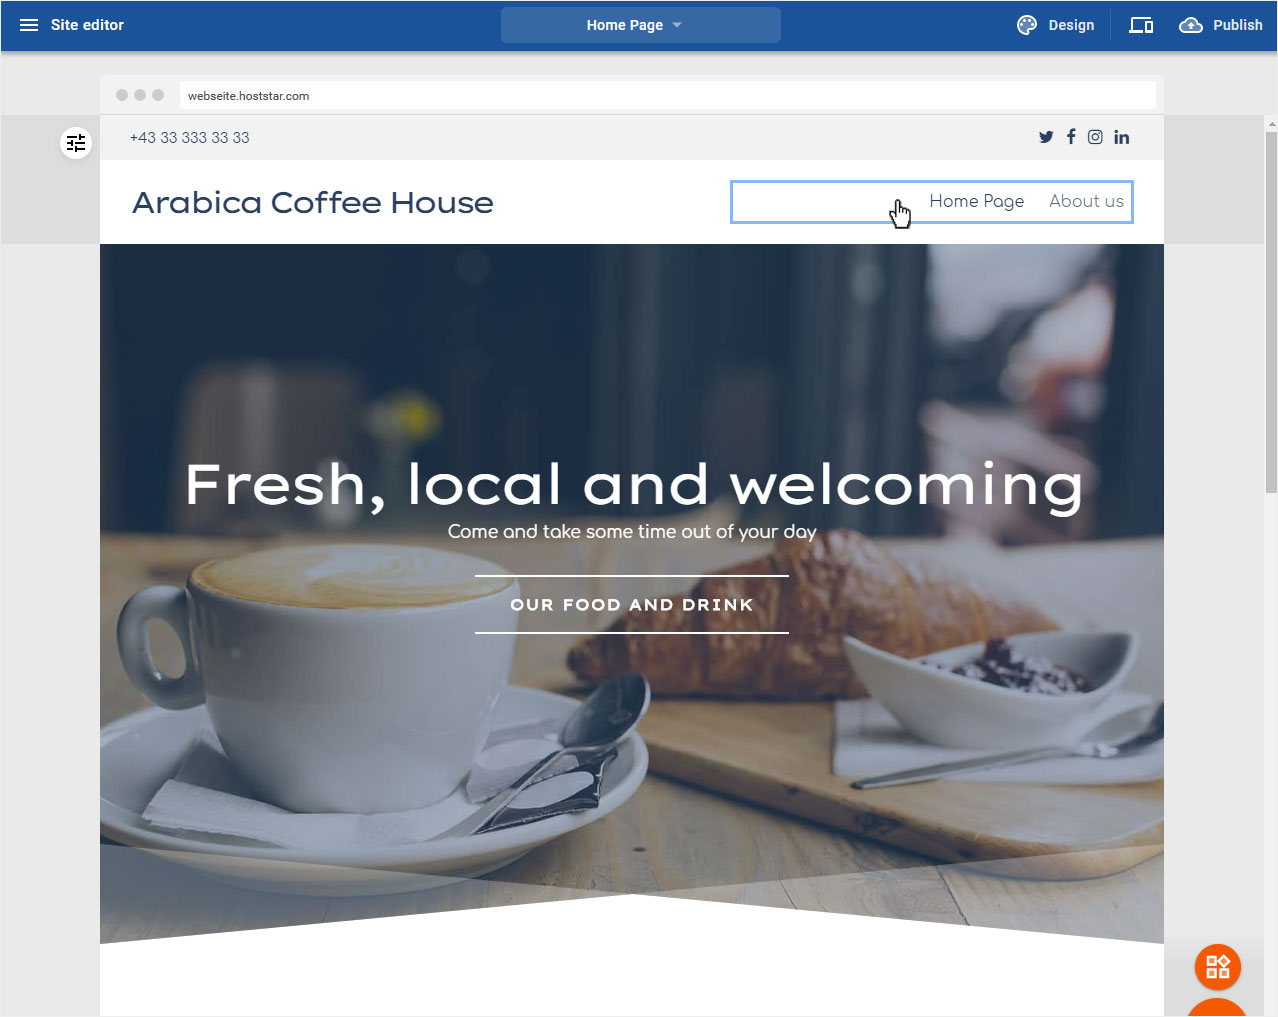
In the Navigation pop-up window that now opens, you can define the alignment of the menu items in the Show options area.
By clicking on the button Manage pages in the Pages and folders area, you will be automatically redirected to the Pages and folders area.
5. Header area
In the header area you have the possibility to adjust the header image and the header text.

5.1 Header image
To adjust the image in the header area, you have to adjust this via Change area layout - Header image.
You can access this area by clicking on the controller icon to the left of the image. Then follow the instructions in Change area layout - Header image.

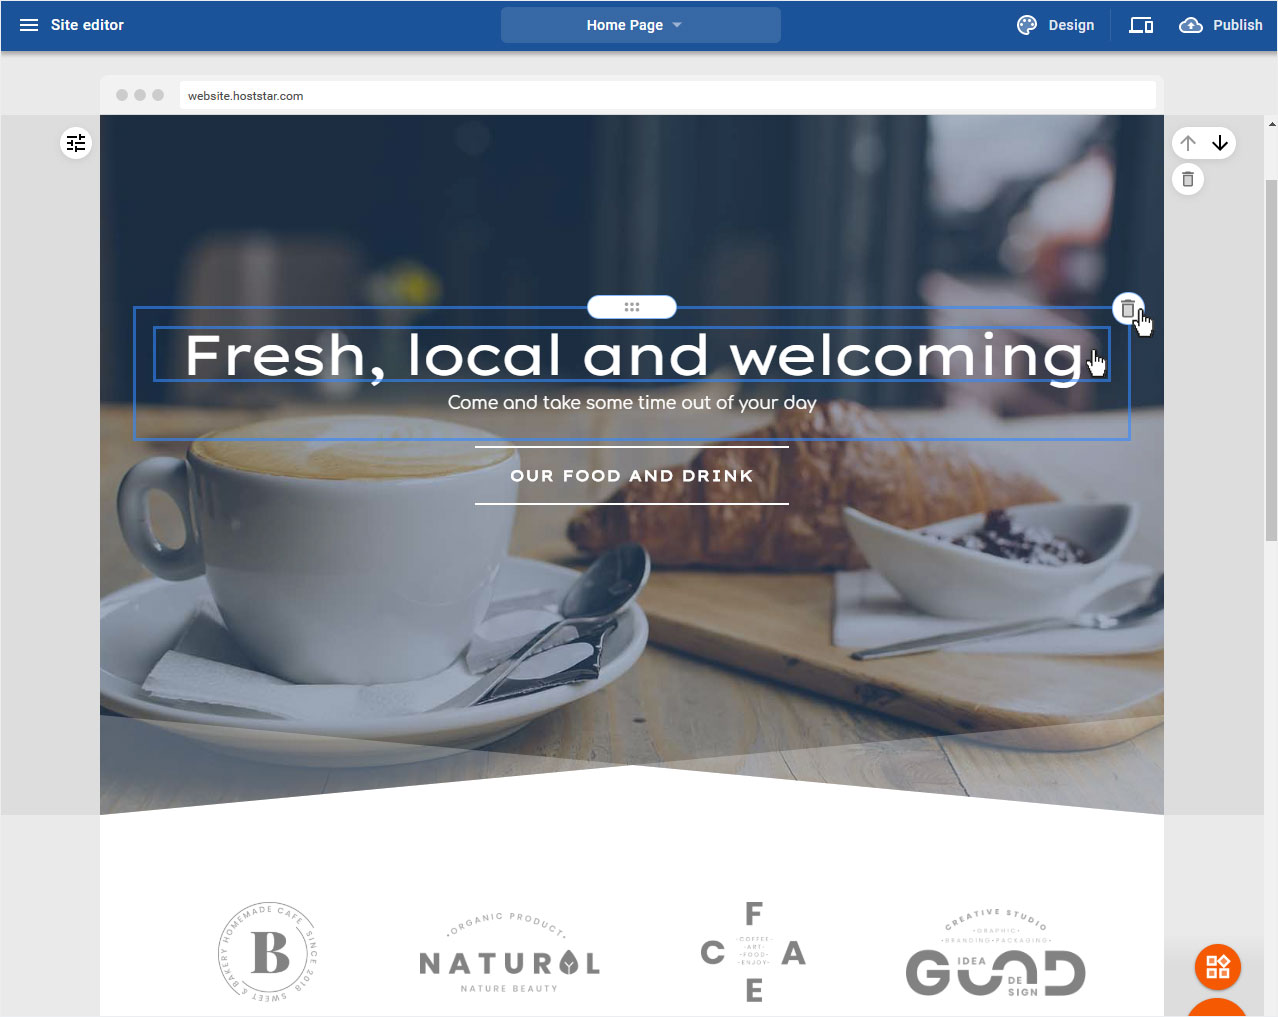
5.2 Header text
You can move this text with the 6 points icon verschieben. Click on the icon and drag the text to the desired position.
If you want to change the content of the text, click in the text area and adjust it according to your wishes.
And if you do not need a text area in your header image, click on the rubbish bin icon to delete the text area permanently.
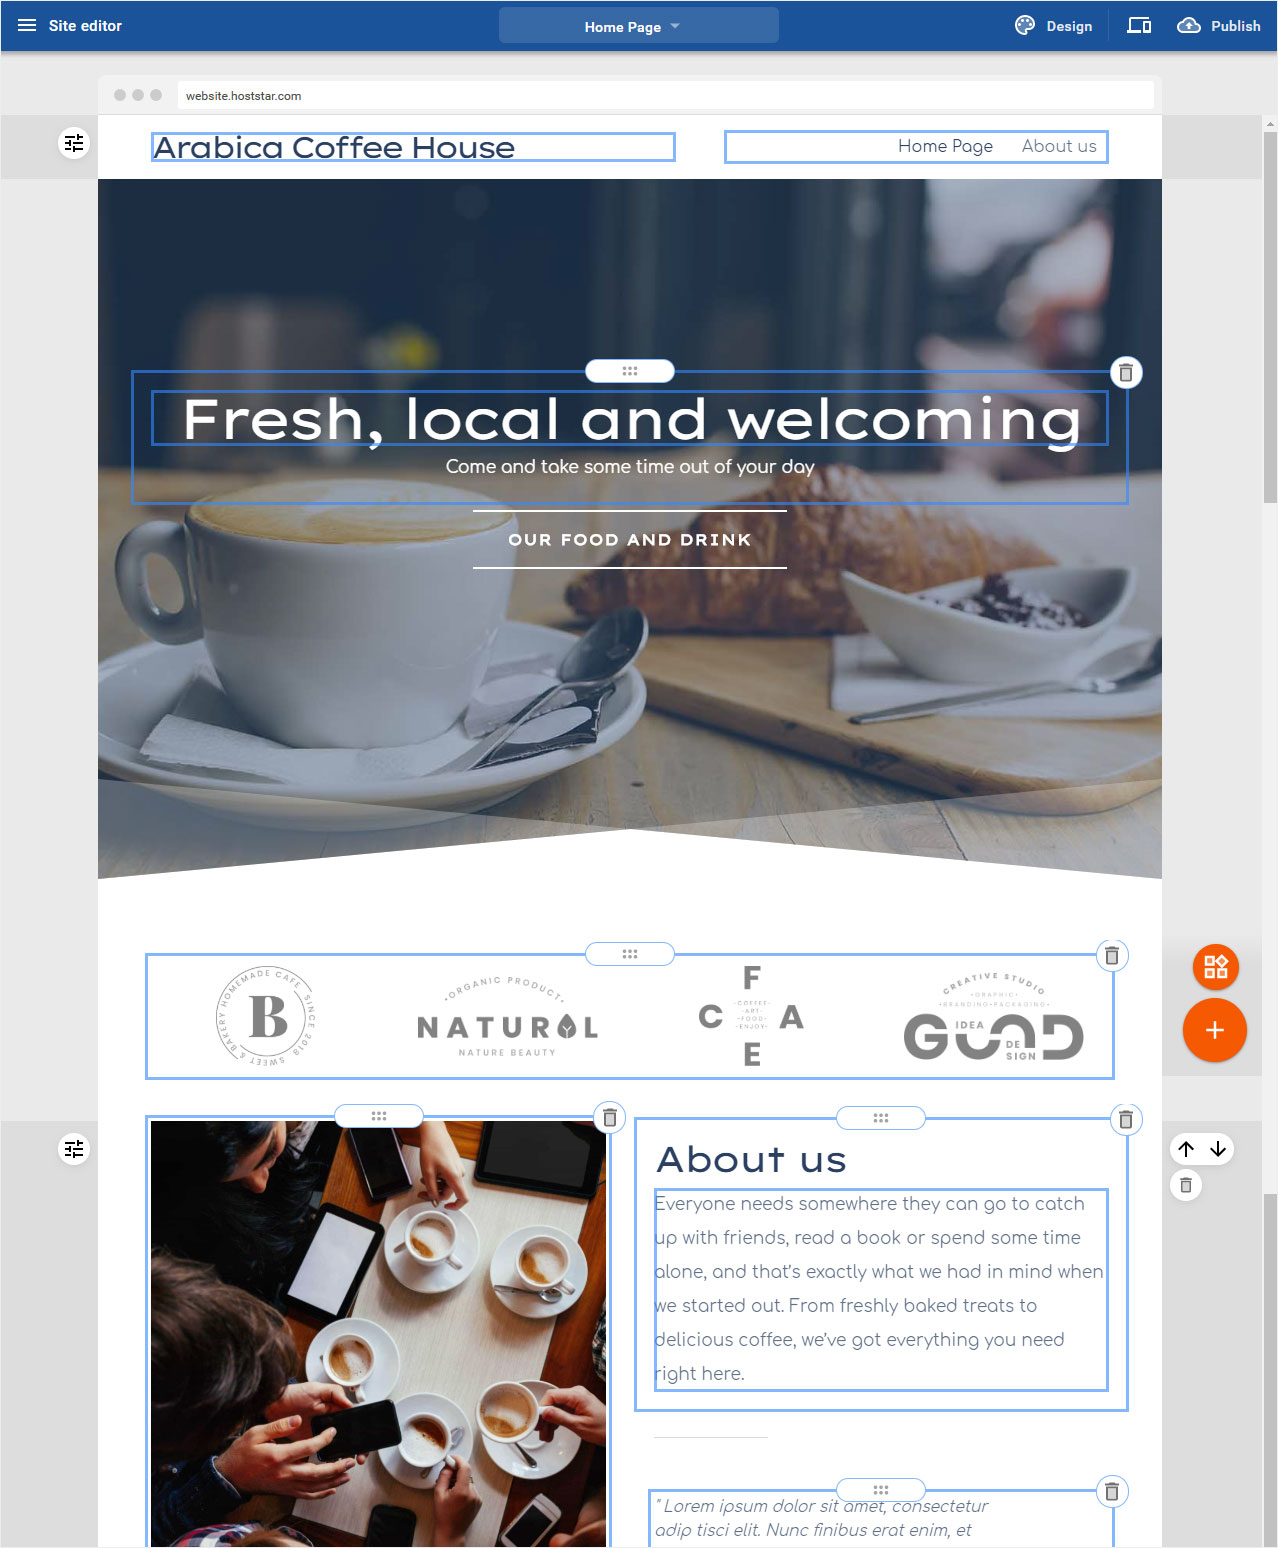
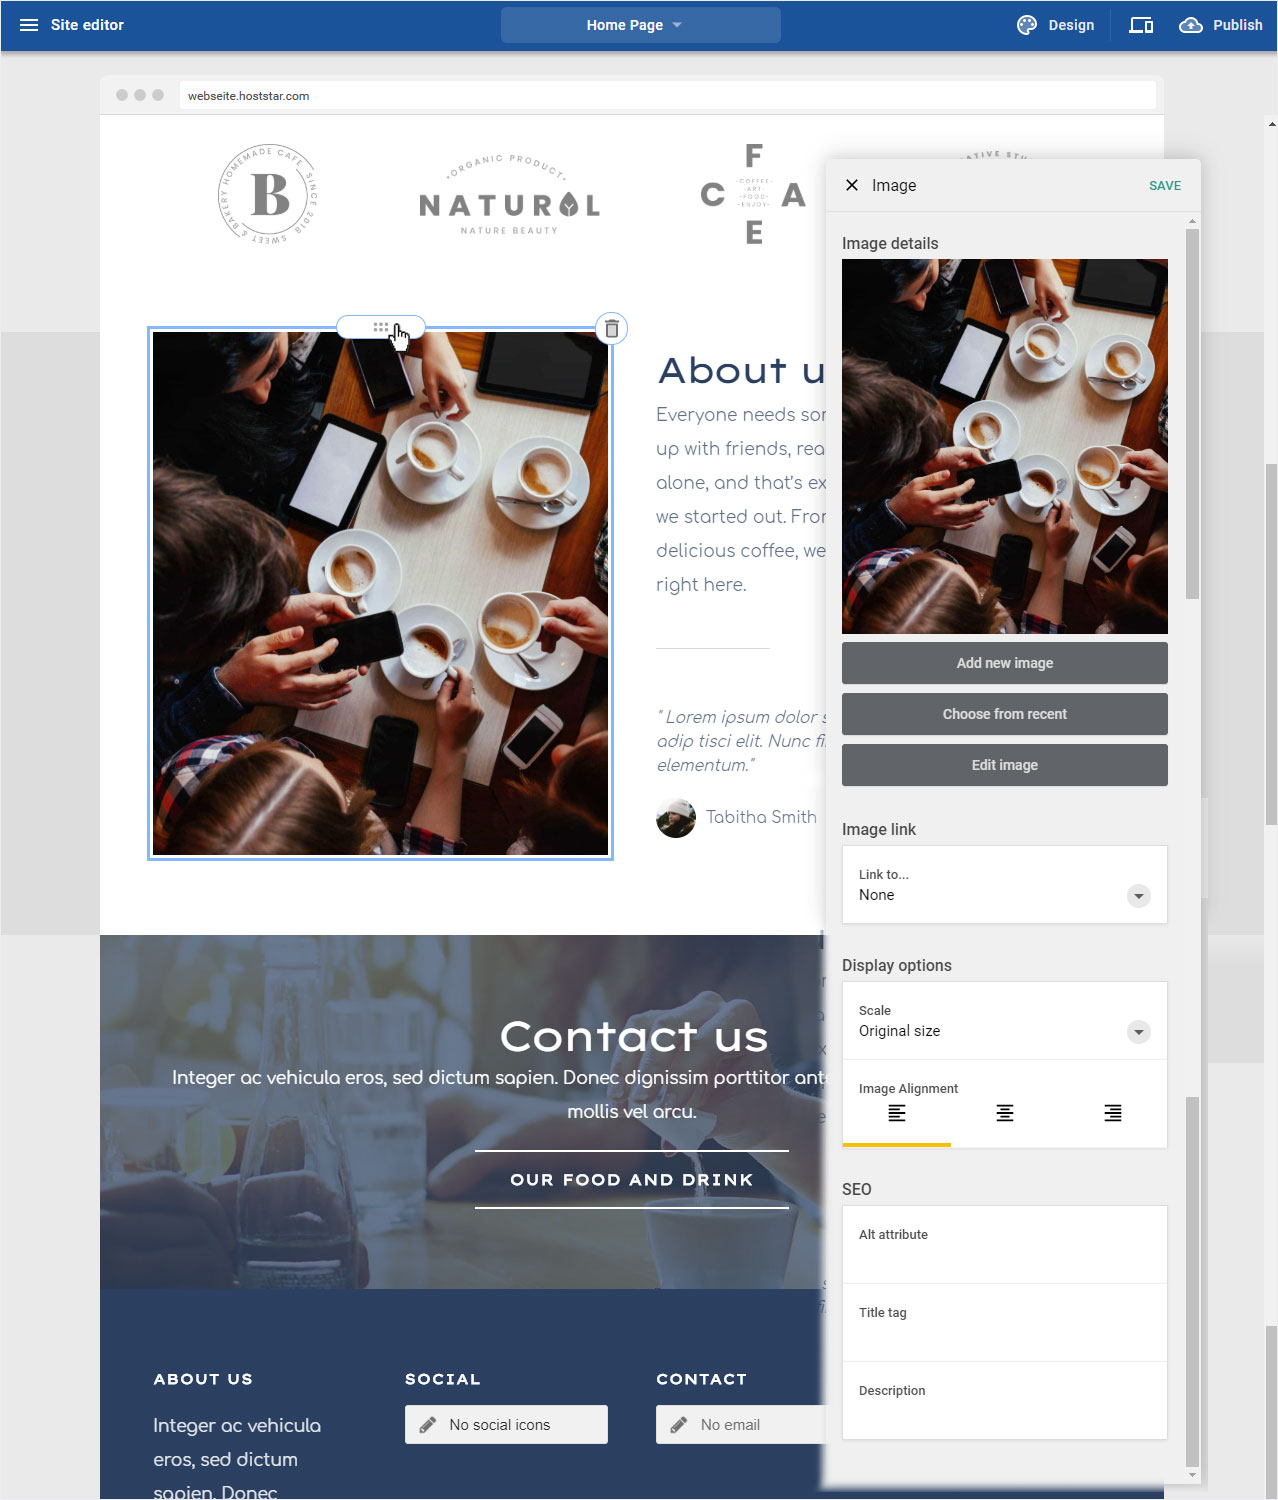
6. Content area images
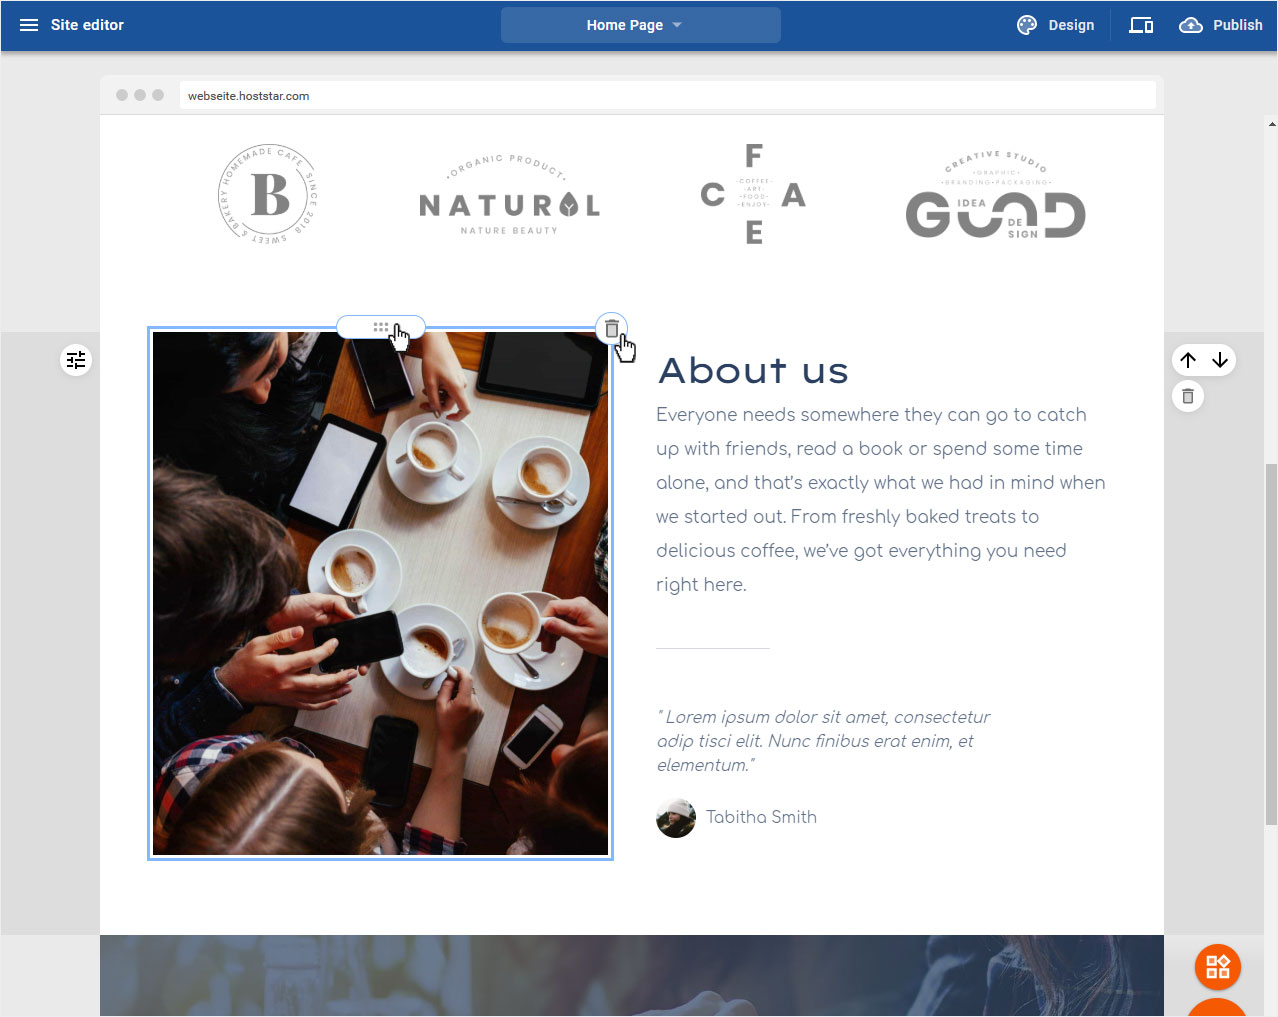
Different content types contain image areas. You can, of course, adapt these, i.e. use your own, different image. To do this, click on the corresponding image.
You can also move the image by clicking on the 6 points icon. Click on the icon and drag the image to the desired position.
And if you don't need an image area in this segment anymore, click on the rubbish bin icon to delete the image area permanently.
6.1 Adjust image
In the popup that now opens, you can add a new image or select from existing images or edit the image with the Image editor.
You also have the possibility to link the image. You can select the size in which the image should be displayed at this location. Define the image orientation and store the relevant SEO attributes.
When you are satisfied with the entries, click on Save.
7. Content area with title and texts
To adjust or change a title or text block, click on the desired area.
You can also move the text by clicking on the 6 points icon. Click on the icon and drag the text to the desired position.
And if you want to delete the text area permanently, click on the rubbish bin icon.
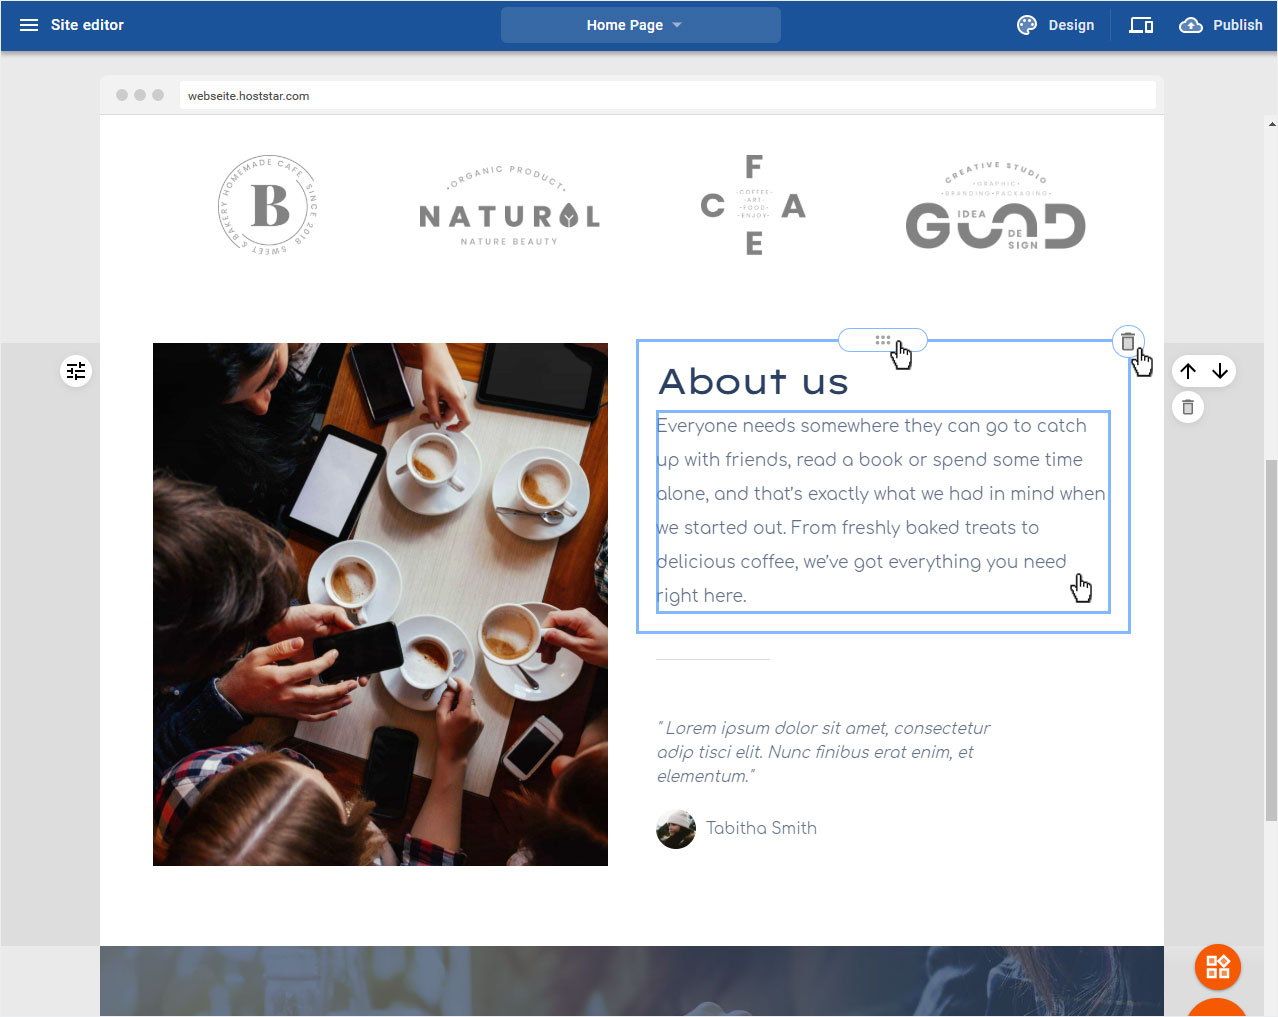
The view changes immediately and the edit mode is displayed. You can now directly adjust the title or text. By clicking on the double arrow symbol you will get an even wider range of formatting options.
When you have made all adjustments, click outside the title or text area and the changes will be saved immediately.

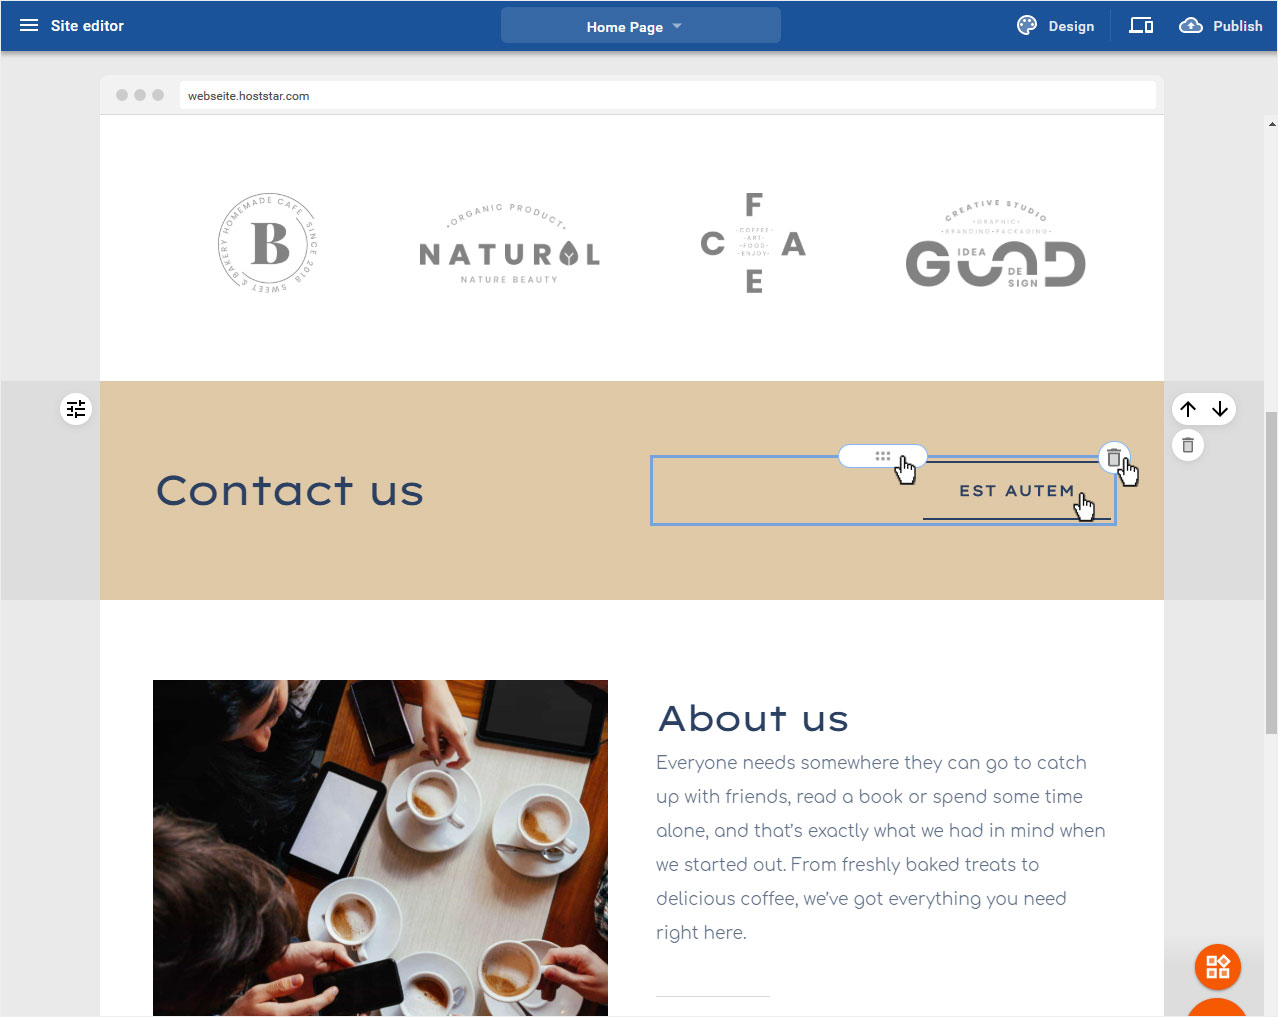
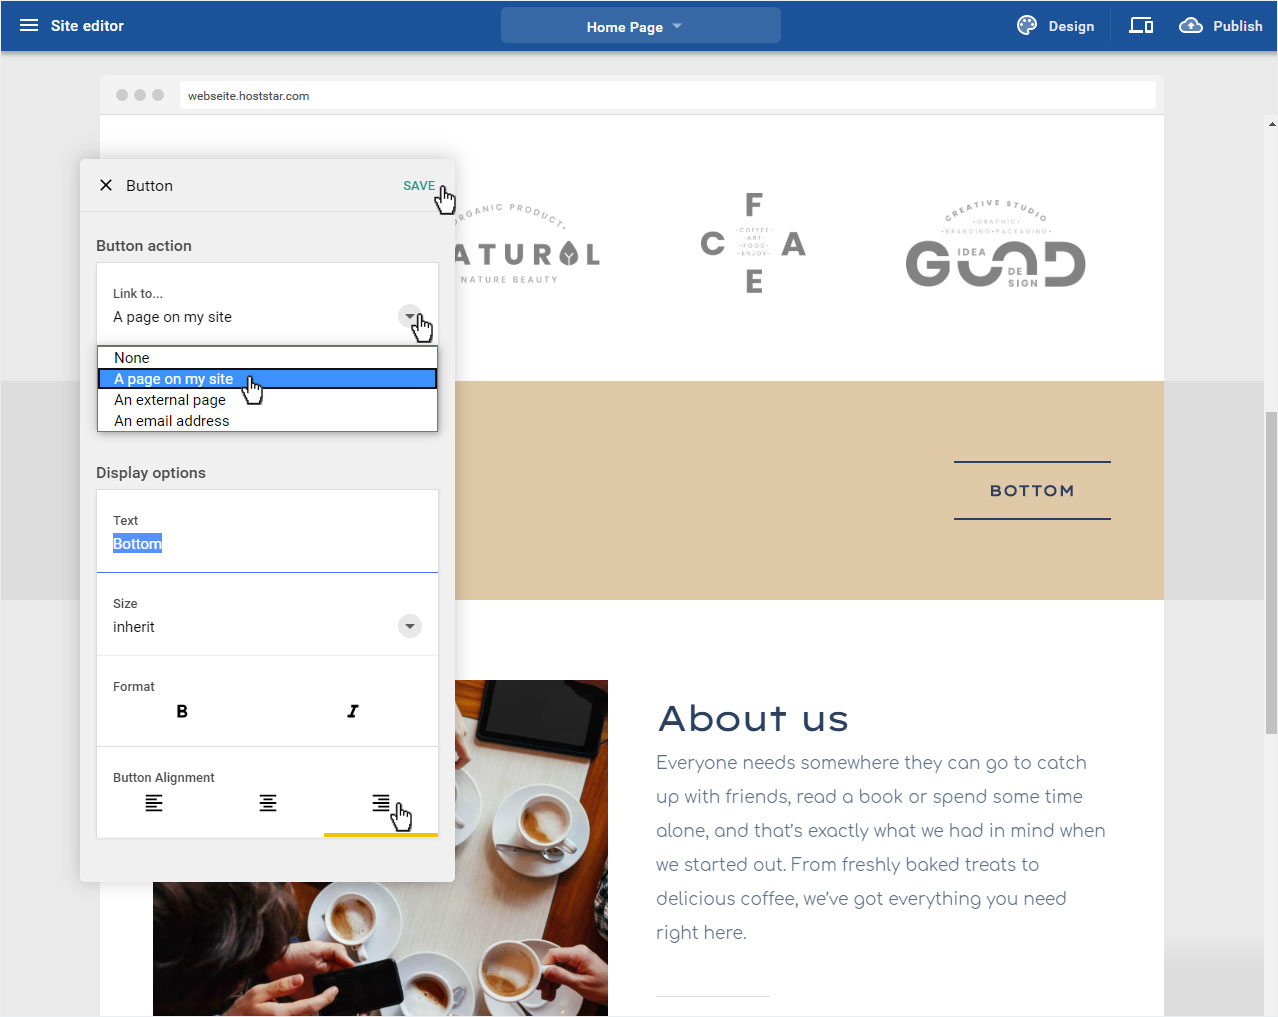
8. Content area with button
To customize the button, click the button area.
The button can also be moved by the 6 points icon. Click on the icon and drag the button to the desired position.
And if you want to delete the button area permanently, click on the rubbish bin icon.
In the Button popup that opens, you can now link the button in the Click actions area. Enter the button text in the area Show options / Text, define the size, format and alignment.
Save your entries by clicking on the button Save.
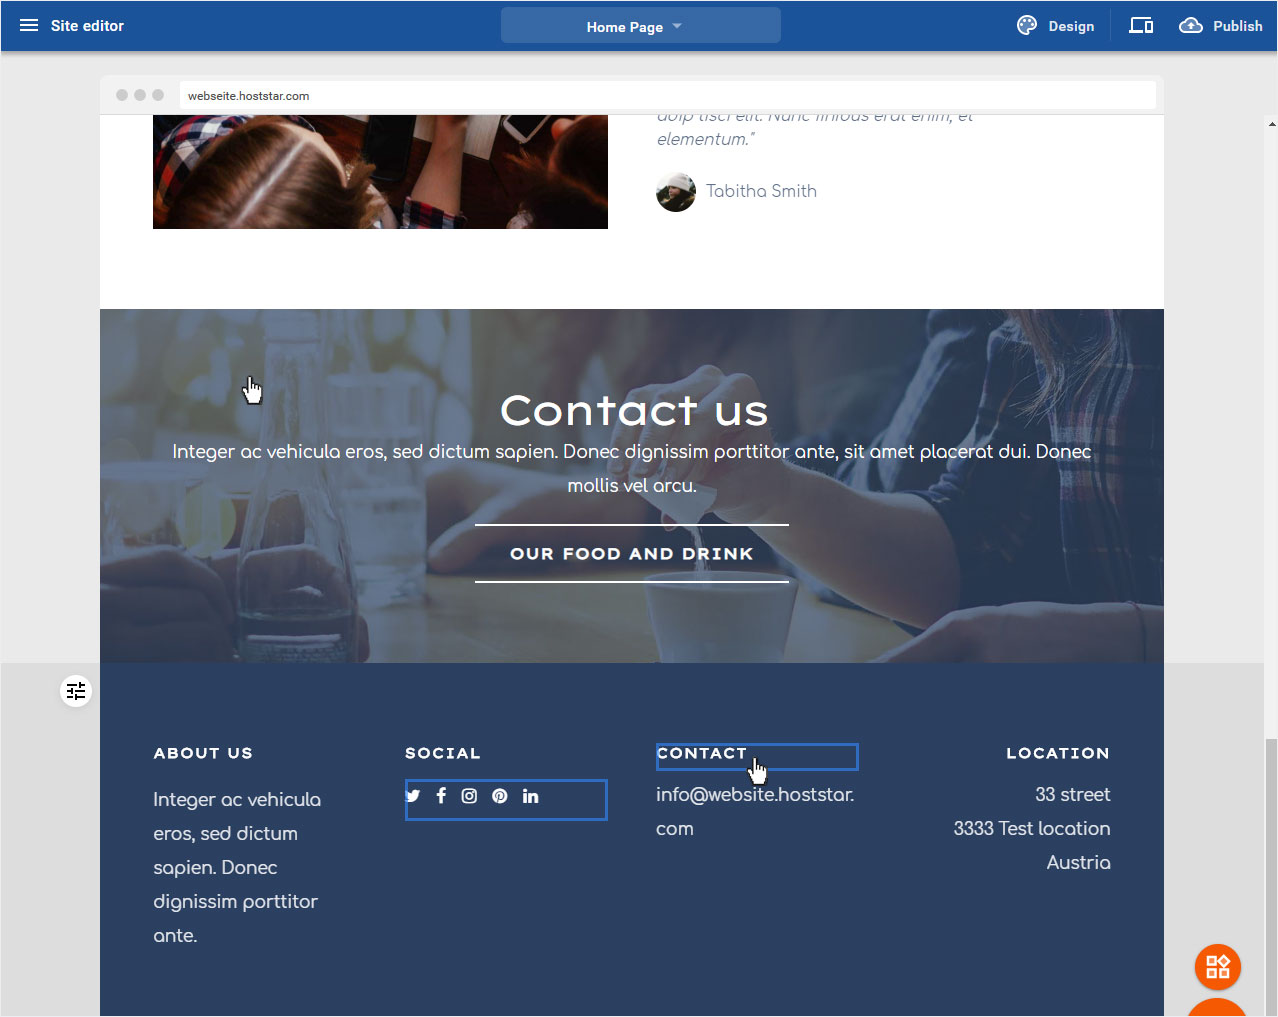
9. Footer
Depending on the area layout you have chosen for your footer area, you can store different texts, titles, social media etc. here.
A distinction is made here between direct editing mode and possible entries via a popup.