Multilingual website
Multilingual website
Nowadays it is possible to reach much more people by creating a website with multiple languages. Using our Hoststar-Designer your multilingual website is just a few clicks away.
After signing in to the Designer you will land on the home page of the Designer Editor, which is the area called Site editor. From here on you will have to proceed as follows:
1. Navigate
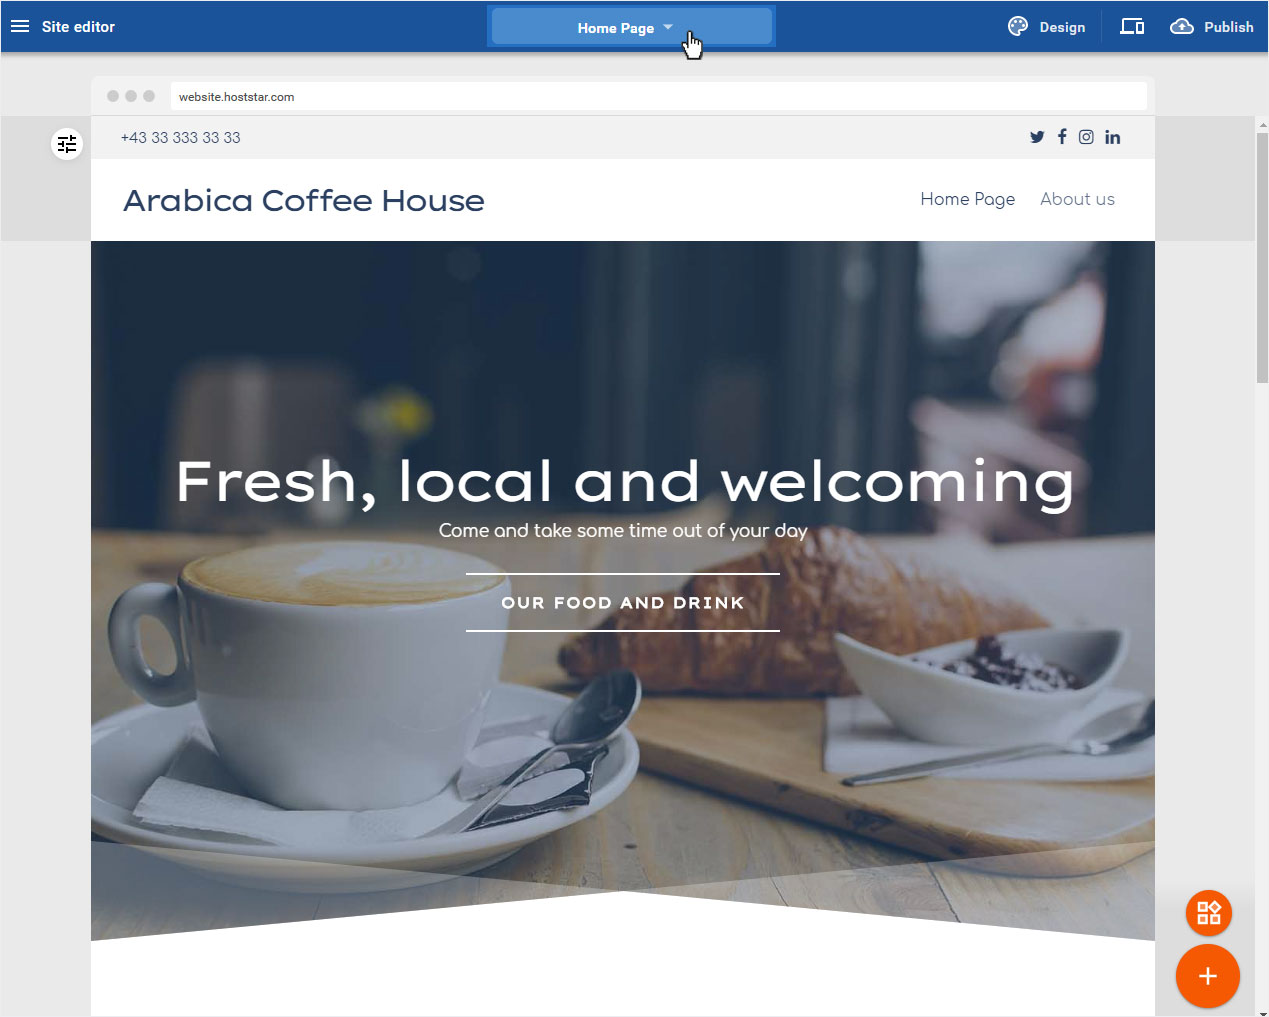
There is a button with a dropdown icon in the blue bar on the top of the page labeled with the currently showing page in the editor (on screenshot: Home Page).
2. Set up multilingualism
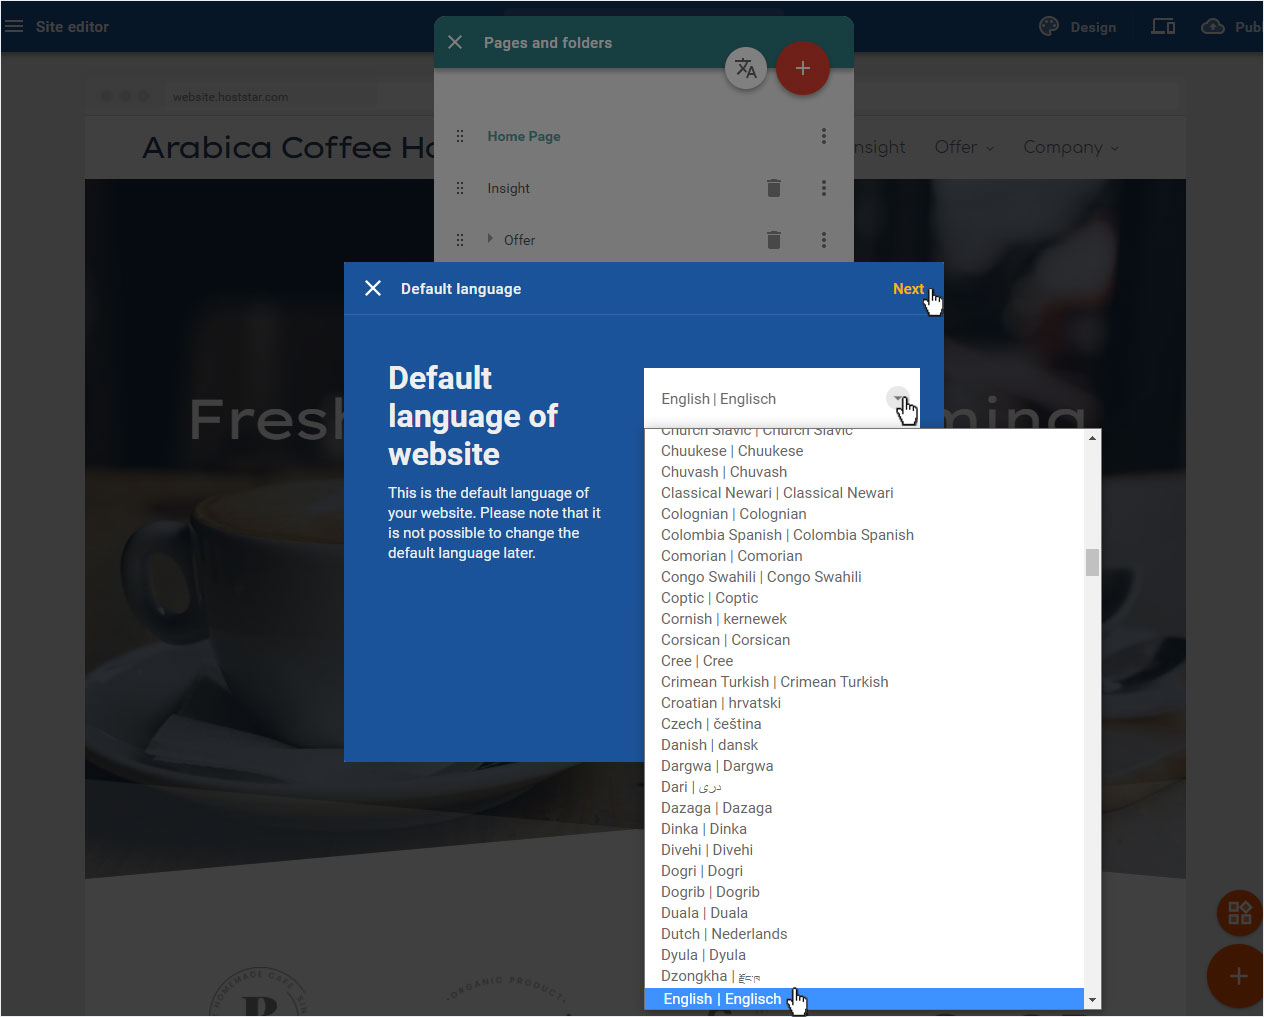
To set up multilingualism on your website, click on the round button with the language icon. You find it to the left of the + button.
3. Select default language
First, you will have to select the default language of your website. Click on the drop-down menu and select the desired language. Confirm the selection by clicking on Next.
NOTE: Once you have set it, you will not be able to change the default language at a later point. So choose wisely.
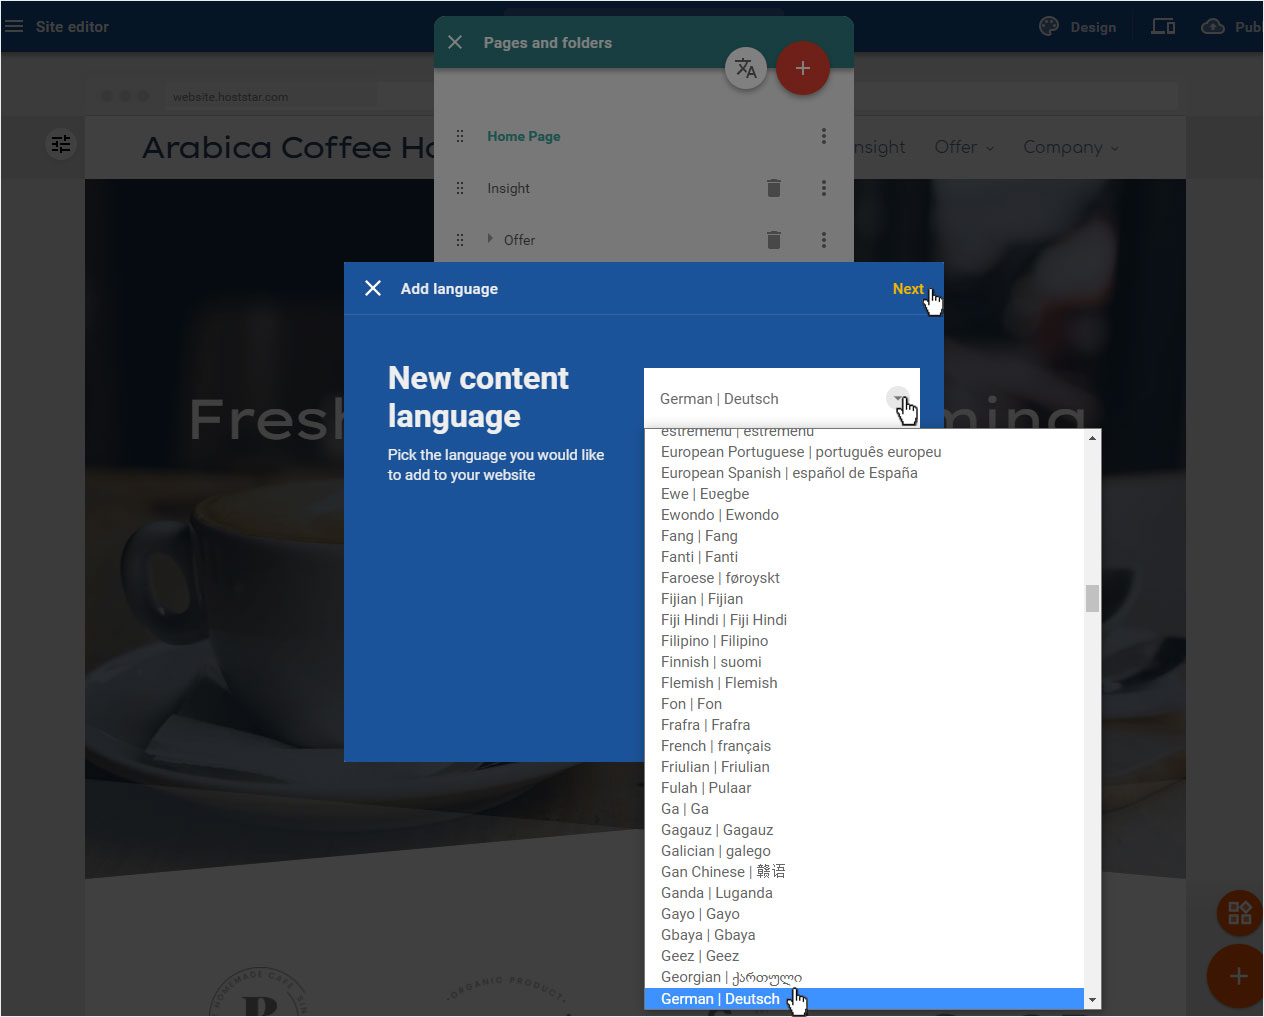
4. Add new content language
Click on the drop-down menu and select the language that you would like to add to your website. In our example, we chose German. Confirm the selection by clicking on Next.
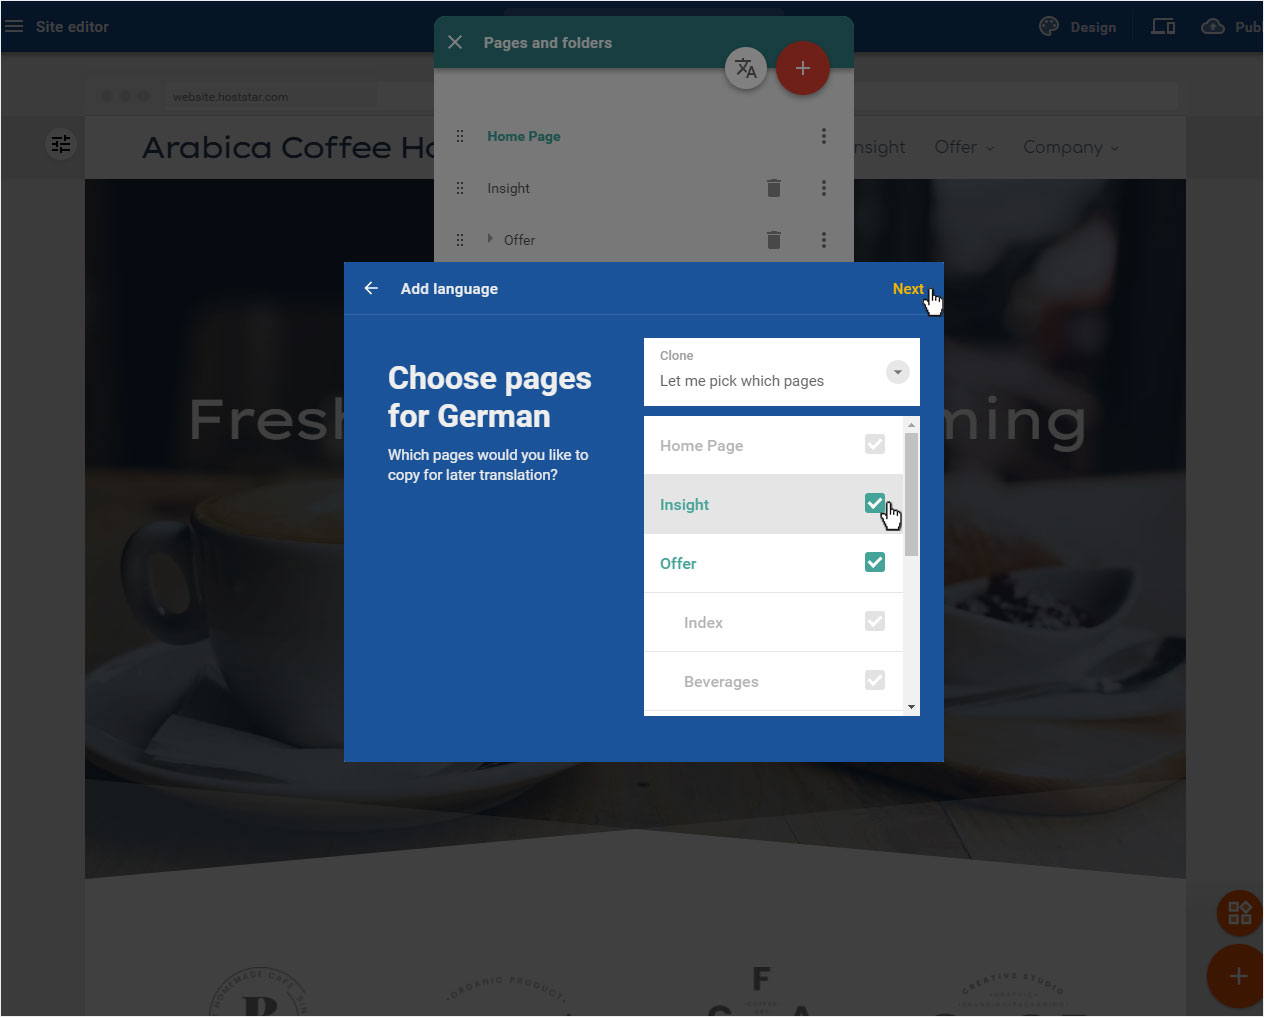
5. Choose page
Choose the pages that you would like to translate. Click in the drop-down menu Clone to select if you want to translate Let me pick which pages oder All pages.

6. Pick pages
The checkbox Let me pick which pages will be active by default. Which means you can choose the pages in the section below that you would like to translate into the added language. Confirm the selection by clicking on Next.
We recommend selecting Let me pick which pages if you only want to translate specific pages on your website.
7. Translate all pages
Selecting All pages will automatically mark all checkboxes of your pages for translation. Confirm the selection by clicking on Next.

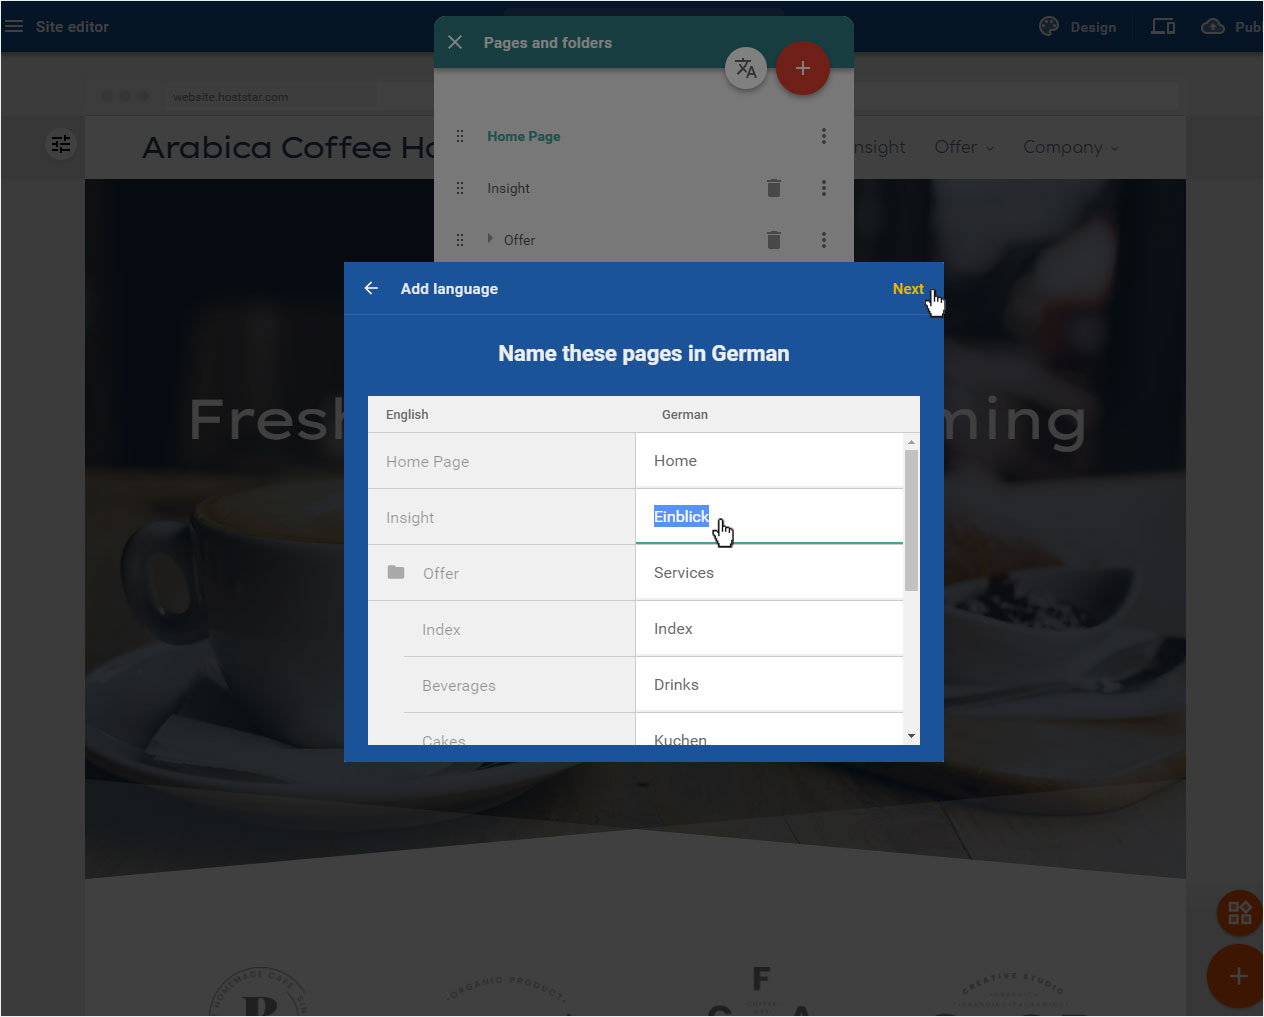
8. Naming pages
Enter the names of your pages in the added language (our example: German). Name the pages as desired.
Please note that you will have to name the index pages in your folders if you have selected All pages in the menu before.
Confirm the selection by clicking on Next.
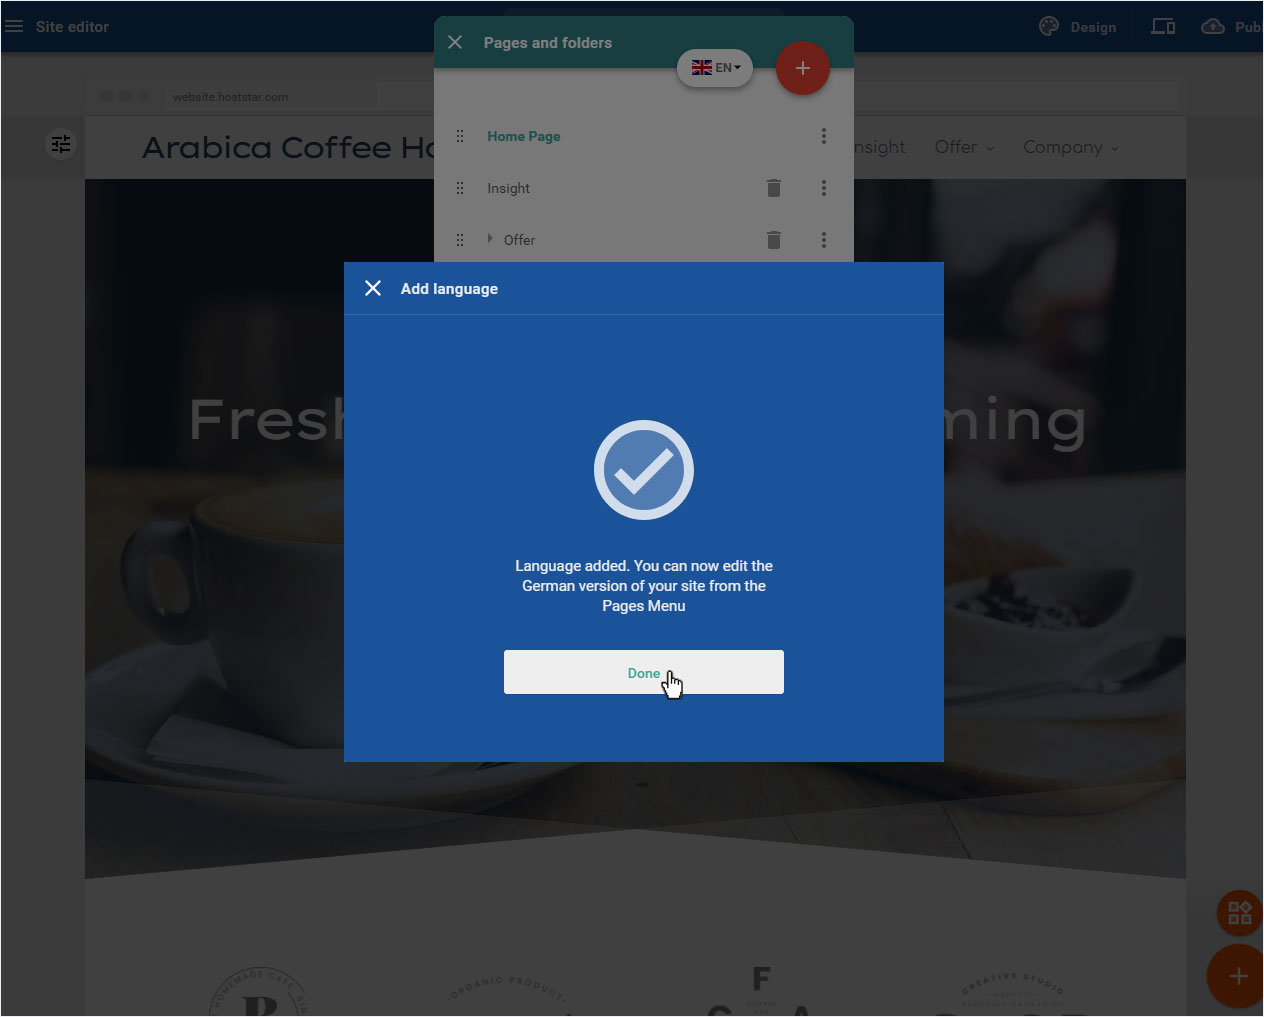
9. Adding language
The system now copies the selected pages for the desired language. This process takes a few seconds. You will see a success message as soon as all the pages have been created.
Confirm the completion by clicking on Done.
10. Select language for editing
After adding the new language, you will be automatically redirected to the Pages and folders area.
As you can see, there is a new icon at the top of the menu now with the flag of your chosen default language.
If you click on one of the added languages, you will be able to edit the pages associated with that language

11. Add language
You can always add another language to your website by clicking on Add language under the language drop-down. Proceed to point four (ADD NEW CONTENT LANGUAGE) of this document to see how adding a new language to your website works.
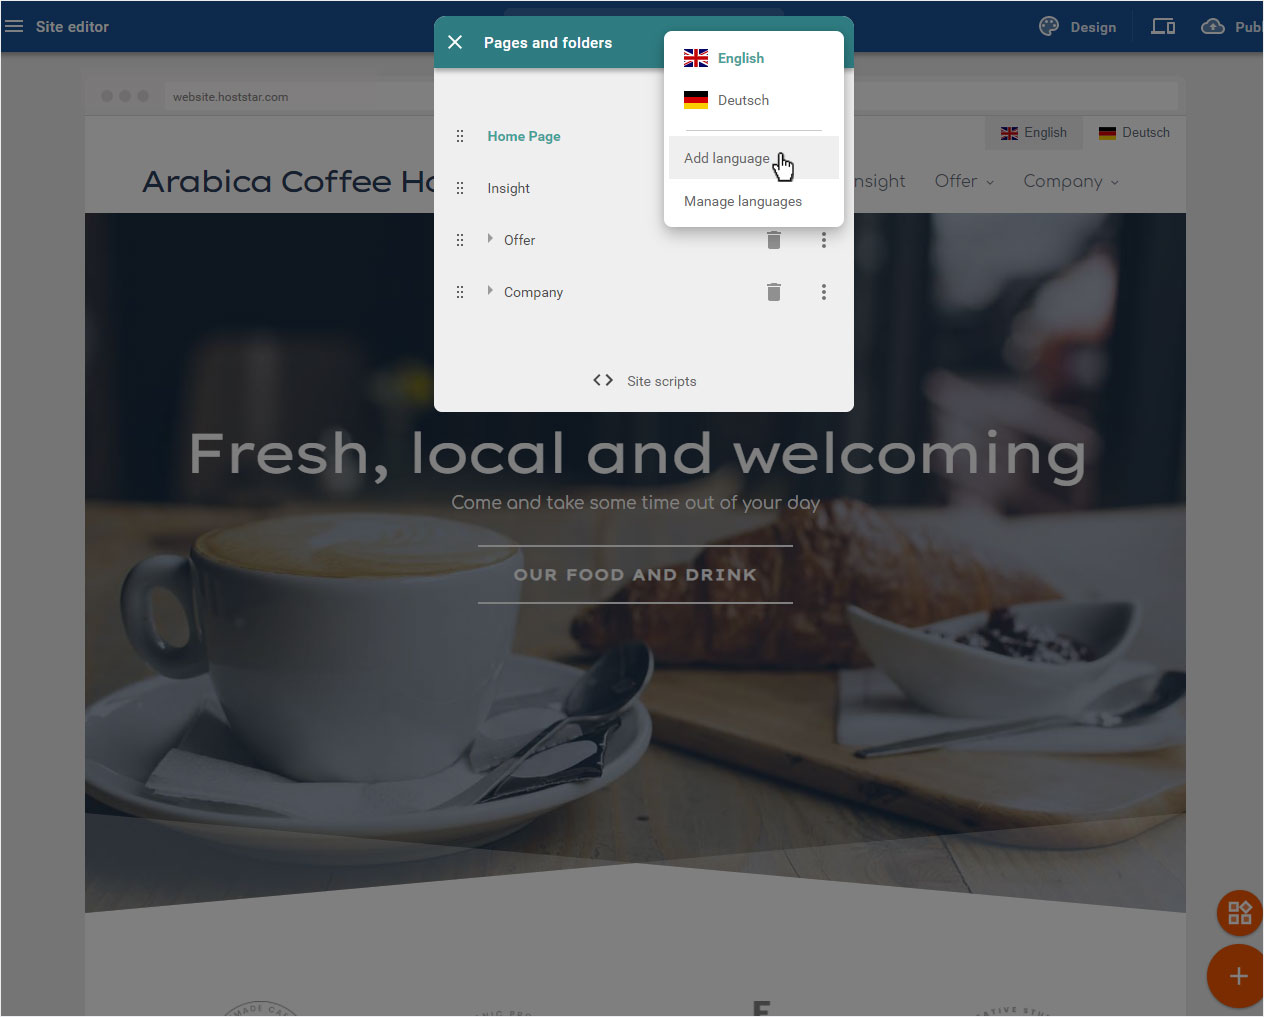
12. Manage languages
You can delete or deactivate languages by clicking on Manage languages under the language drop-down. Click on the trashcan icon to delete a language and the corresponding pages or clock on the tree-dotted icon to deactivate a particular language.

13. Edit language section
Back on the home page, you will notice the new language section that has been added to your website. You are able to edit this section just like any other.
Click on the slider icon (appearance) on the left side and choose a background color or image for the section.

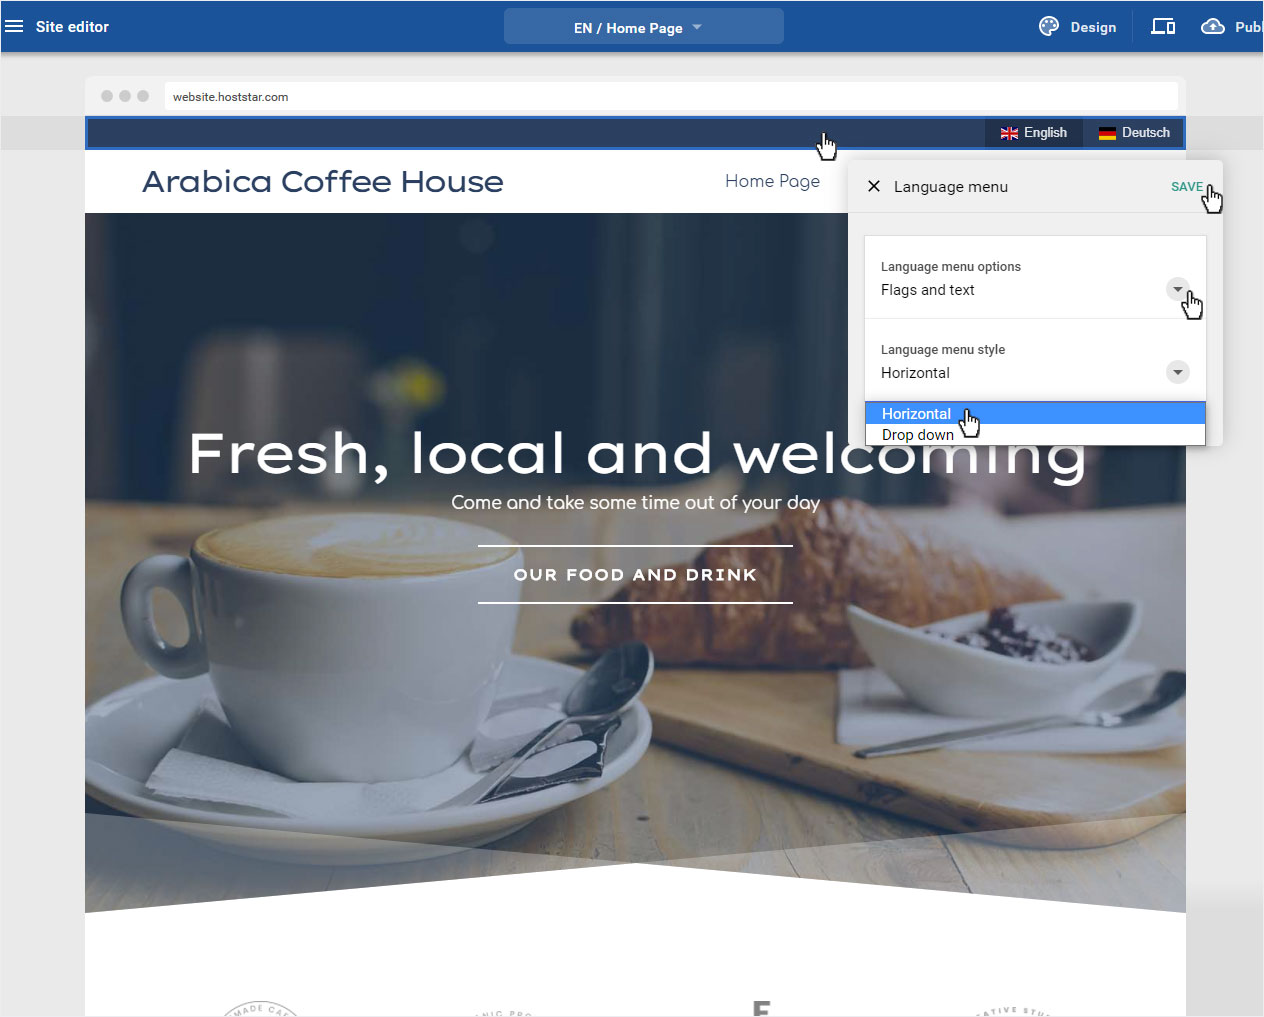
14. Adjust language menu
To adjust the language menu on the top, click on one of the languages and a pop-up window will appear.
Click on the drop-down Language menu option ” to choose how the language selection will be shown: Flags and text, Flags only or Text only.
Click on the Language menu style drop-down to choose if the languages should be arranged horizontally or in a drop-down menu.
Confirm the changes by clicking on Save.