Areas – Add content / element
You can add new content (areas) or individual elements to the website at any time. From images with text to contact forms and code areas.
After you have logged in to the Designer you will find yourself in the Designer Editor on the start page and thus in the Site editor area. Proceed as follows:
1. Navigate
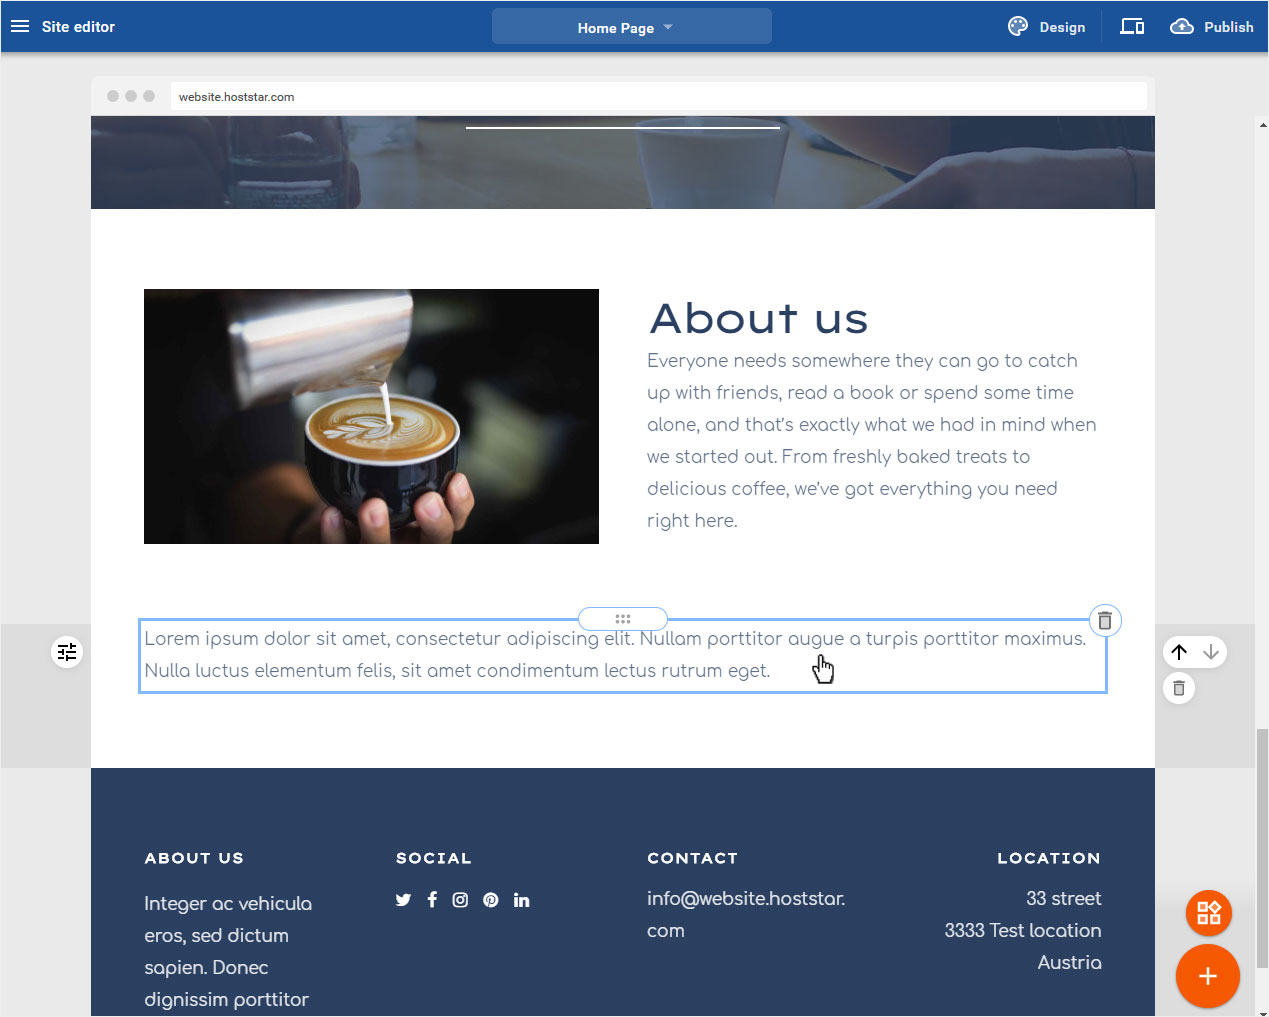
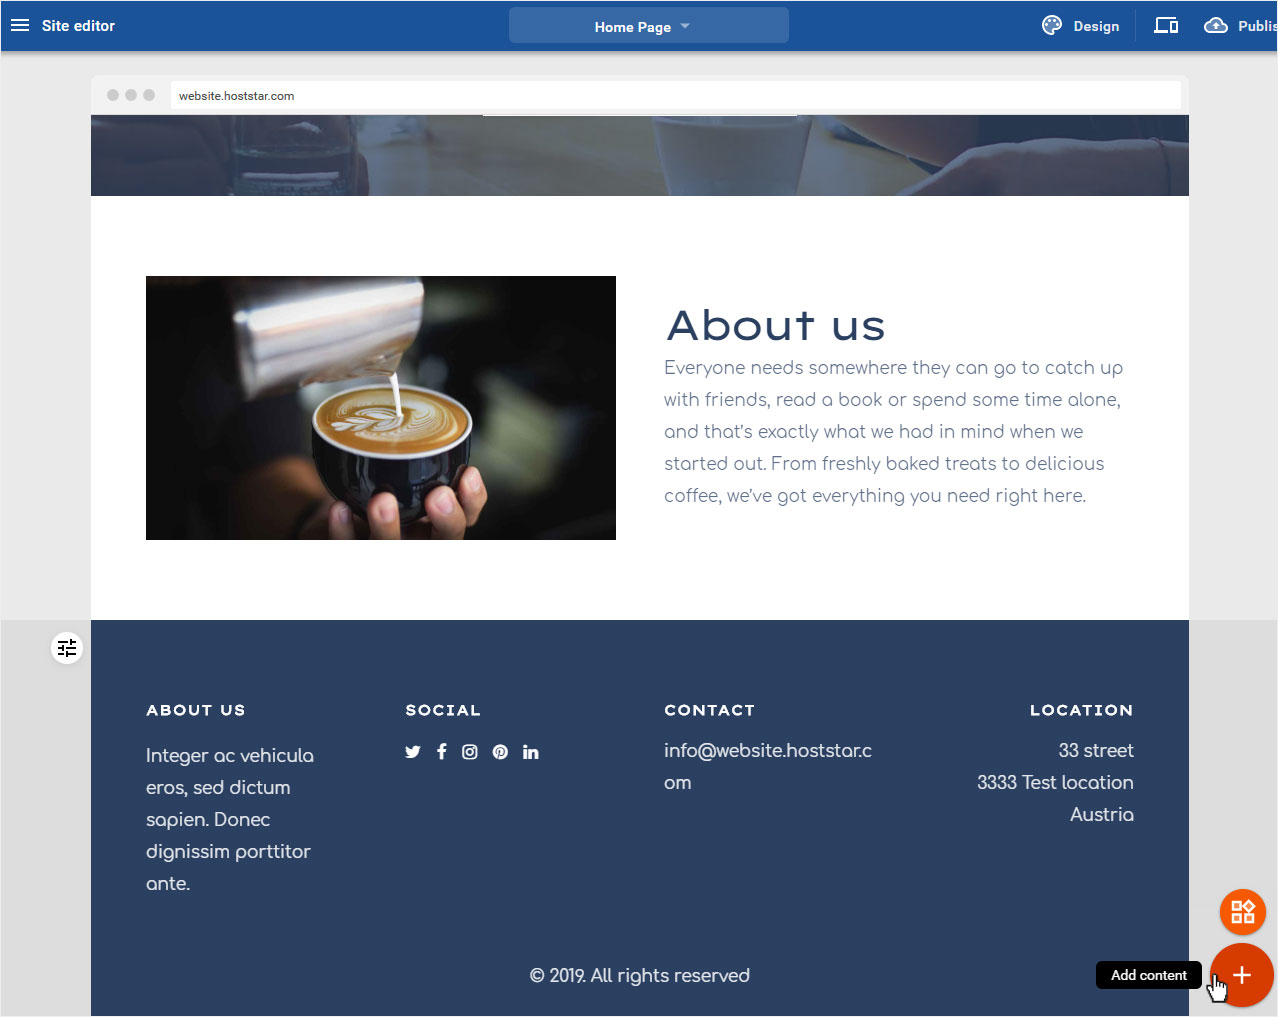
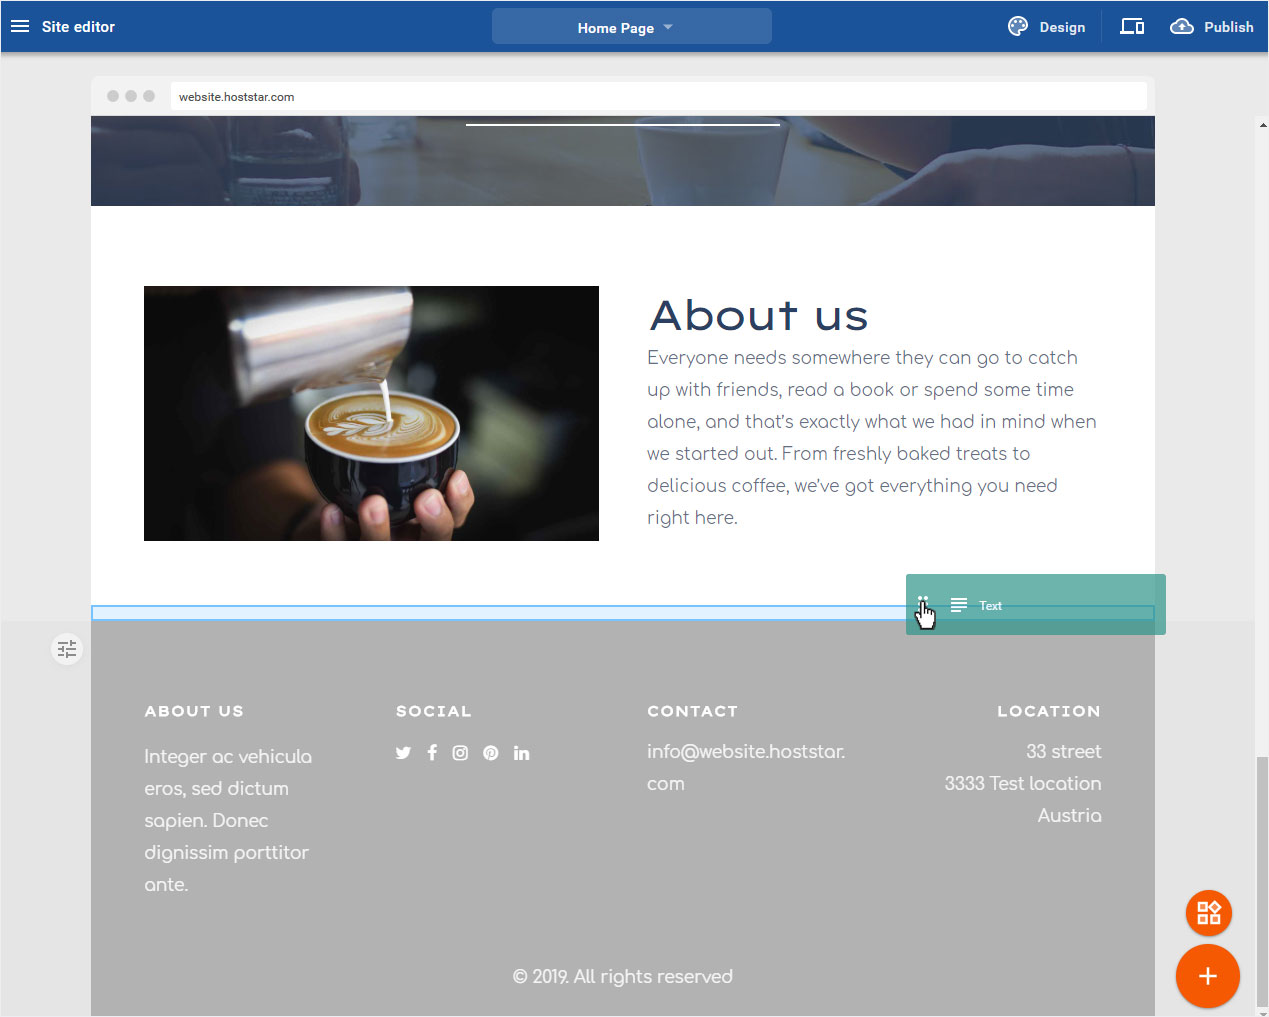
On the start page of the Designer Editor you will find two orange round buttons at the bottom right.
The lower + button allows you to add entire content areas. If you move your mouse over them, the addition Add content will be displayed.
Just above this is the smaller 4 Cubes button, which allows you to add individual elements to the content areas. If you move your mouse over it, the addition Add element will appear.

2. Add content
To add an entire content area, click the + button.
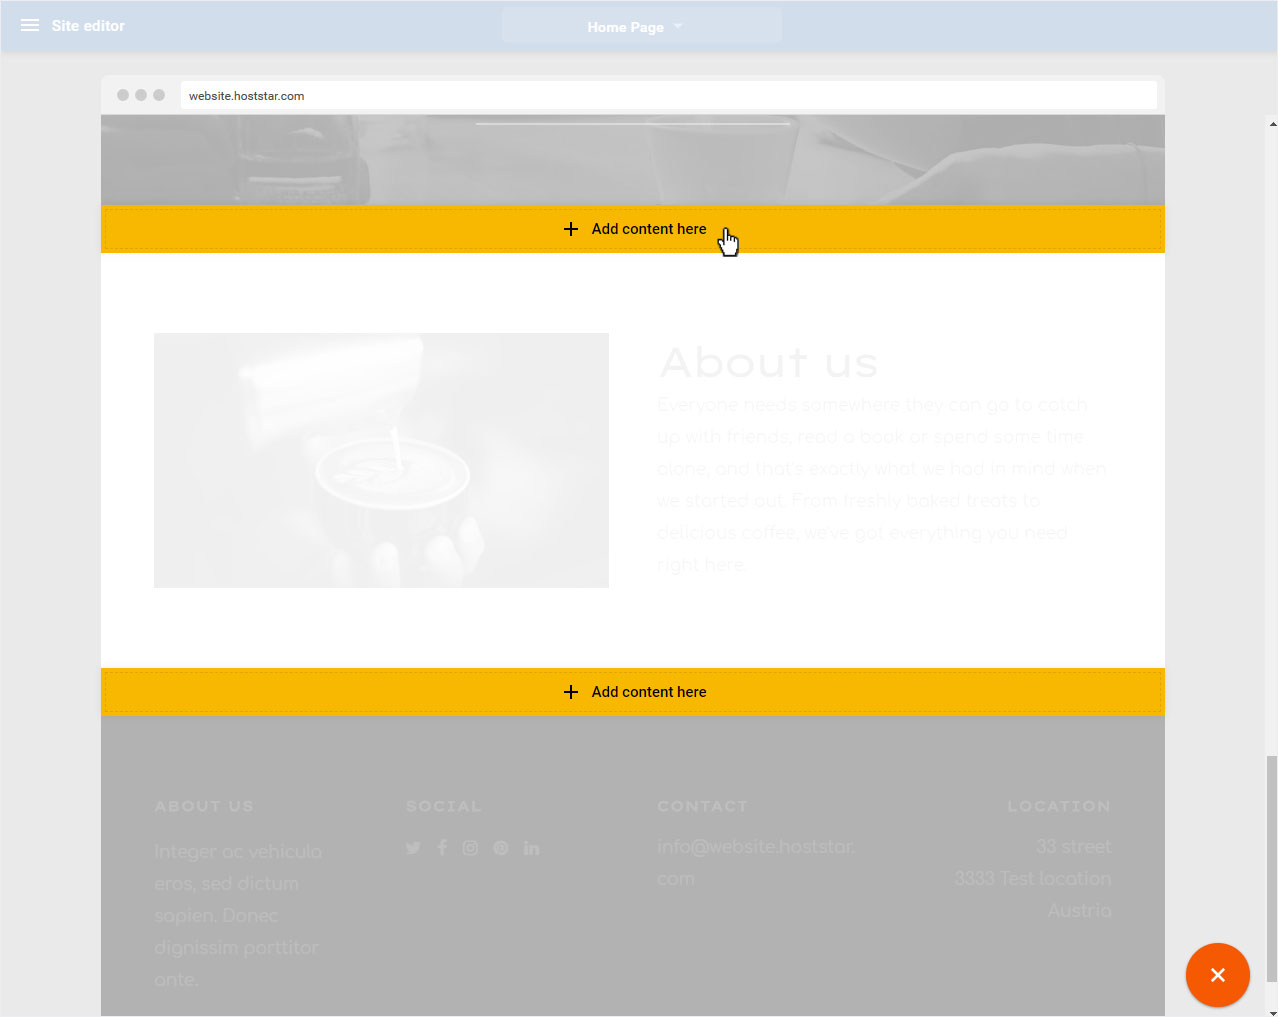
2.1 Define location
You can add a new area between all existing areas. Specify the desired location and click on the yellow bar. Of course you can always move this area later on.
2.2 Select content & layout
A pop-up window will open immediately in which various content areas are available. Here a short description:
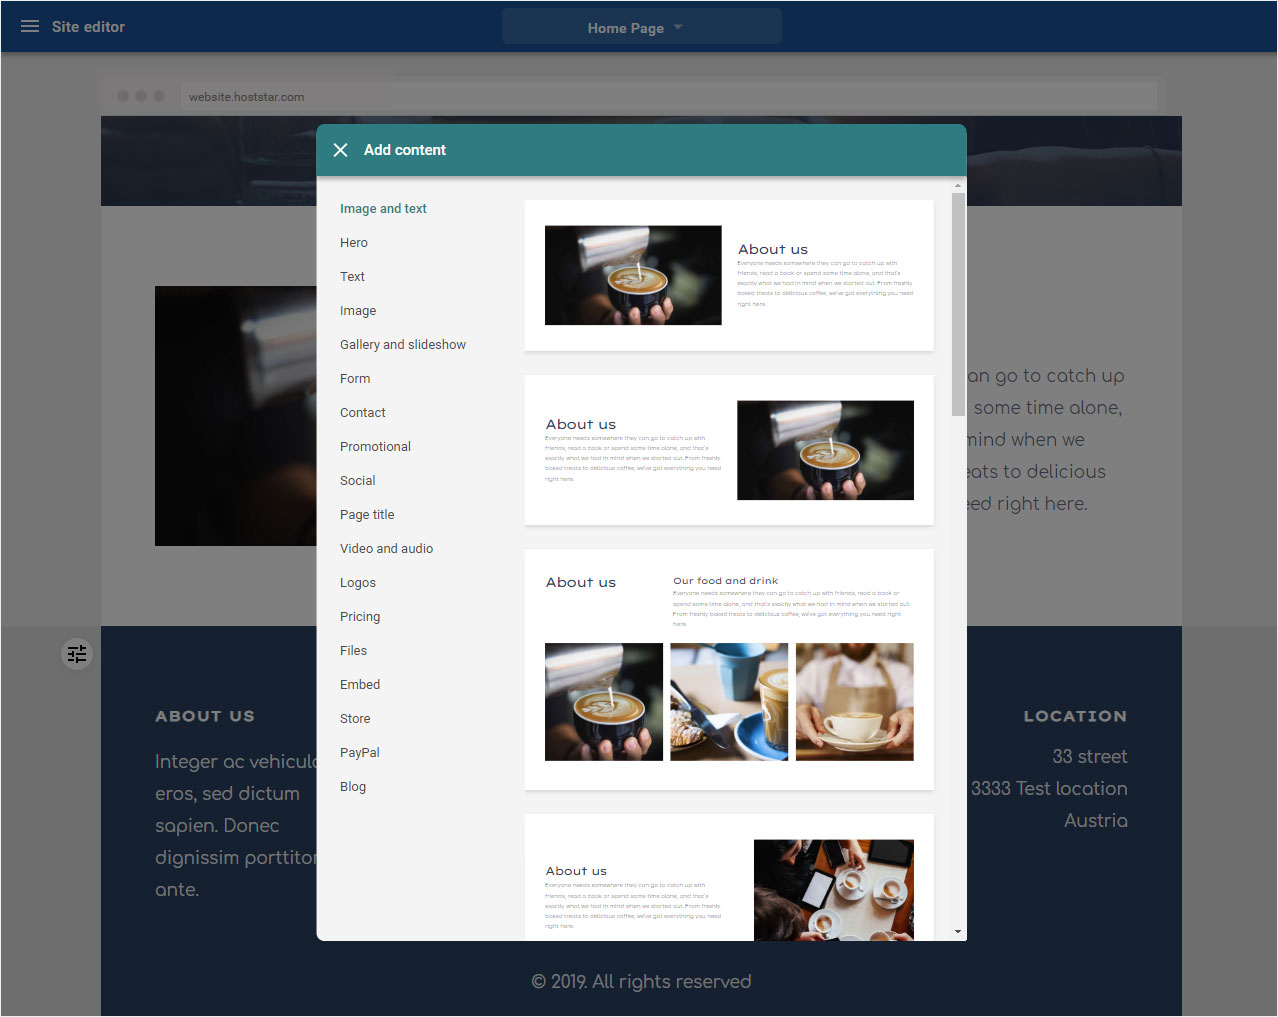
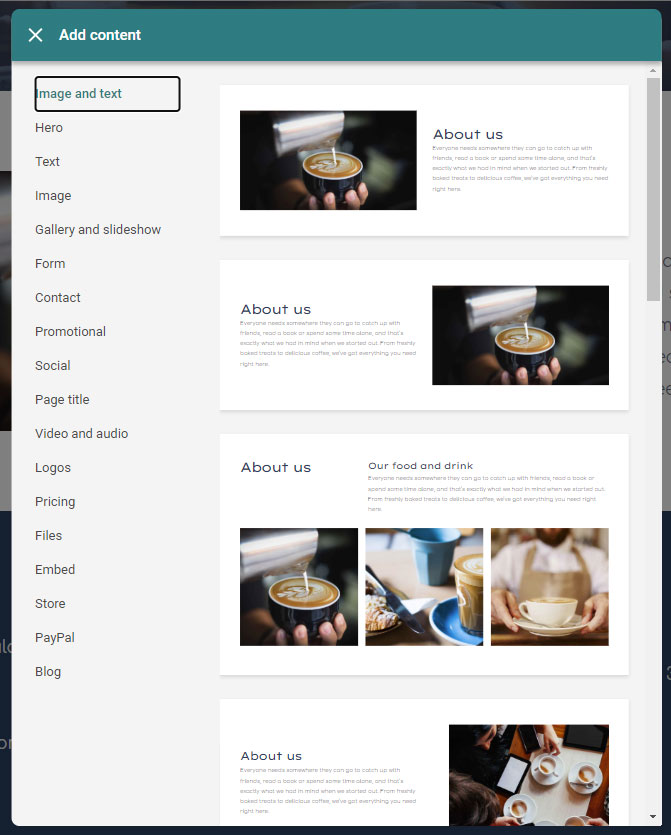
2.2.1 Image and text
In this area you have countless possibilities for an area with text and images. Whether with one picture and one text or up to 3 pictures and 3 texts in different structures.
If you have chosen one of these areas, you will be automatically forwarded to the edit mode. Follow the instructions in Edit area to make the appropriate adjustments etc.
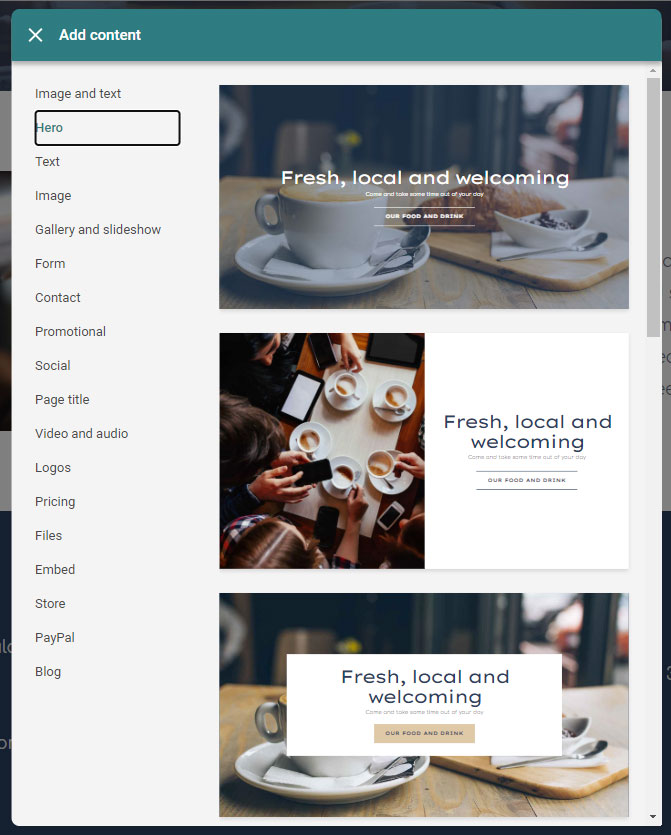
2.2.2 Hero (Large image with text)
In this area you have several options for an area with a large image and little text, including any button. Whether with a large area-filling image and text, no image and only text, up to 4 images with text in different structures.
If you have chosen one of these areas, you will be automatically forwarded to the edit mode. Follow the instructions in Edit area to make the appropriate adjustments etc.
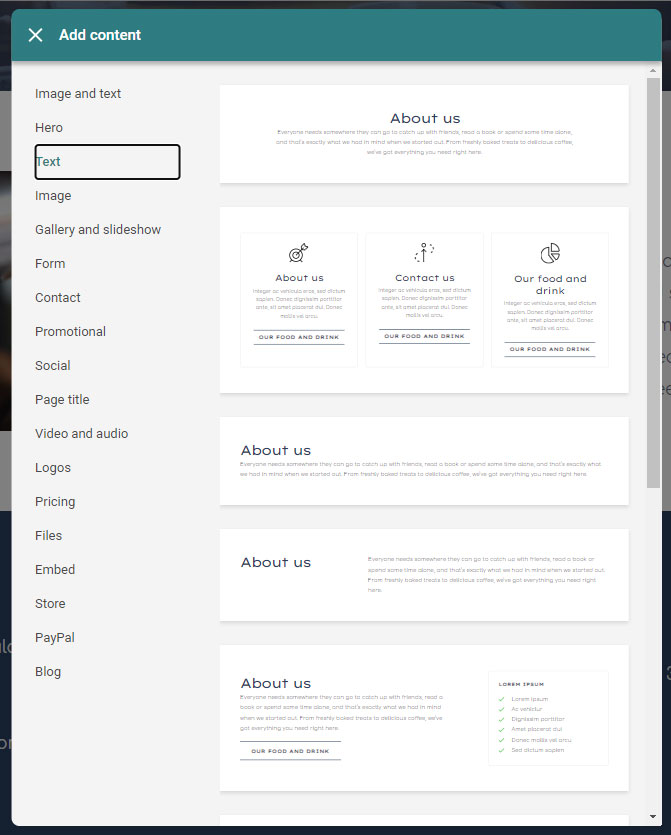
2.2.3 Text
In this area you have countless possibilities to insert a text-only area, be it a title with text on top of each other, side by side, 3-part, untitled...
If you have chosen one of these areas, you will be automatically forwarded to the edit mode. Follow the instructions in Edit area to make the appropriate adjustments etc.
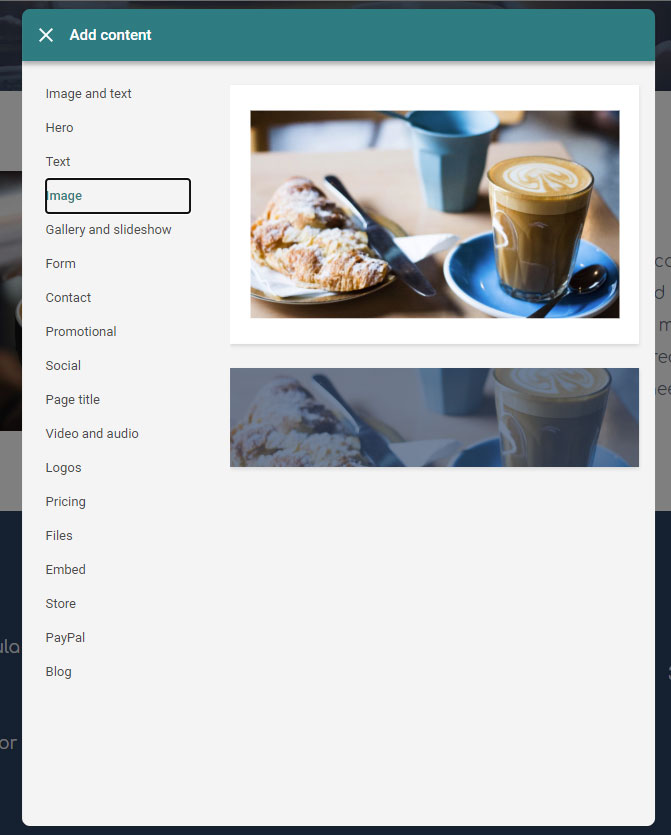
2.2.4 Image
In this area you have several options for inserting a image area.
If you have chosen one of these areas, you will be automatically forwarded to the edit mode. Follow the instructions in Edit area to make the appropriate adjustments etc.
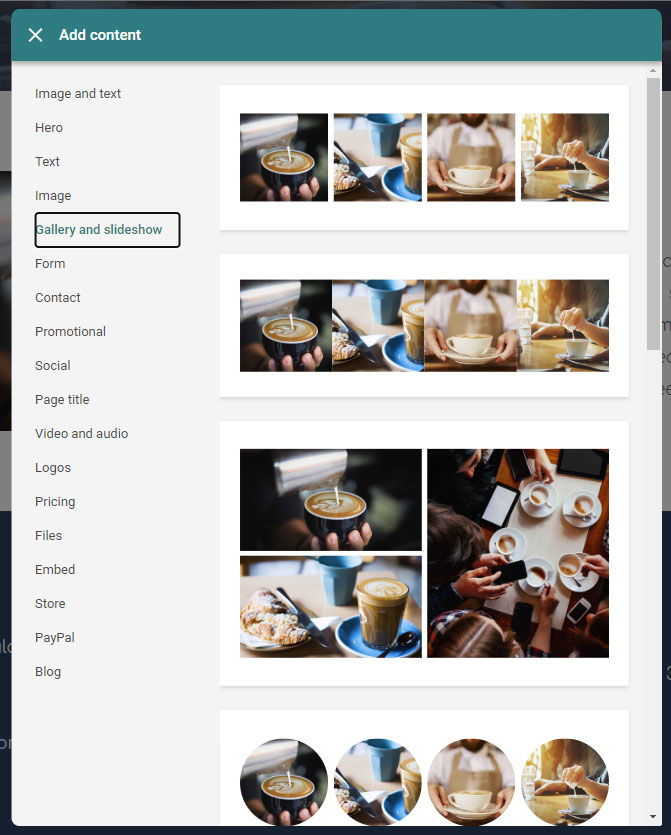
2.2.5 Gallery and slideshows
In this area you have some possibilities to insert a photo/image gallery or a slideshow.
If you have chosen one of these areas, you will be automatically forwarded to the edit mode. Follow the instructions in Edit area to make the appropriate adjustments etc.
2.2.6 Forms
In this area you have some possibilities to insert a form area (only email address field or with text field).
If you have chosen one of these areas, you will be automatically forwarded to the edit mode. Follow the instructions in Edit area to make the appropriate adjustments etc.

2.2.7 Contact
In this area you have countless possibilities to insert a contact area with or without map section or with or without contact form.
If you have chosen one of these areas, you will be automatically forwarded to the edit mode. Follow the instructions in Edit area to make the appropriate adjustments etc.

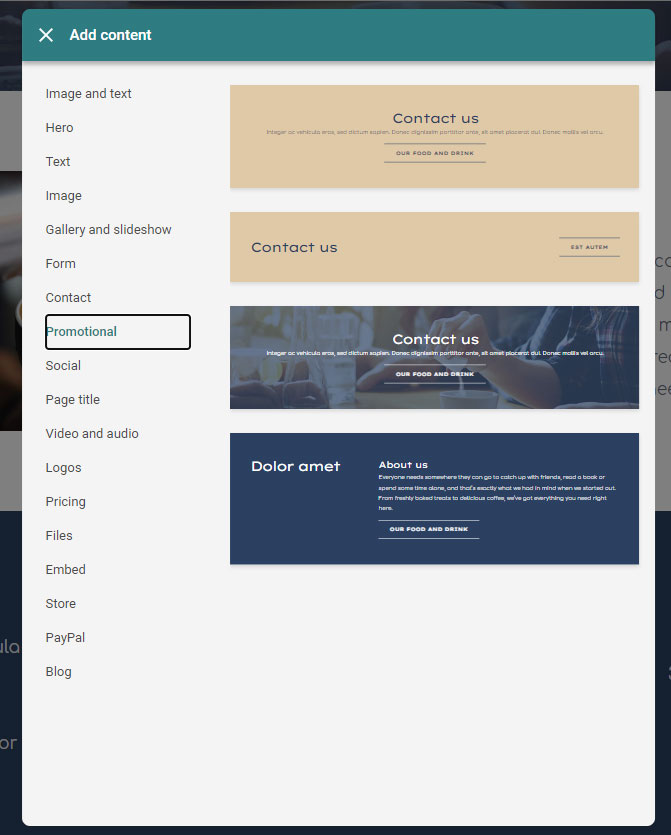
2.2.8 Promotional
In this area you have several possibilities to insert an advertising banner with or without background image and with text and button.
If you have chosen one of these areas, you will be automatically forwarded to the edit mode. Follow the instructions in Edit area to make the appropriate adjustments etc.
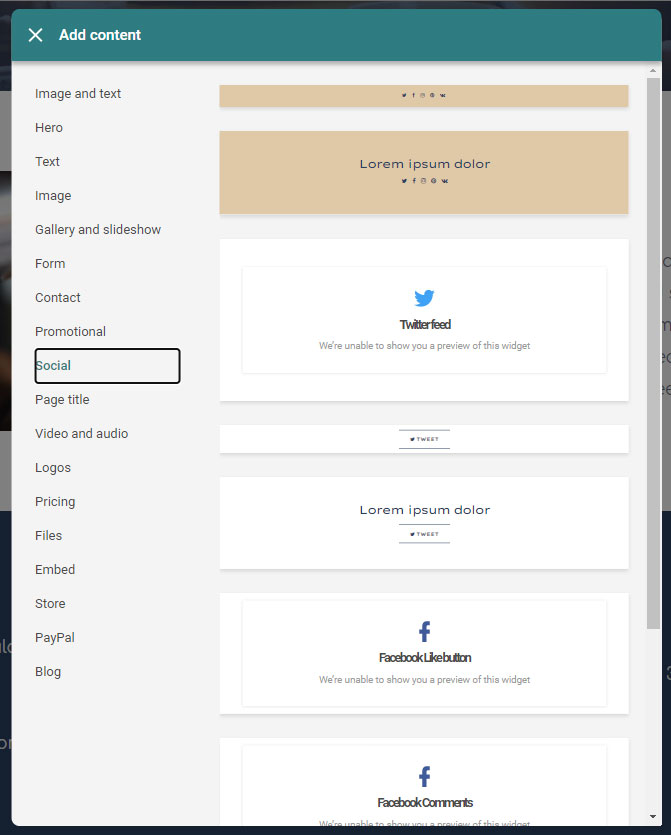
2.2.9 Social
In this section you have several options to add a section with your social media links & icons.
If you have chosen one of these areas, you will be automatically forwarded to the edit mode. Follow the instructions in Edit area to make the appropriate adjustments etc.
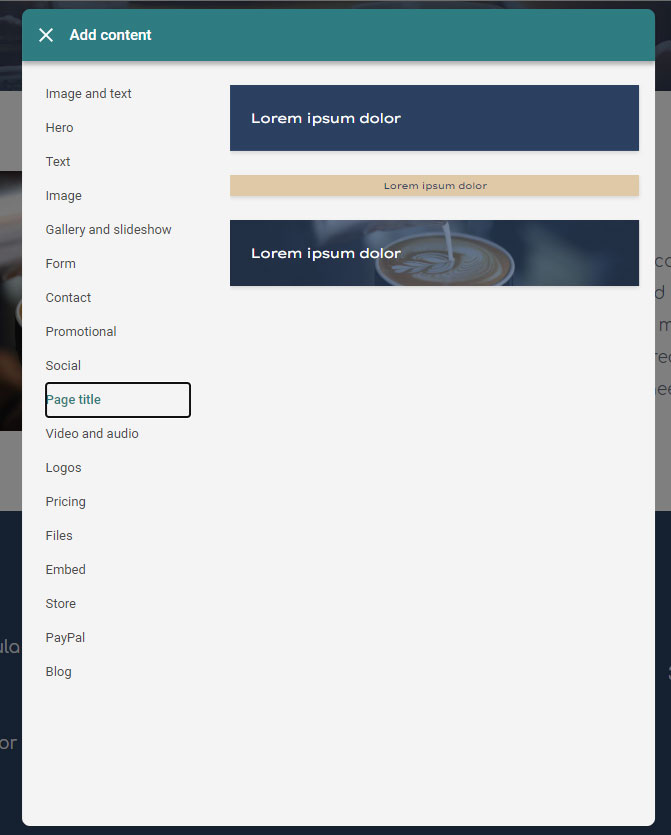
2.2.10 Page title
In this section you have several options to insert a section with a headline with or without a background image.
If you have chosen one of these areas, you will be automatically forwarded to the edit mode. Follow the instructions in Edit area to make the appropriate adjustments etc.
2.2.11 Video and audio
In this section you have several options to insert a video area with or without a text area, you can of course also link only one audio file.
If you have chosen one of these areas, you will be automatically forwarded to the edit mode. Follow the instructions in Edit area to make the appropriate adjustments etc.

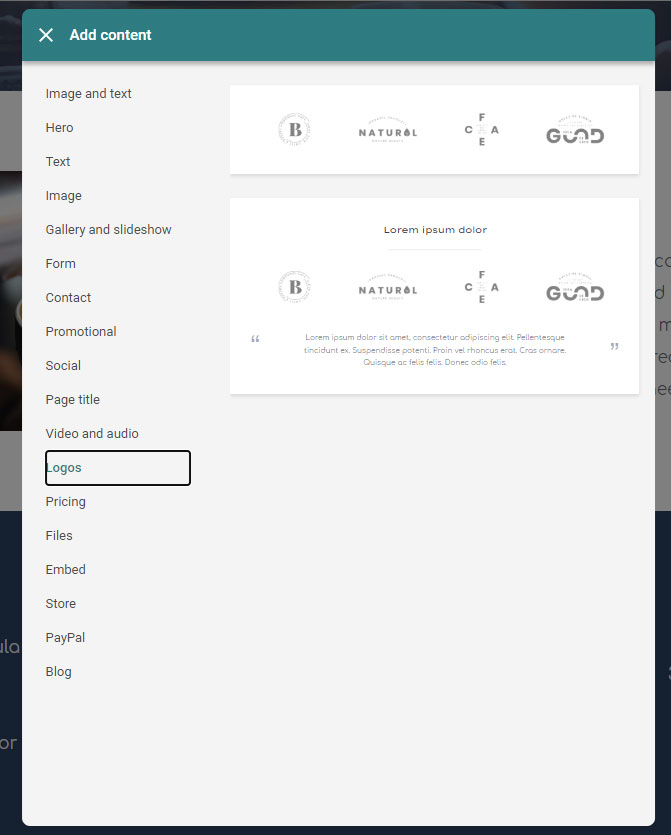
2.2.12 Logos
In this area you have several possibilities to insert an area with logos, with or without text area.
If you have chosen one of these areas, you will be automatically forwarded to the edit mode. Follow the instructions in Edit area to make the appropriate adjustments etc.
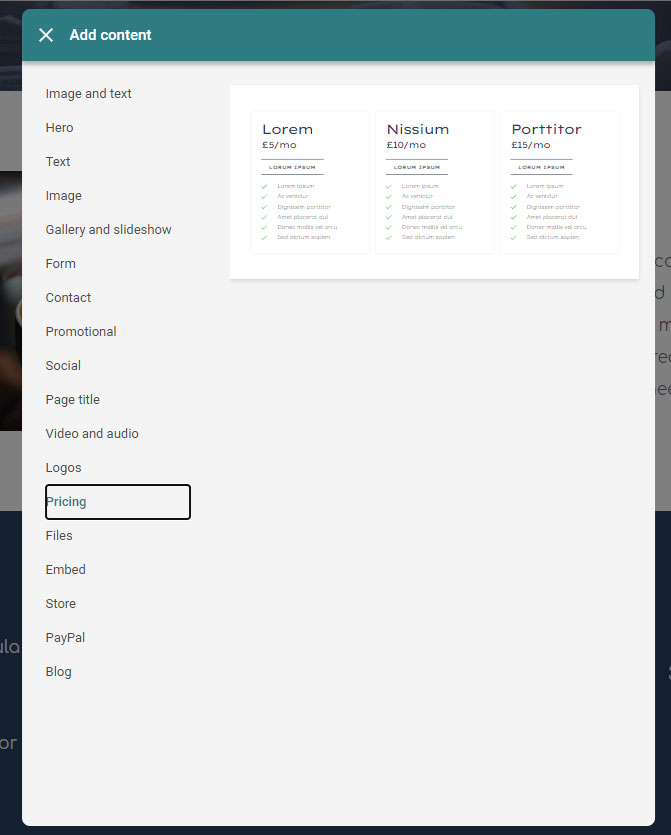
2.2.13 Pricing
Here you will find an area with 3 product areas including price display
If you have chosen one of these areas, you will be automatically forwarded to the edit mode. Follow the instructions in Edit area to make the appropriate adjustments etc.
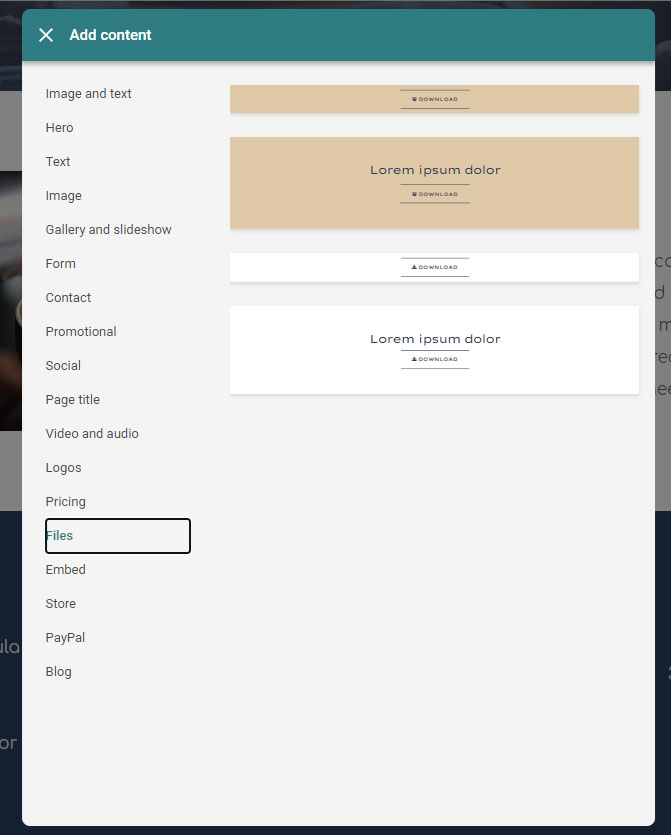
2.2.14 Files
In this section you have several options to insert a section for linking a file via a link button, with or without text area.
If you have chosen one of these areas, you will be automatically forwarded to the edit mode. Follow the instructions in Edit area to make the appropriate adjustments etc.
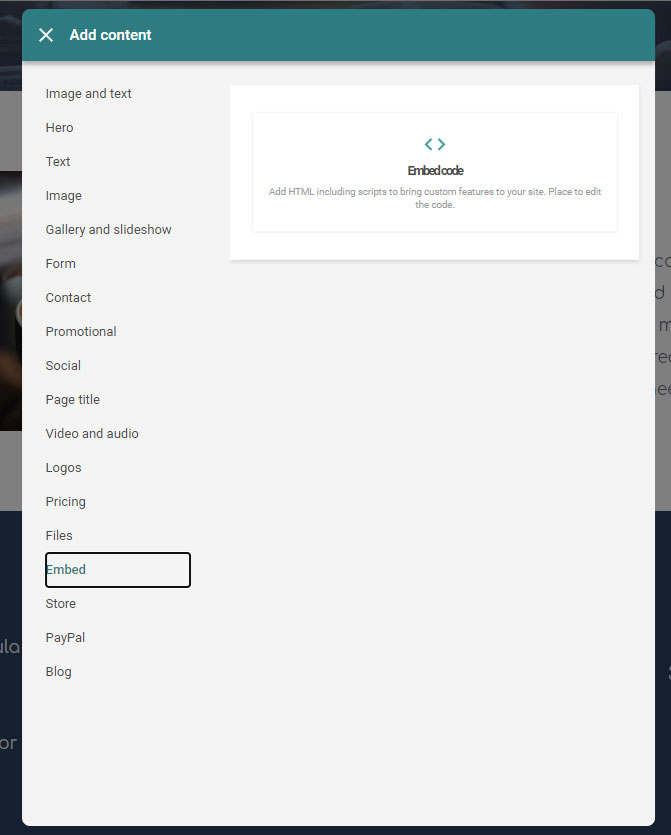
2.2.15 Embed
In this area you have the possibility to select an area to insert your own code (HTML / JS).
If you have chosen one of these areas, you will be automatically forwarded to the edit mode. Follow the instructions in Edit area to make the appropriate adjustments etc.
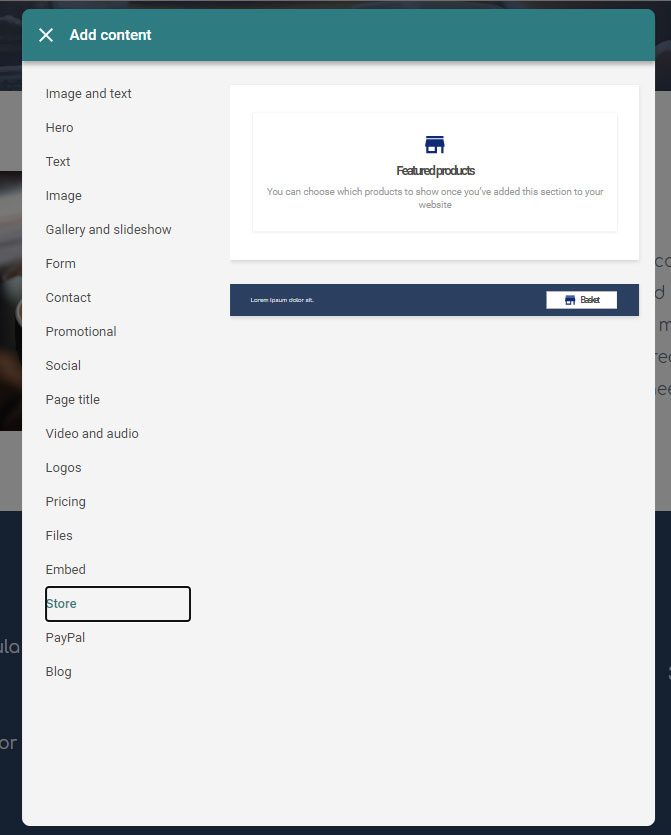
2.2.16 Store
In this area you have several possibilities to insert an area that shows either Featured products or a button area for your Store.
If you have chosen one of these areas, you will be automatically forwarded to the edit mode. Follow the instructions in Edit area to make the appropriate adjustments etc.
2.2.17 PayPal
In this section you have some possibilities to insert a section to insert a PayPal button, with or without text, with or without picture.
If you have chosen one of these areas, you will be automatically forwarded to the edit mode. Follow the instructions in Edit area to make the appropriate adjustments etc.

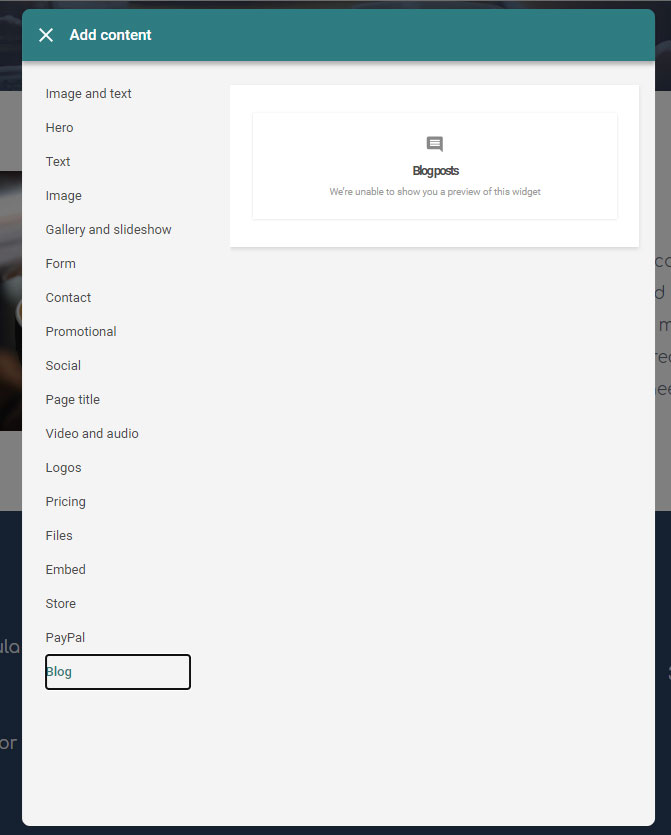
2.2.18 Blog
In this area you have the possibility to add a Blog post area.
If you have chosen one of these areas, you will be automatically forwarded to the edit mode. Follow the instructions in Edit area to make the appropriate adjustments etc.
3. Add widget
You can add new widget to any existing content area to create your own individual and personal website.
To add an additional widget, click on the 4 cubes button.

3.1 Widget selection
A popup opens with a number of individual widgets that are divided into different categories.
- Content
- Layout
- Forms
- Files
- Video and Audio
- Social
- Blog
- Store

3.2 Place widget
No matter which widget you choose, the placement always works the same.
Click with the mouse on the corresponding widget, hold the mouse button down and drag the widget to the desired content area.
3.3 Attributes & Saving
Depending on the element, the popup opens with the other, or possible, attribute settings. Adapt these to your requirements and then click on Save.
Done, the element is placed and can be edited again at any time.