Areas – Rearrange or delete
At any time on a page of your website you can rearrange the different contents and individual areas in your order or delete an individual one.
1. Navigate
After you have logged in to the Designer you will find yourself in the Designer Editor on the start page and thus in the Site editor area.
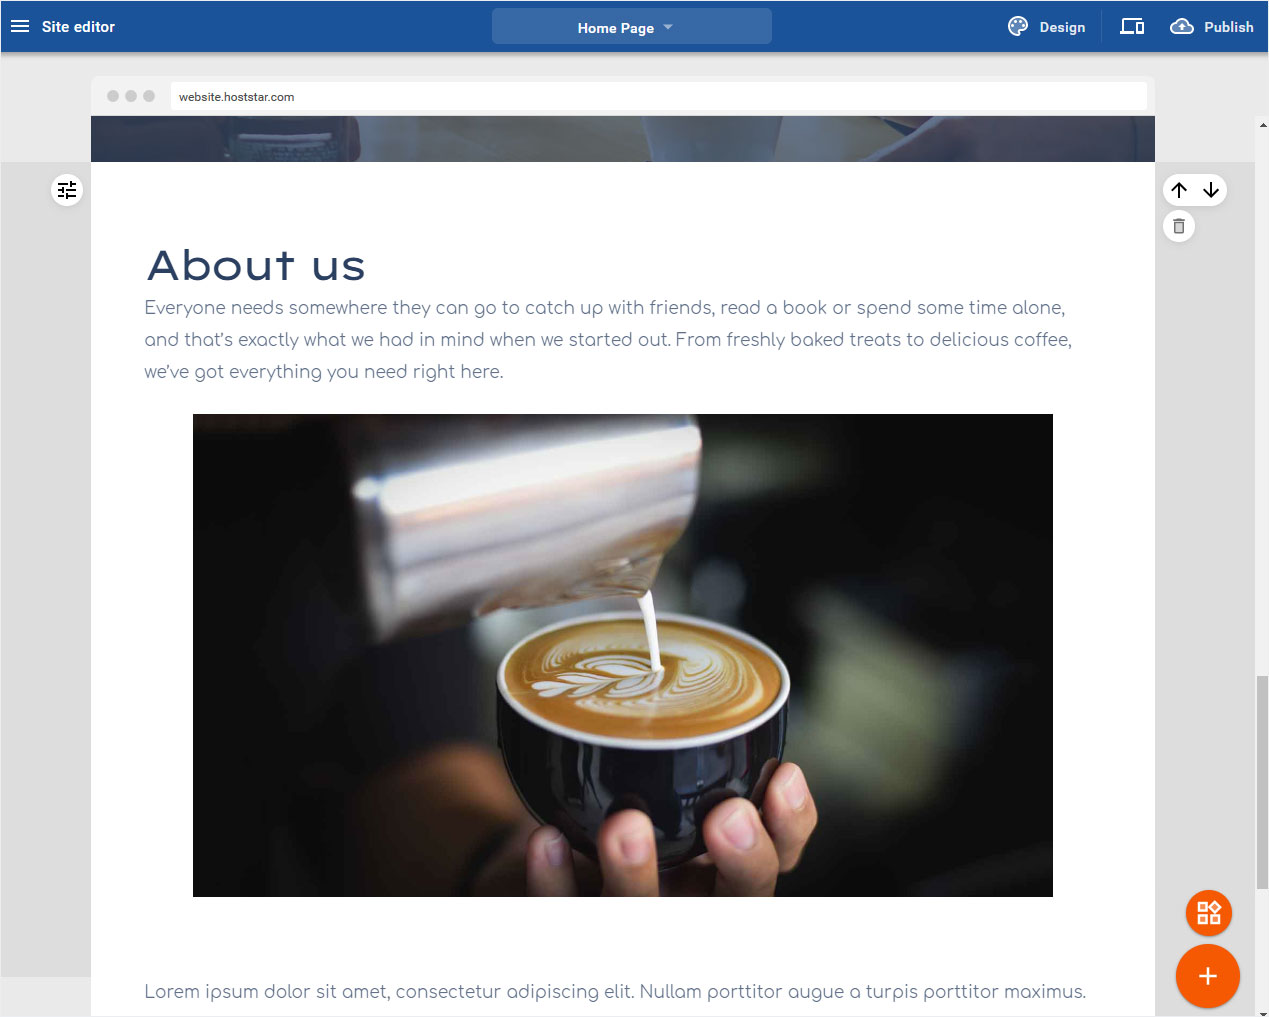
Content area
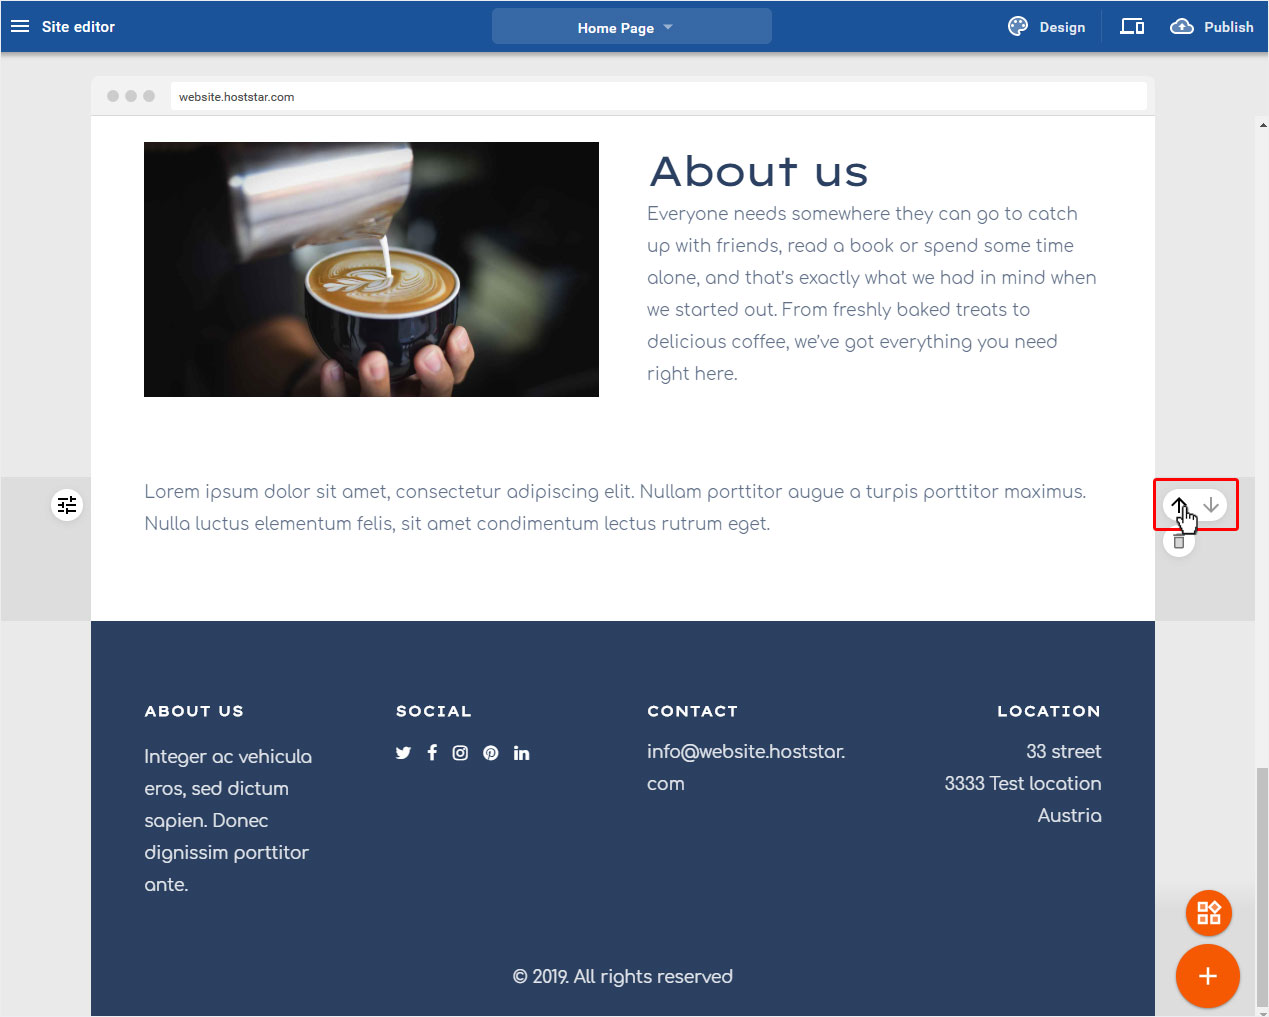
On each page of your website you will find the up/down arrow icon to the right of each content area for moving and the trashcan icon for deleting (visible when you move the mouse over a selected content area).

Header & Footer
Except for the header & footer content area. They are fixed and cannot be moved or deleted.

Individual elements
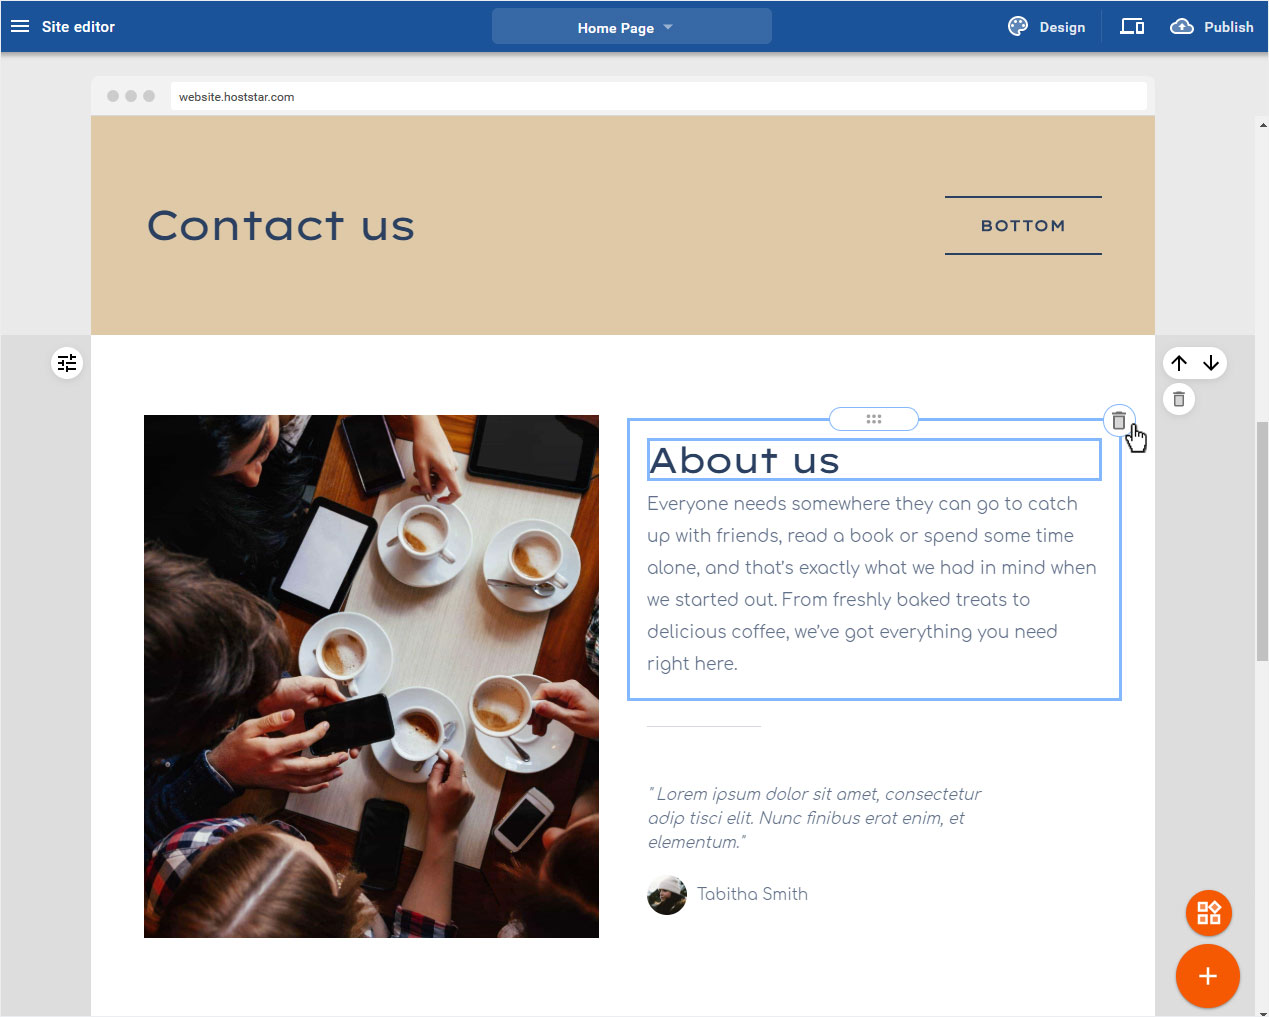
Various individual elements are possible in each content area. You can also move these elements with the 6-points icon on top of the element and delete them with the trashcan icon on the top right (visible if you move the mouse over one of the single elements).
2. Reorder or delete
You have the following options on each page:
3. Move
Elements can be rearranged and repositioned at any time, both entire content areas and individual elements. Proceed as follows:
3.1 Content area
Move the mouse over the desired content area and the up/down arrow icon for moving the area appears to the right of the area. Now choose whether it should go up or down. Press the corresponding arrow of the icon.
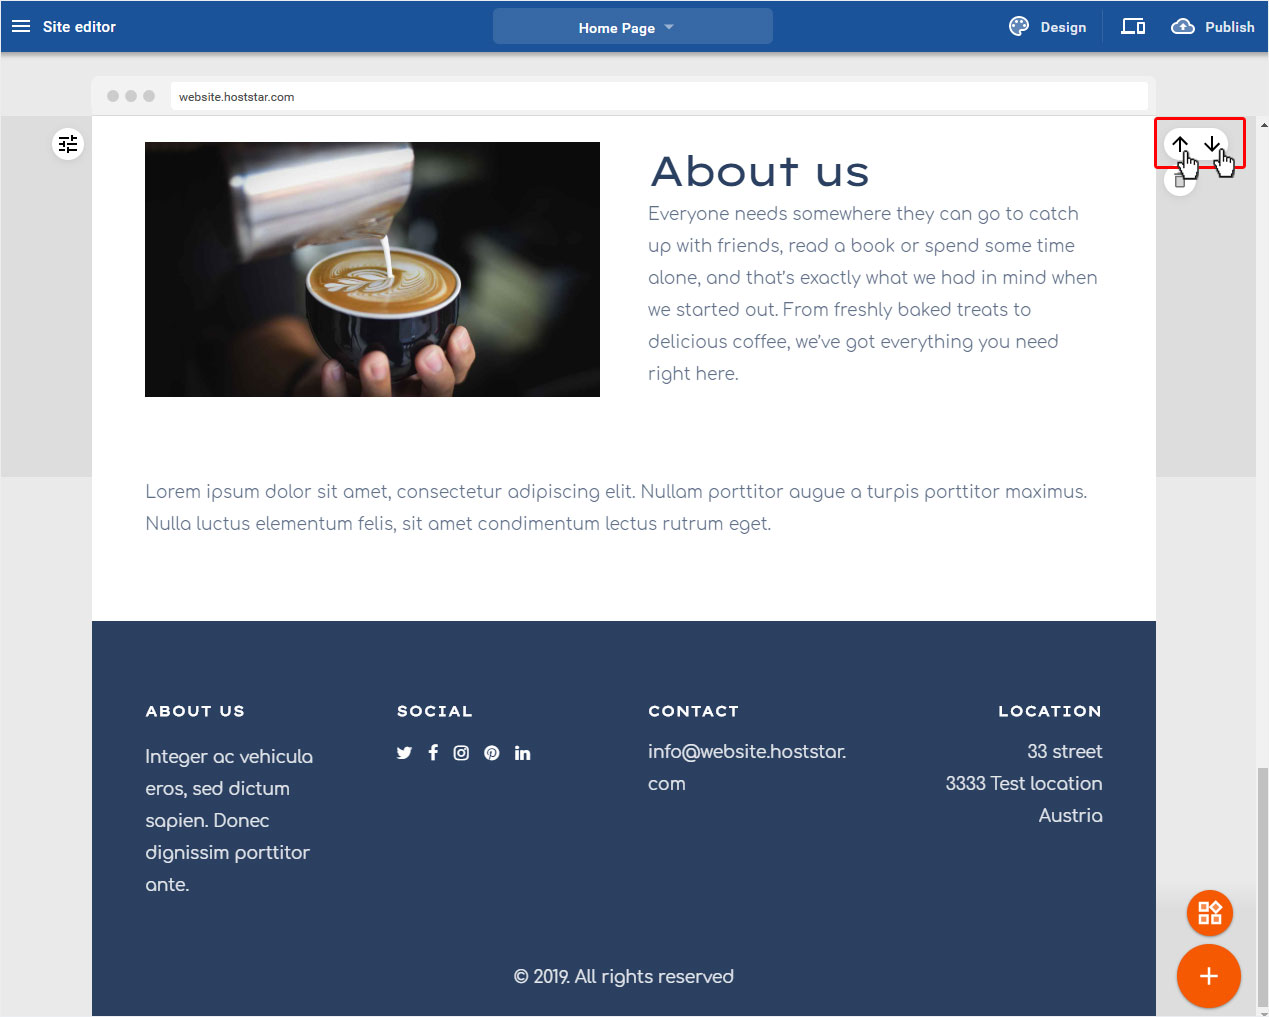
The range moves position by position until it is either the top element after the header or the bottom element before the footer. From there it can only be moved in one direction (here e.g. only upwards), because header & footer are fixed.
3.2 Individual element
Move the mouse over the desired individual element in the corresponding content area and you will see a 6-point icon for moving the area. Click and hold the mouse button and move the element to the desired new position.

The blue framed areas show you the possible positions or the positions to be selected. When you have found the desired position, release the mouse button.
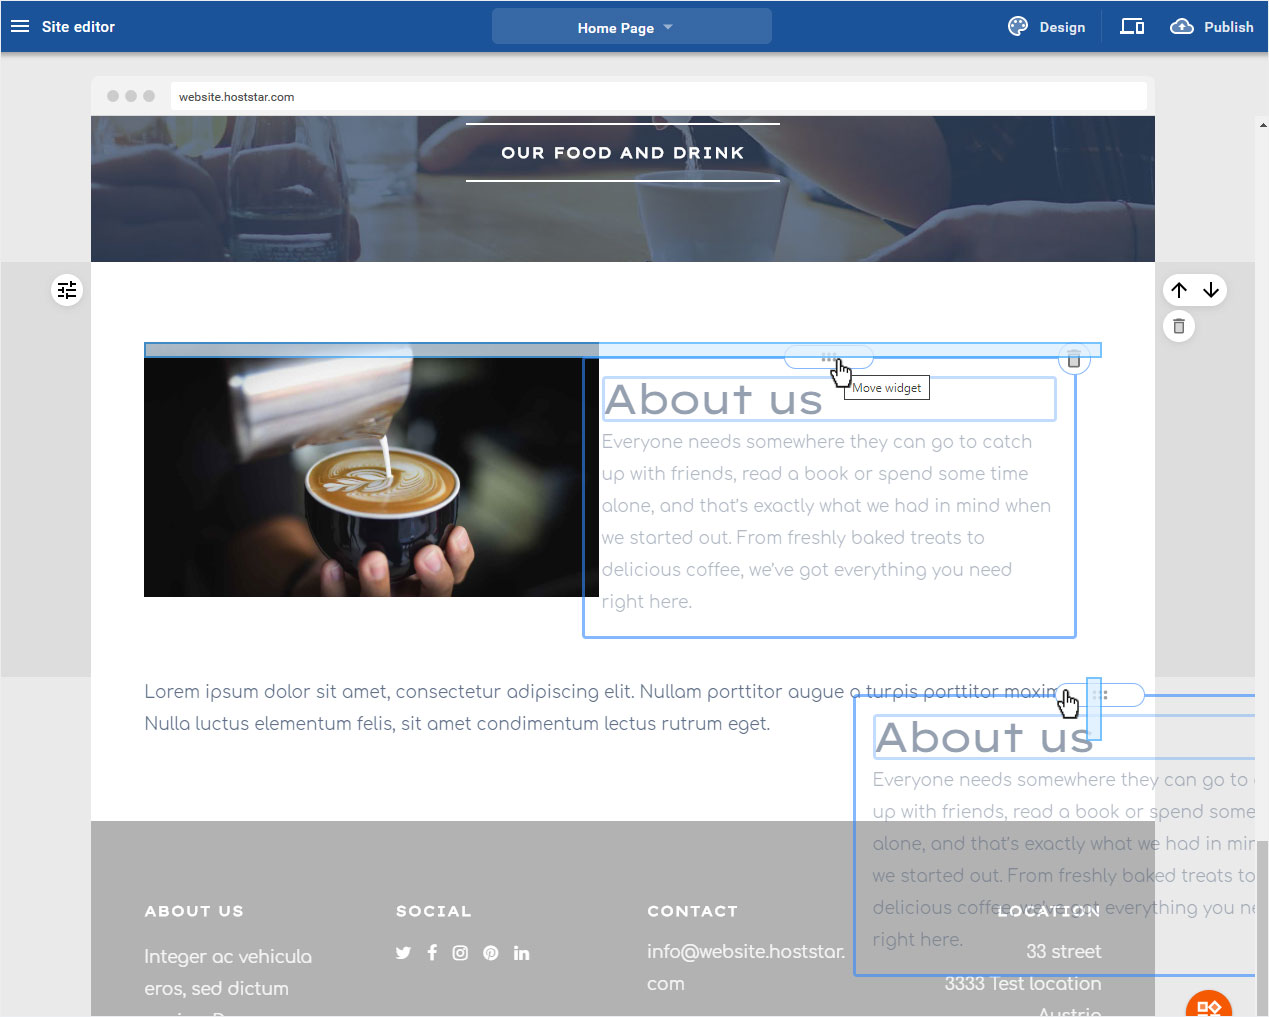
The element is immediately repositioned and the view is automatically updated.
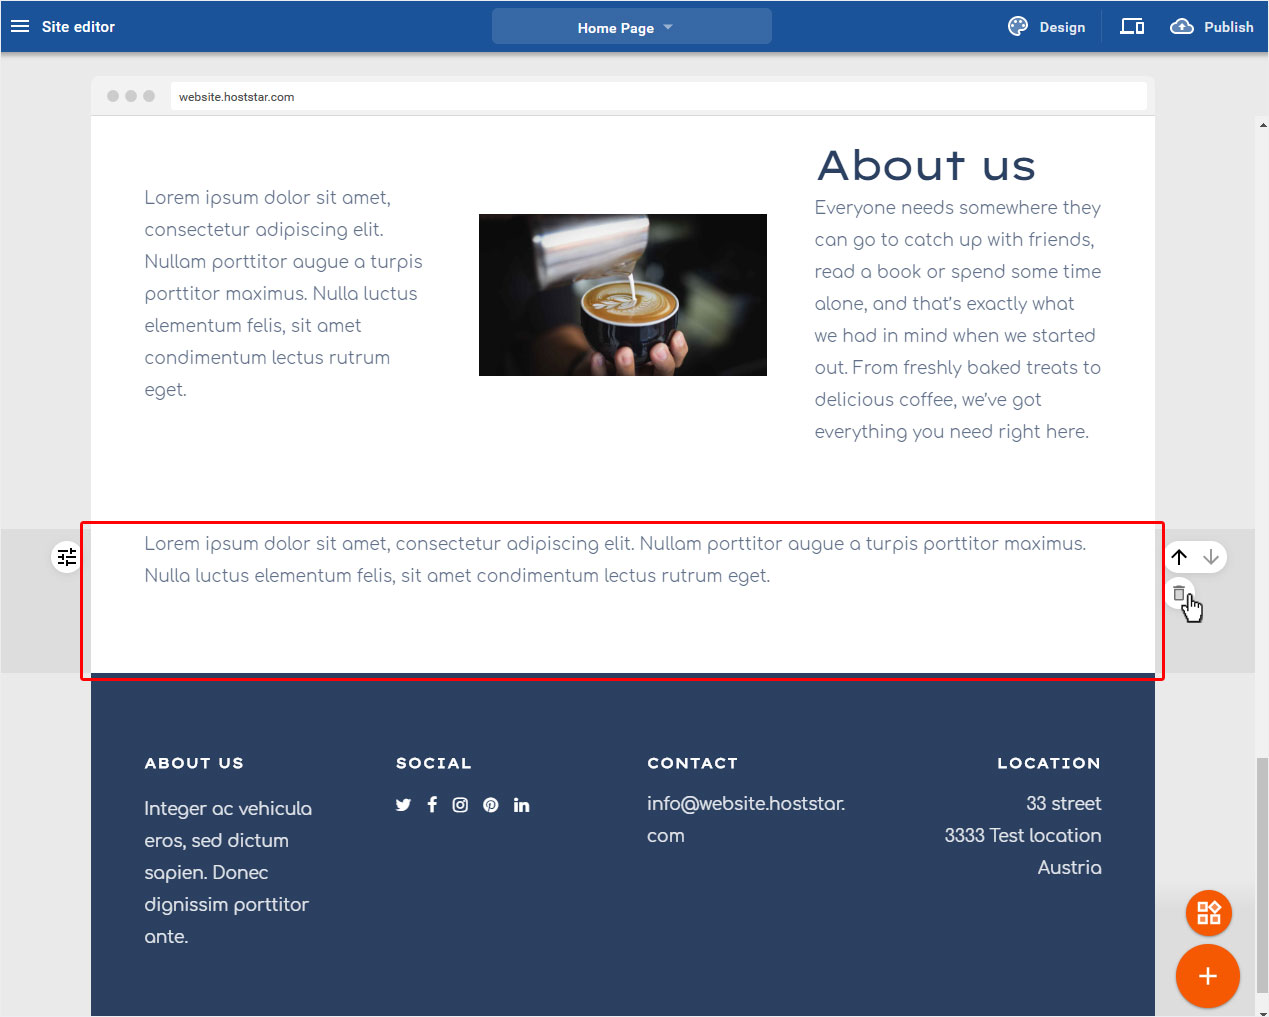
4. Delete
EElements can be completely and irrevocably deleted at any time, both entire content areas and individual elements. Proceed as follows:
4.1 Content area
Move the mouse over the desired content area and the trashcan icon for deleting the entire content area will appear to the right of the area.
Please note that if you click on the trashcan icon, this content area will be deleted immediately and irrevocably. Are you sure you want to delete the entire content area? Maybe it would be enough to remove a individual element.
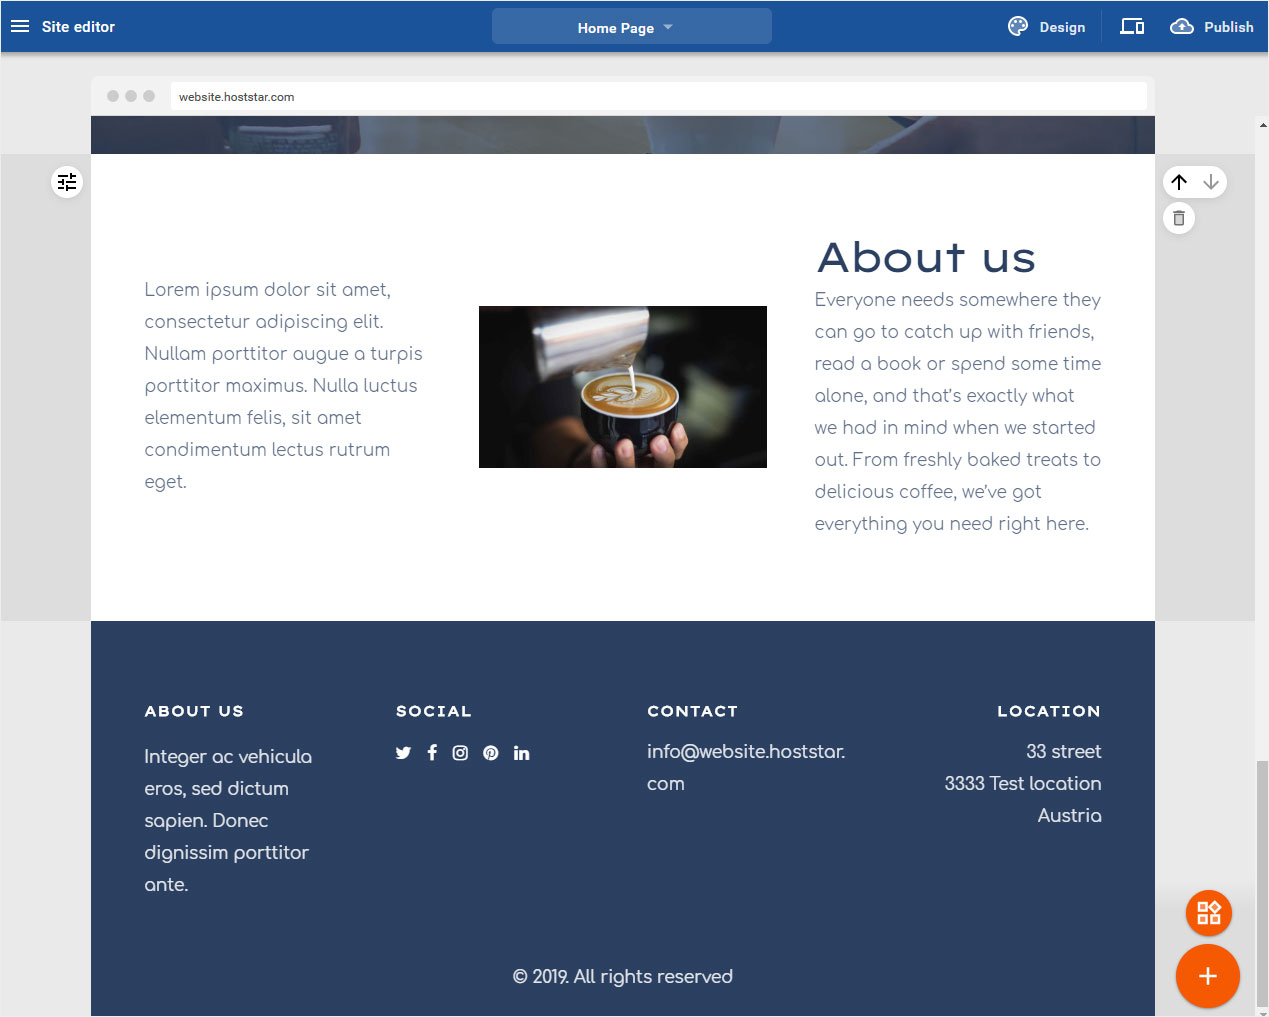
If you want to remove the content area permanently, click on the trashcan icon. The area will be deleted immediately and the view will be updated automatically.
3.2 Individual element
Move the mouse over the desired individual element and the trashcan icon for deleting the entire content area will appear to the right of the area.

If you want to remove this individual element permanently, click on the trashcan icon and confirm in the popup by clicking on the button Yes, I'm sure.. The element will be deleted immediately and the view will be updated automatically.
