Start the Store
Hoststar Designer includes a Store section, which is a comprehensive e-commerce module for creating your own website and online store in no time.
To use the Store module, you must first configure the main store settings. After you have logged into Designer, follow these steps:
1. Navigate
You begin on the home page of Designer's editor and are thus in the Site editor view. Click left on the menu item Store.

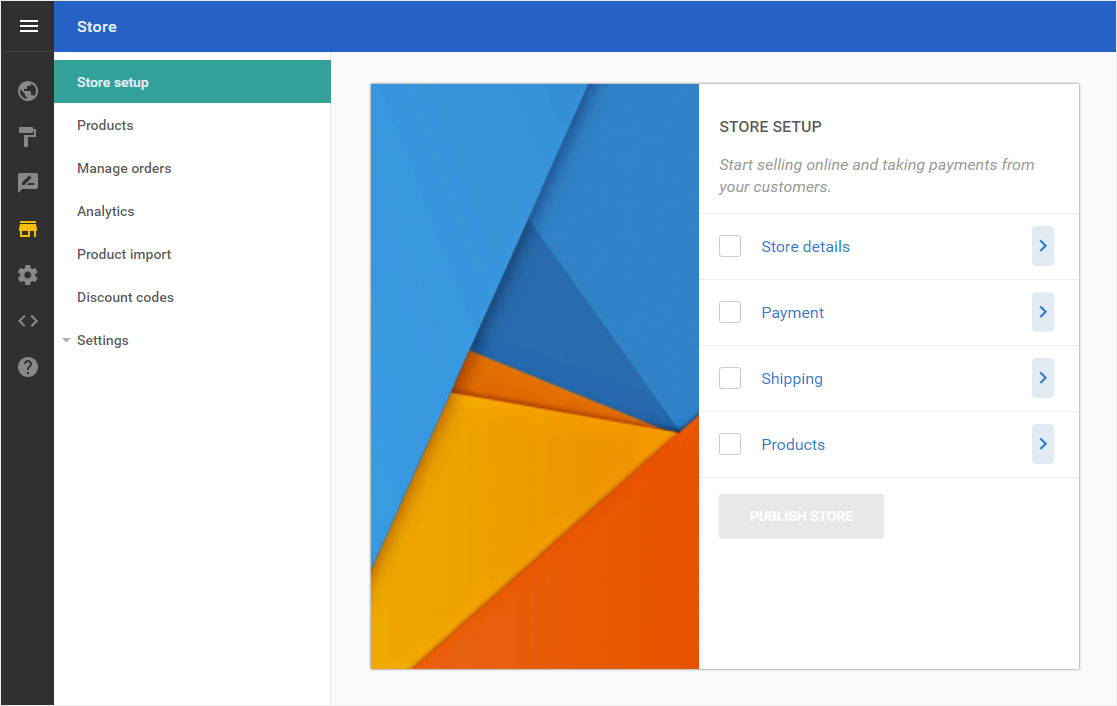
2. Setup store - Start page
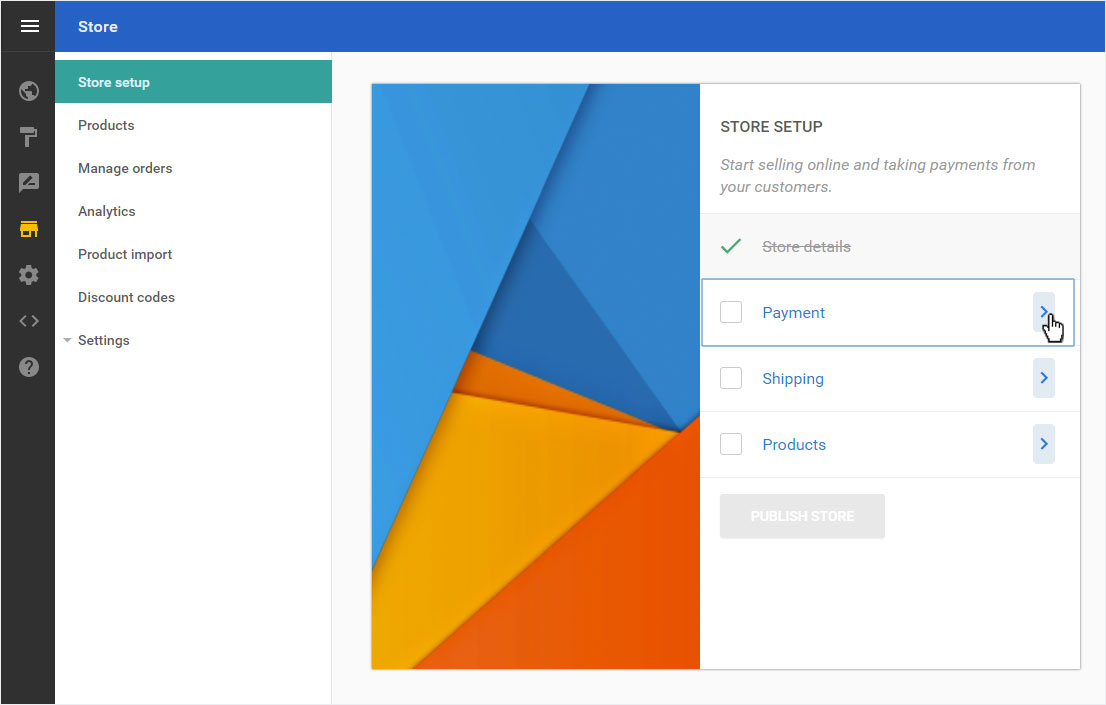
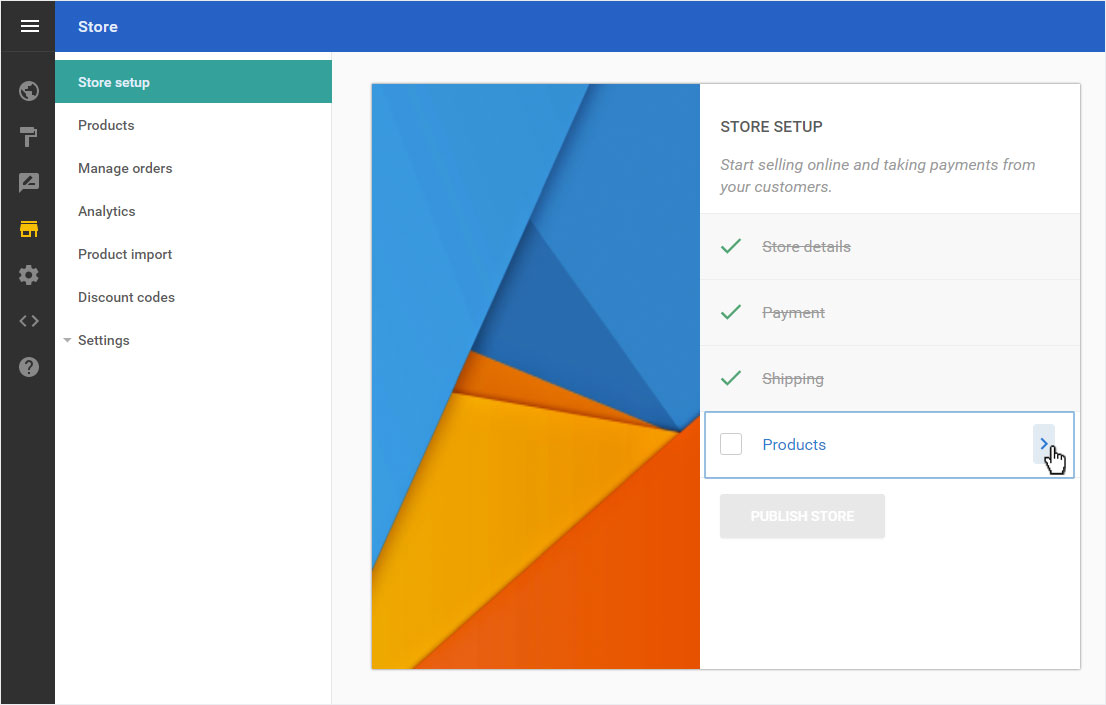
You will be redirected to the Store setup page. To set up your store go through the 4 steps in sequence:
When you have completed these 4 steps, the button Publish store is activated.
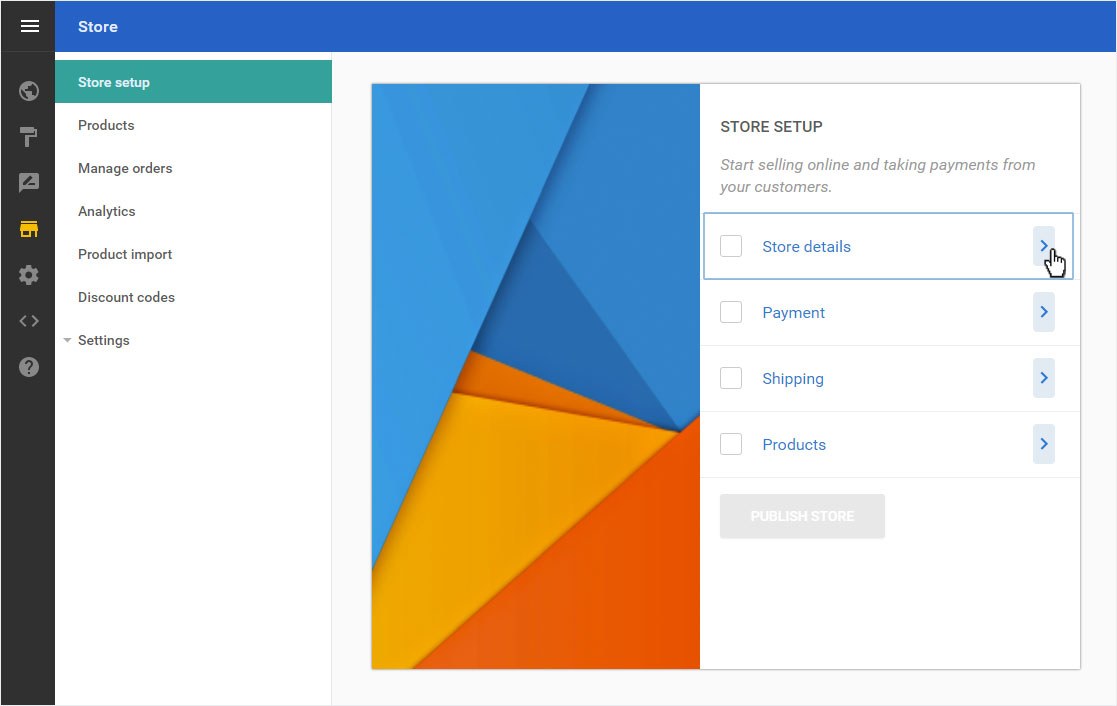
3. Setup store - Store details
Start by clicking on the arrow-symbol to define the store details.
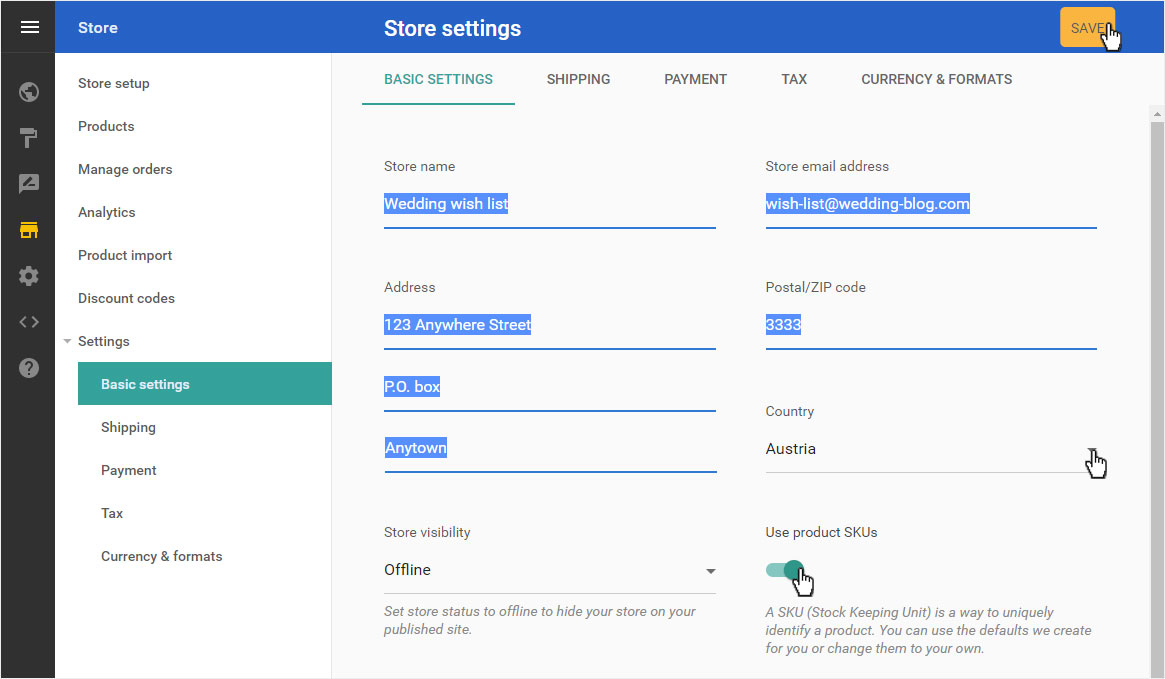
You will be directed to the basic settings area of the store module. Enter the following information:
- Store name - clear and simple description of your business
- Store email address - about which the customers can contact you later
- Address, Postal/ZIP code & Country - Postal address of your store or company
- Store visibility - choose whether the store is visible (online) or not (offline) - Note, that at least one payment option must be available so that you can place the store online!
- Use product SKUs - enter the products with or without article number
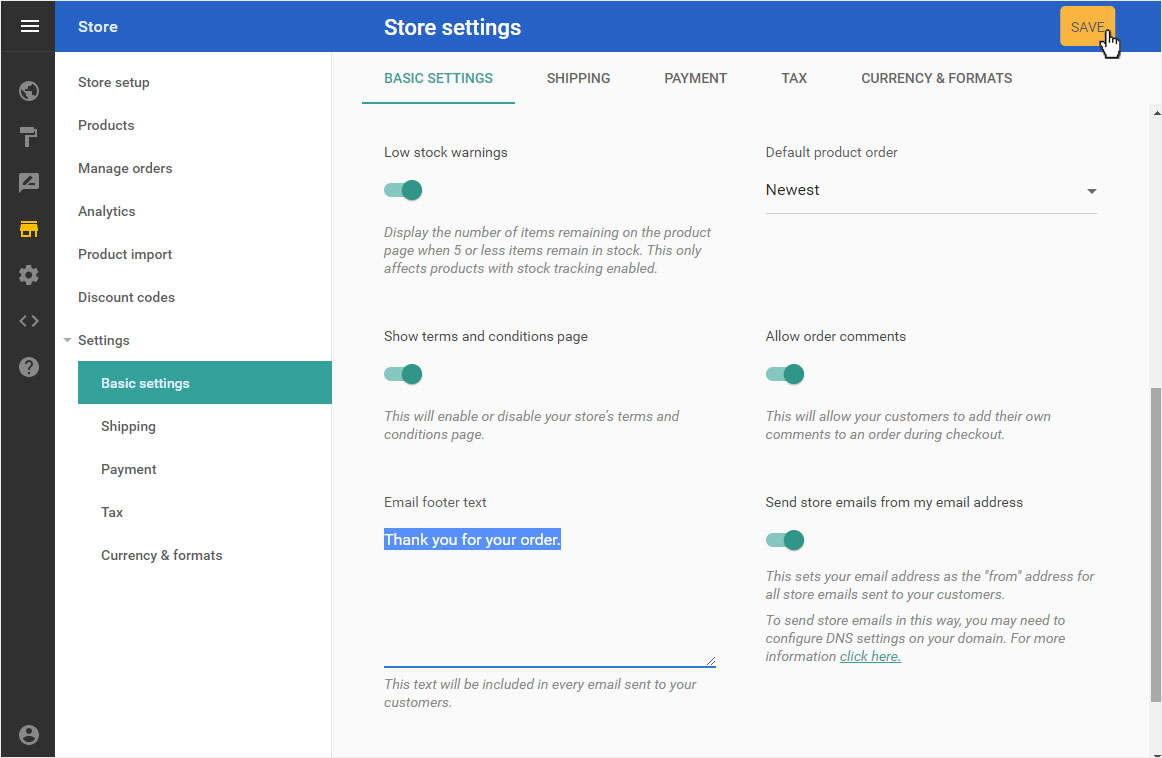
Scroll down and continue with the 2nd part of the basic settings:
- Low stock warnings - activate or deactivate, only works with active warehouse tracking
- Show terms and conditions page - activate or deactivate
- Email footer text - This text will be added to every e-mail to your customers
- Default product order - Choose from Newest, by Title or by Price
- Allow order comments - activate or deactivate
- Send store emails from my email address - activate or deactivate
Secure your entries by clicking on the Save button.
You can make changes at any time later, in the Store area under Settings and then under Basic settings.
4. Setup store - Payment
You will immediately be redirected to the Store setup page.
Continue adding the payment details by clicking on the arrow symbol.
You will be directed to the payment settings area of the store module. Select the required payment providers and enter the required information.
- Bank transfer - Account data for the transfer
- PayPal - Add account link
- stripe - Add account link
- 2CHECKOUT - Add account link
- worldpay - Add account link
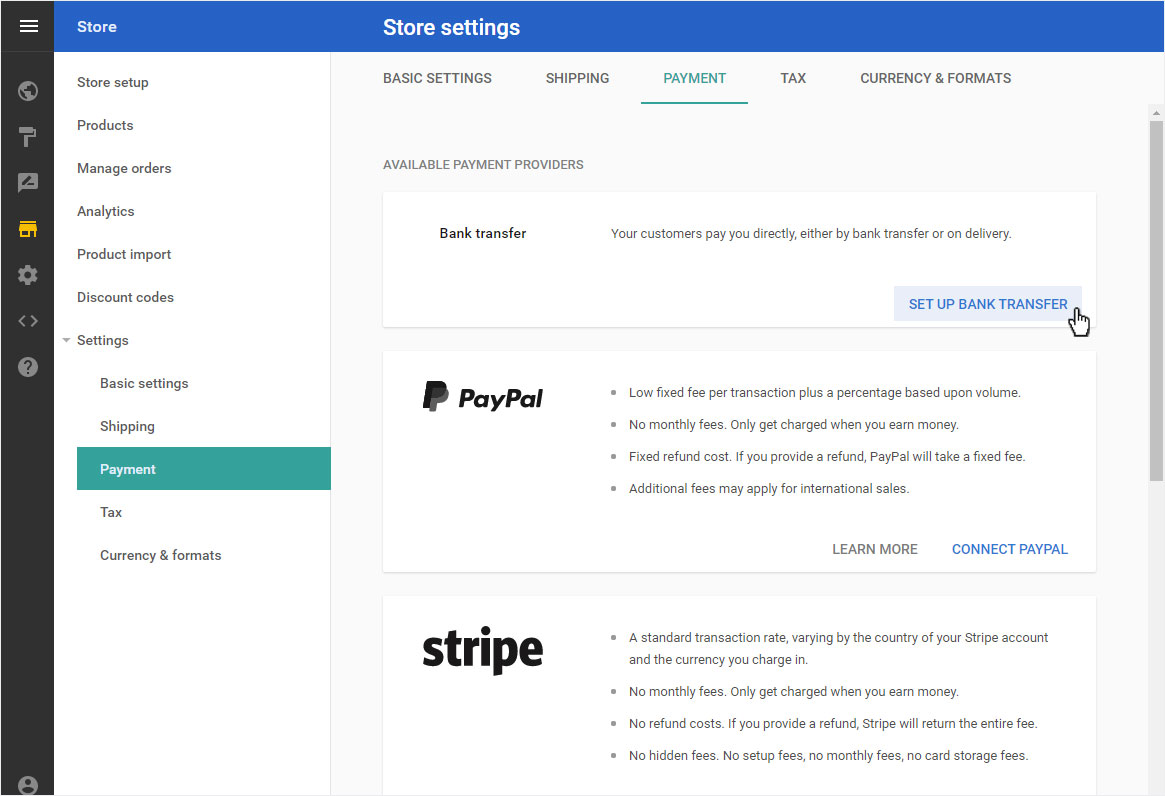
For the Bank Transfer enter the necessary information in the text field and click on Save.
You will then be directed immediately to the Store setup page.
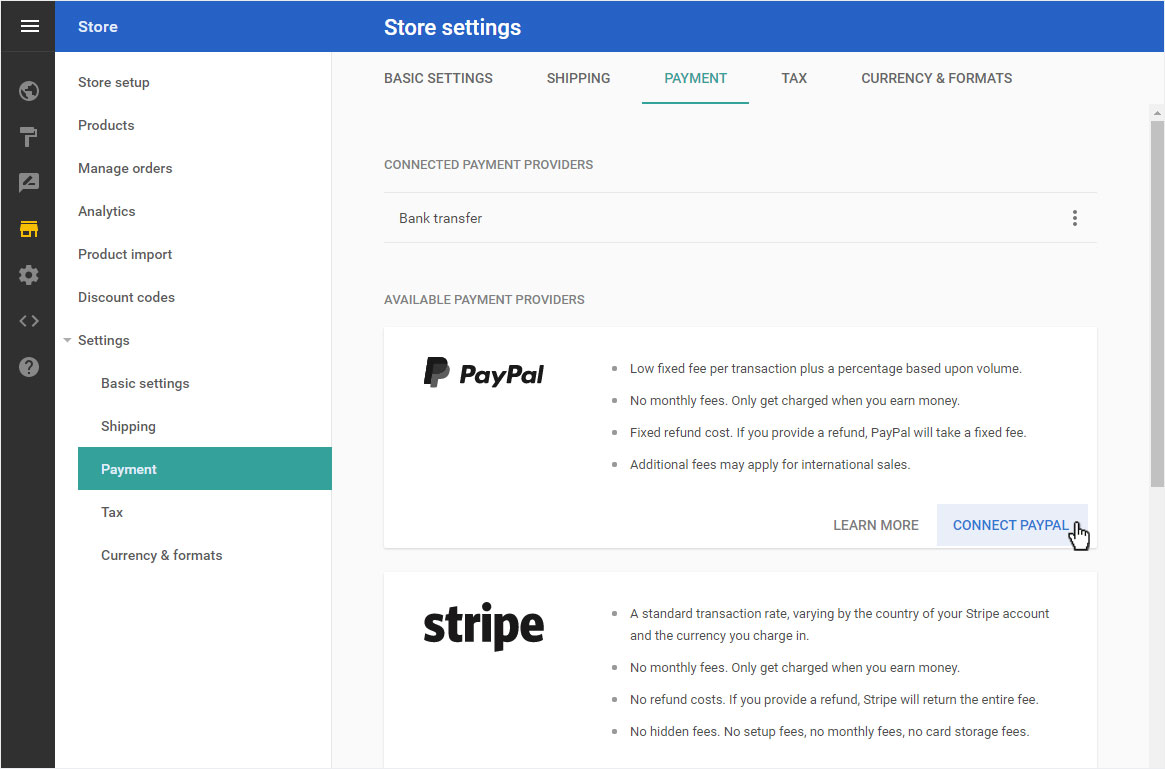
To enter another payment method, simply click on Payment again, even if this point is already ticked off.
Now select e.g. Paypal. Enter the necessary data on the provider side.
You can carry out further activations at any time in the Store area under Settings and then under Payment.
Please note, however, that at least one payment option must be deposited in order for you to be able to publish your store.
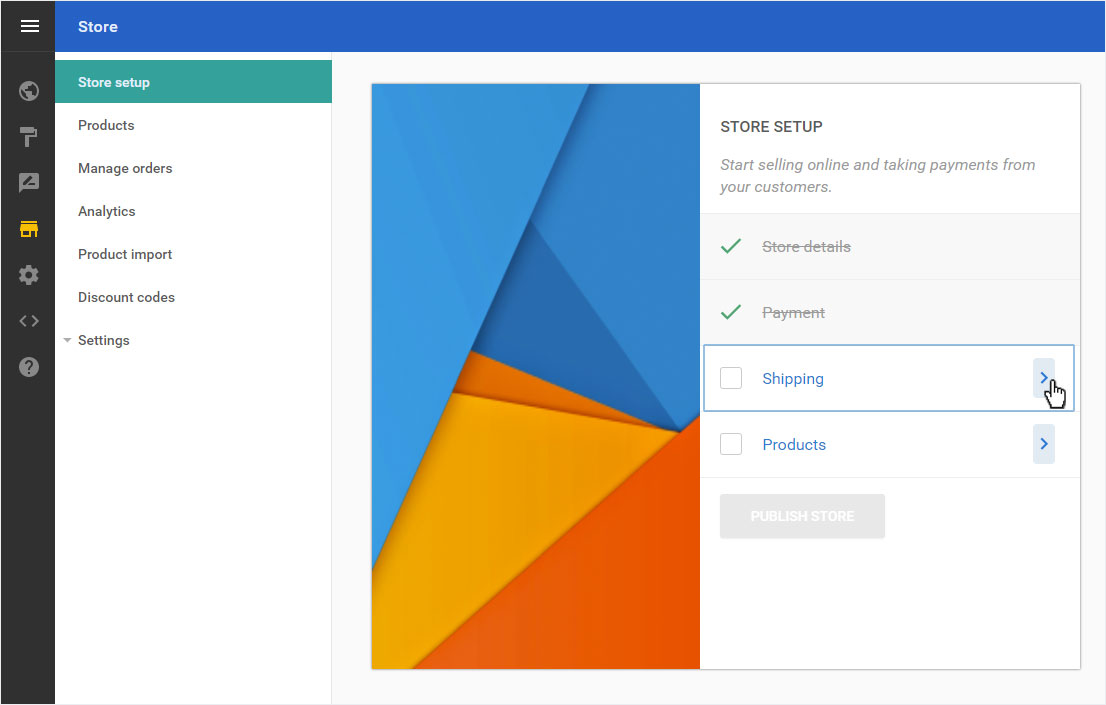
5. Setup store - Shipping
You will immediately be redirected to the Store setup page.
Continue adding the shipping details by clicking on the arrow symbol.
In this step you can enter the desired shipping cost settings. Click on Add shipping rate.

Now enter the required specifications:
- Shipping rate name - clear designation
- Country - for which this shipping method can be selected
- Courier - name of the institution making the delivery
- Estimated delivery time - depending on shipping method and courier
- Shipping cost - Set Price (To adjust the currency of the shipping costs, select Settings and then Currendy & formats.)
- Apply rate based on weight - activate or deactivate and add detailed information as required
Then click on Save.

You will then be taken to the Shipping overview.
If you click the three-point symbol for a shipping method, a menu opens. Here you can edit the Edit shipping rate, the shipping method set as default rate or you can Delete them.
To be able to define a shipping method set as default rate", you must have more than one shipping method to choose from.
Please note, that at least one shipping type or cost must be defined so that you can continue.
You can make changes later at any time, in the Store area under Settings and then under Shipping.
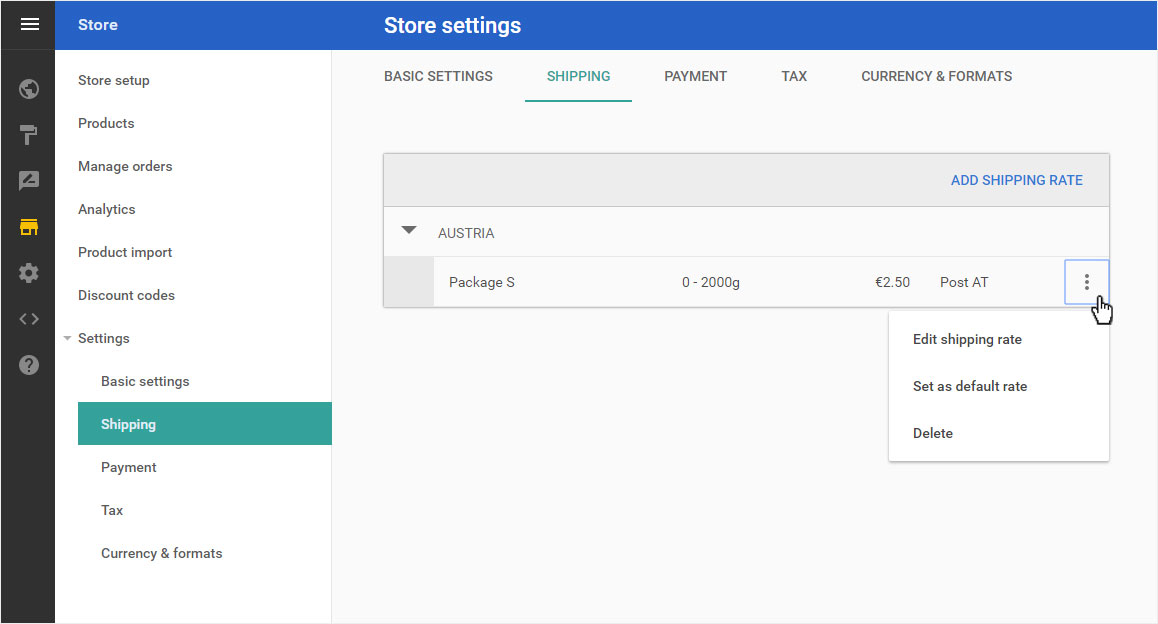
The new shipping costs will be displayed immediately. The default shipping method is indicated by a yellow asterisk.
If an incorrect currency or weight unit is displayed, you can adjust it later in the Store area under Settings and then under Currency & formats.

6. Setup store - Products
If you are not automatically redirected to the Store setup page, click on Store setup in the shop menu on the left.
Continue adding the Products by clicking on the arrow symbol.
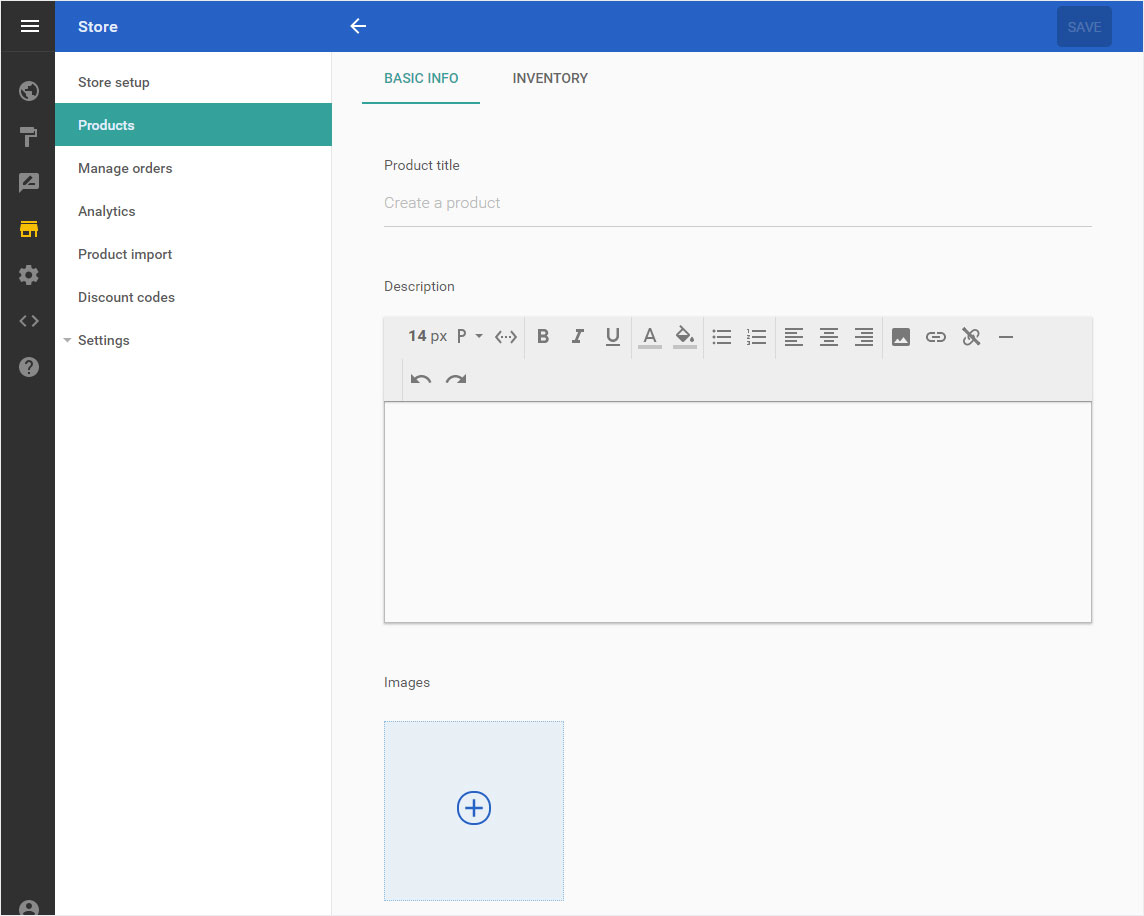
You will be automatically redirected to the area Products - Create products.
Enter the desired article - Detailed instructions can be found here Add product.
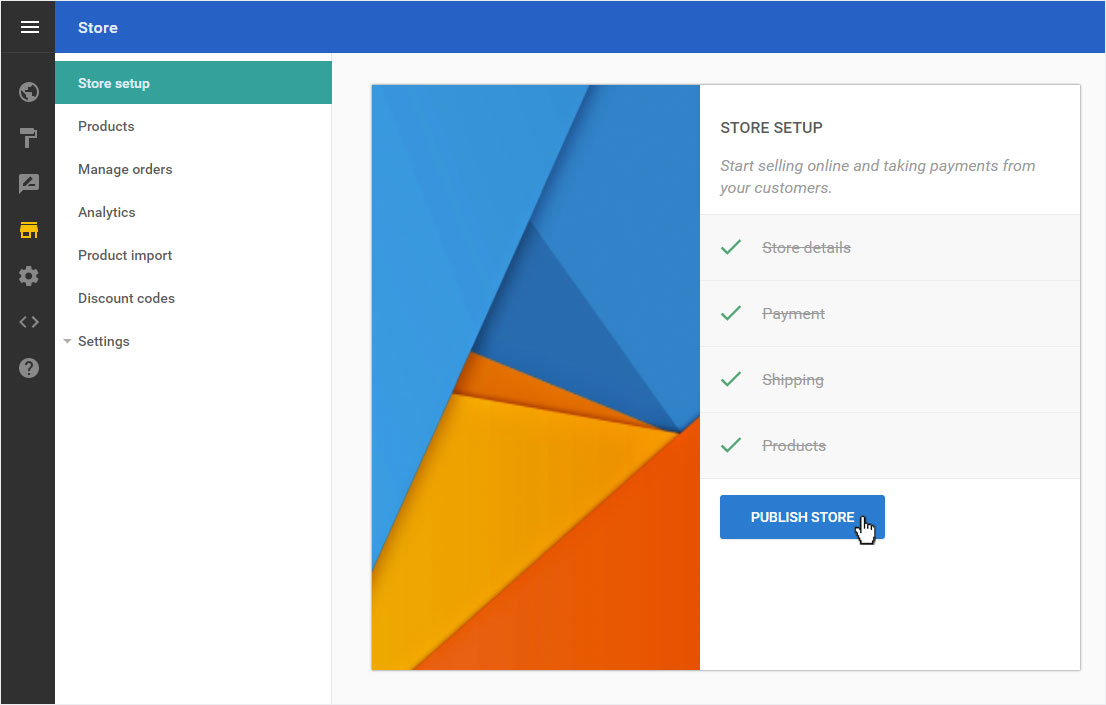
7. Publish shop
If you are not automatically redirected to the Store setup page, click on Store setup in the shop menu on the left.
On the overview page that now appears, the 4 steps should now be marked as completed. The button Publish store is now active.
To change the status of your shop from Offline to Online click on the button Publish store.
The shop will be published immediately (see Settings - Basic settings - Store visibility).
You will immediately be directed to the Products menu item and here to the Overview page.
You can now add further products or the details under Manage settings.
