Add content
There are many elements available to you for designing your websites. You can drag and drop these elements to position them wherever you want in the content area.
After logging into Designer, follow these steps:
1. Navigate
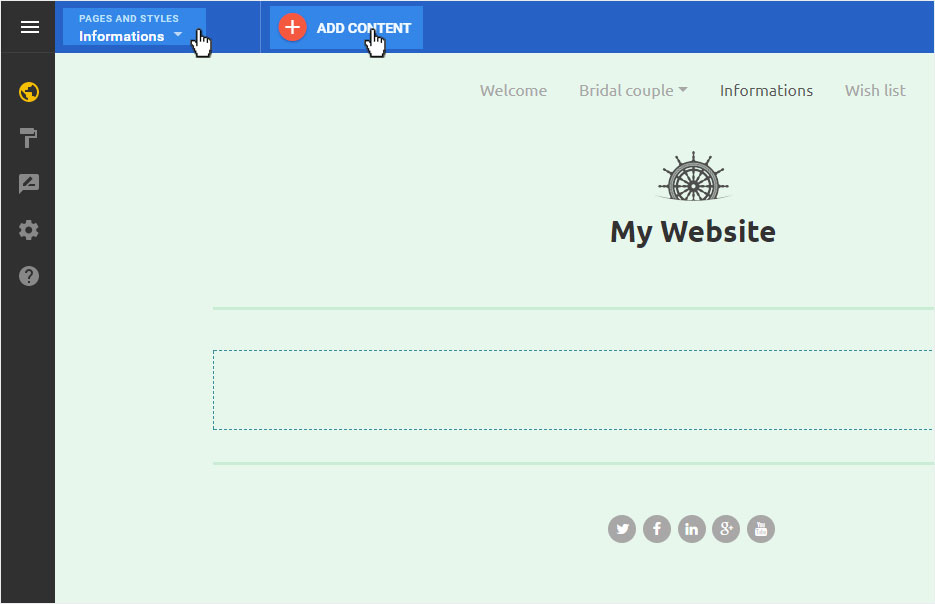
You begin on the home page of Designer's editor and are thus in the Site editor view.
To get to the desired page, click on Pages and Styles on the blue header bar. Select the desired page.
Next, click the menu item Add Content or the plus symbol in the red circle.
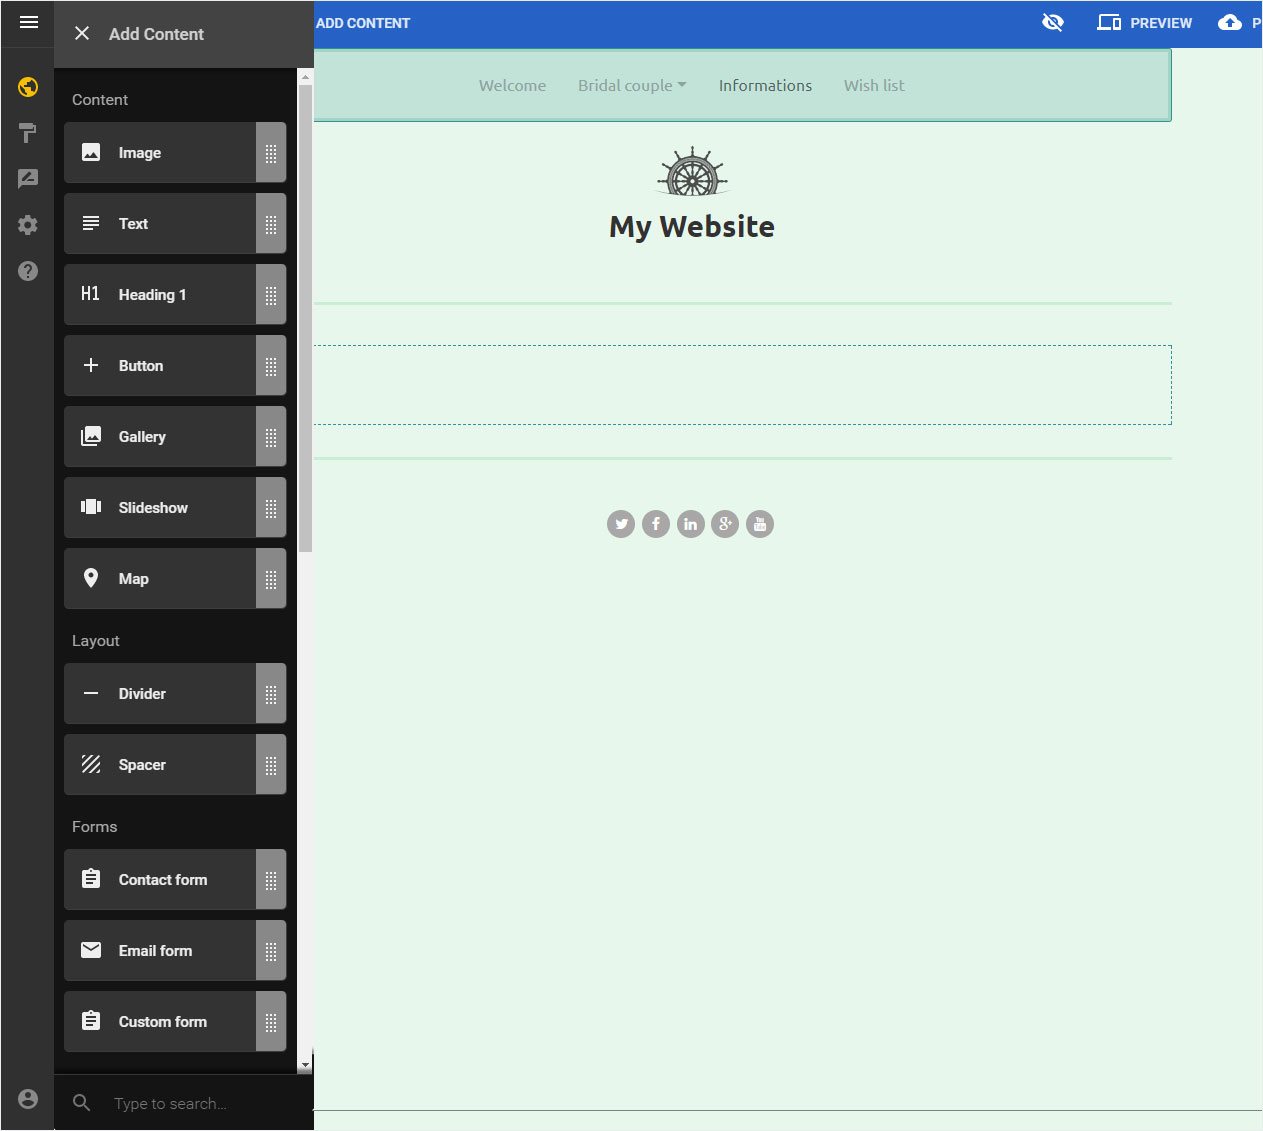
2. Display content menu
A menu with a scrollbar opens. Here you have more or less elements (depending on the Designer subscription) available.
You can now insert the desired element in the content area using drag & drop.
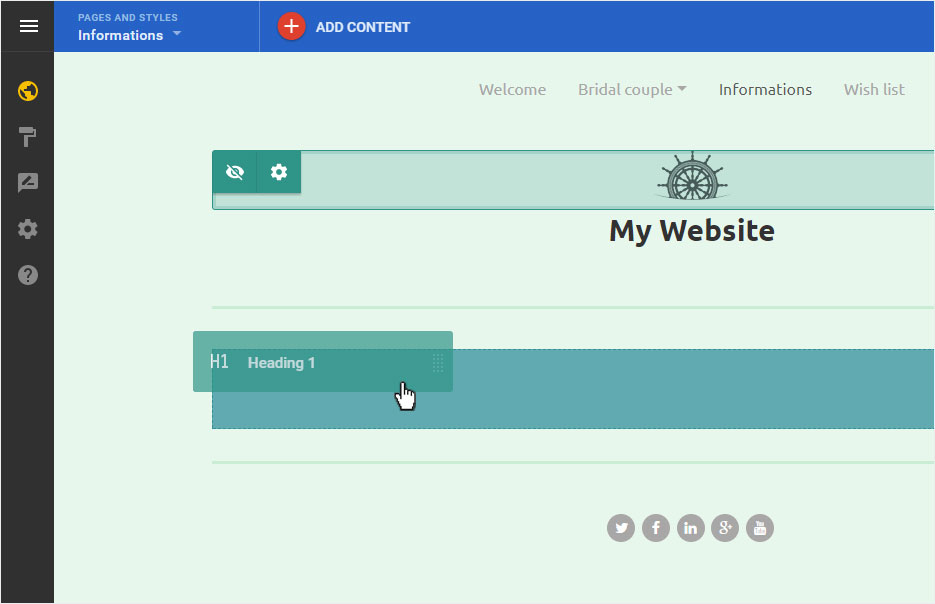
3. Content elements
The following content elements are now available here, which you can position at any place within the content area of the page:
Content:
- Image: A graphic.
- Text: A paragraph of text (corresponds to a <p>-tag in HTML).
- Heading: A large heading (corresponds to a <h1>-tag in HTML).
- Button: A button can be used to link to an internal or external location or to an email address.
- Gallery: Represents uploaded images in a picture gallery. You can immediately upload the desired graphics in a popup
- Slideshow: Represents uploaded images in a slideshow. You can immediately upload the desired graphics in a popup.
- Map: A map from Google Maps. You can change the address to be displayed, the zoom factor and the height of the element by clicking on it.
Layout:
- Divider: A separator bar (corresponds to a < hr /> tag in HTML) for visually separating content on the page.
- Spacer: A freely changeable blank space with which you can structure the contents of a page optically.
Forms:
- Contact form: A simple contact form where you can freely define the email title, button text, style, recipient address and success page.
- Email form: A form to enter an e-mail address.
- Custom form: A form to enter an e-mail address, which you can extend with additional fields.
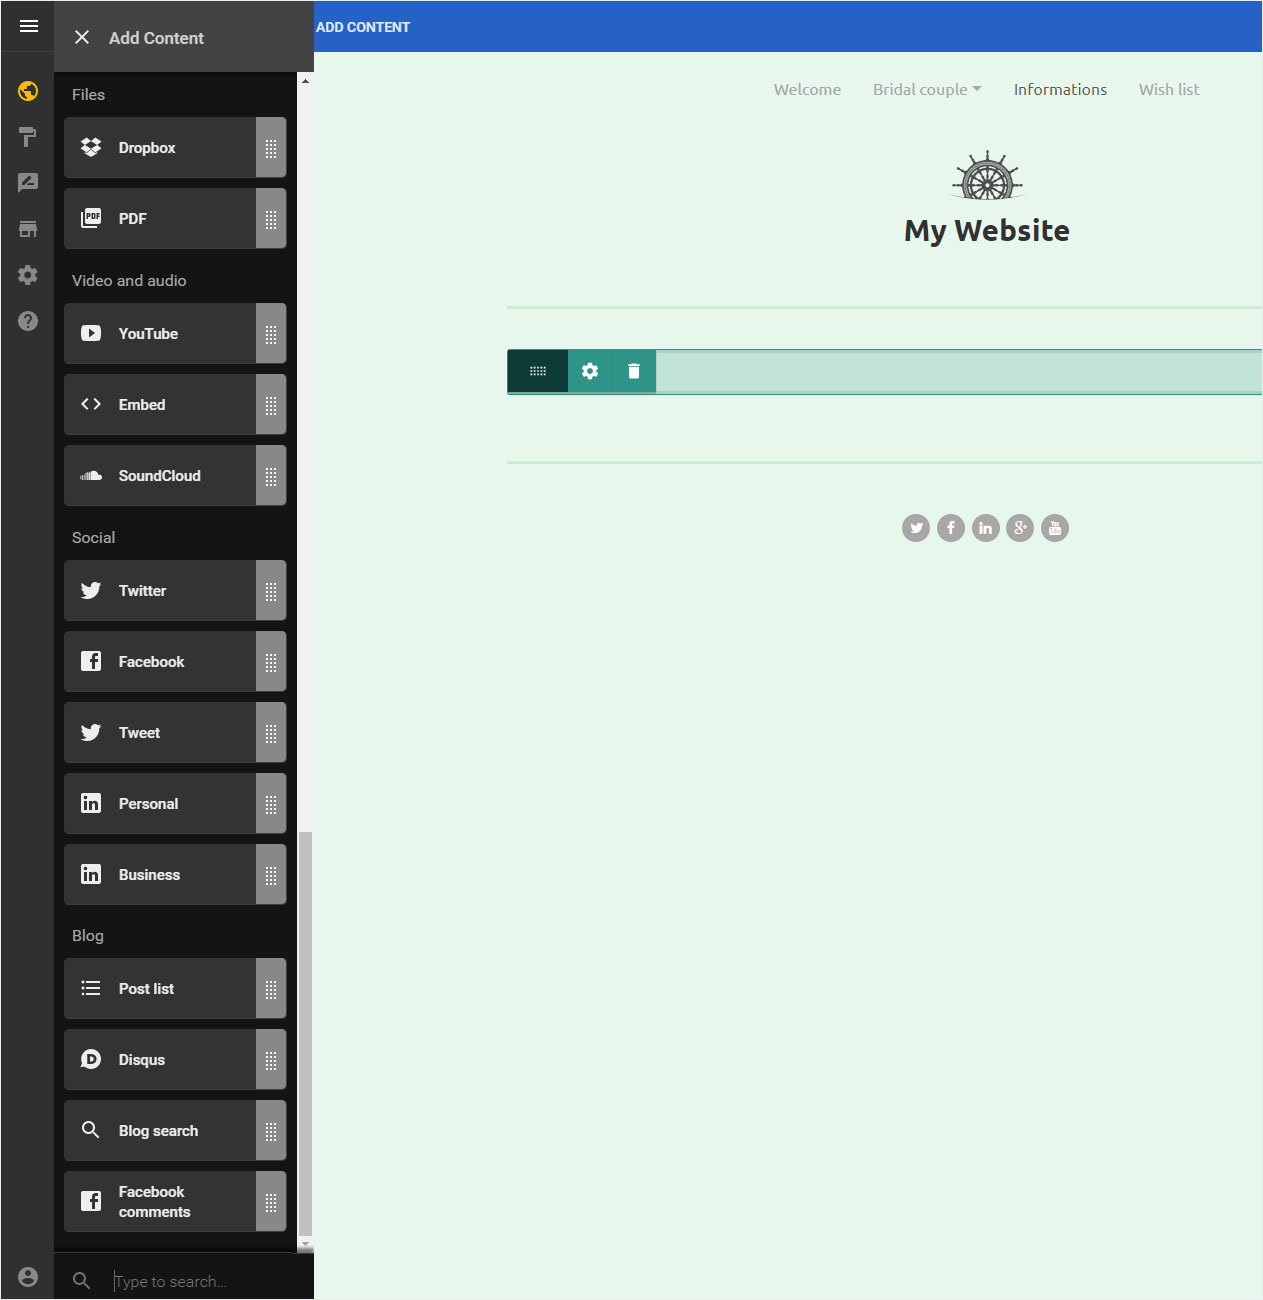
Files:
- Dropbox: Link any dropbox link on your page.
- PDF: Upload PDF files with a simple click and place them on the page using the download button.
Video and audio:
- YouTube: Embed any YouTube video into your site.
- Code¹: An element where you can insert HTML and JavaScript code of your choice. For example, to integrate external widgets.
- SoundCloud: Embed any audio content from SoundCloud.
Social:
- Twitter: A widget to integrate the latest tweets of a Twitter profile.
- Facebook: A widget to recommend the respective page on Facebook (share function).
- Tweet: A widget to recommend the respective page on Twitter.
- Personal: A widget to your private LinkedIn profile.
- Business: A widget to your business LinkedIn profile.
Blog:
- Post list: Lists the blog articles you can create in the blog feature.
- Disqus: A widget for inserting a DISQUS discussion.
- Blog search: A search function for the blog articles you have created in the blog feature.
- Facebook comments: Facebook plugin for comments.
Shop¹:
- Paypal²: Adds a field where you can enter the product name, product price, shipping costs, button text, orientation and the PayPal settings (email account & currency). You will then receive the desired Buy PayPal now button.
- Products list¹: Adds articles from your shop.
- Featured products¹: Adds articles from your shop according to the chosen keyword. Select the keyword, the text above the selection and the number of items displayed.
- Categories¹: Adds the defined categories of your shop.
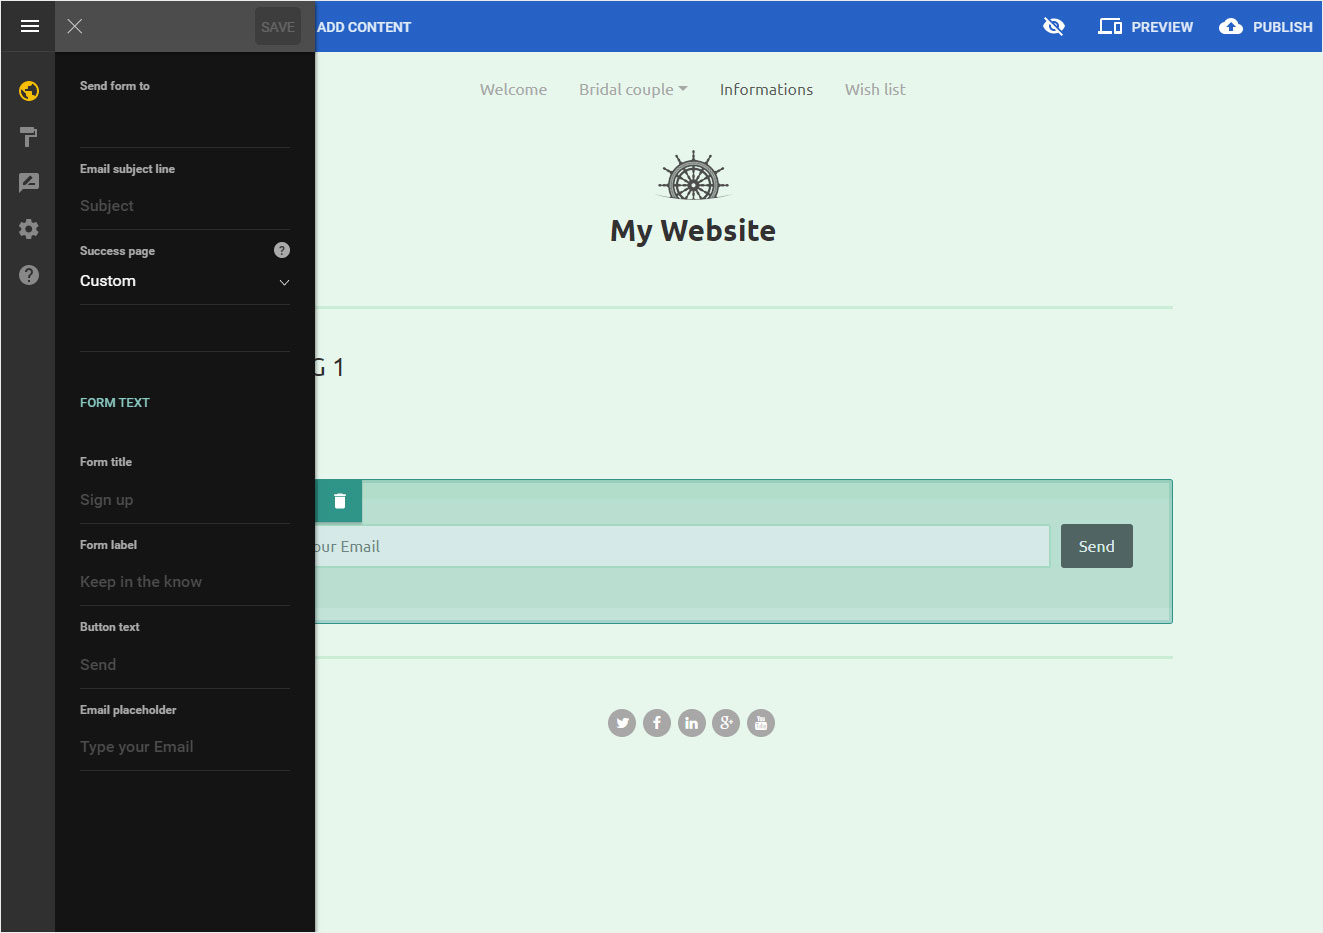
4. Editing mode
You can change any contents afterwards by clicking on an inserted element, wich opens the corresponding editing mode (in this example, the editing mode for the Email form element).
1 This function is available as of DesignerBiz subscription.
2 This function is available as of DesignerPlus subscription.