Inserting documents
Documents such as PDF files can be easily uploaded via drag&drop and linked in your Designer via button. You can also add a text link to link the PDF to your page.
After logging into Designer, follow these steps:
1. Navigate
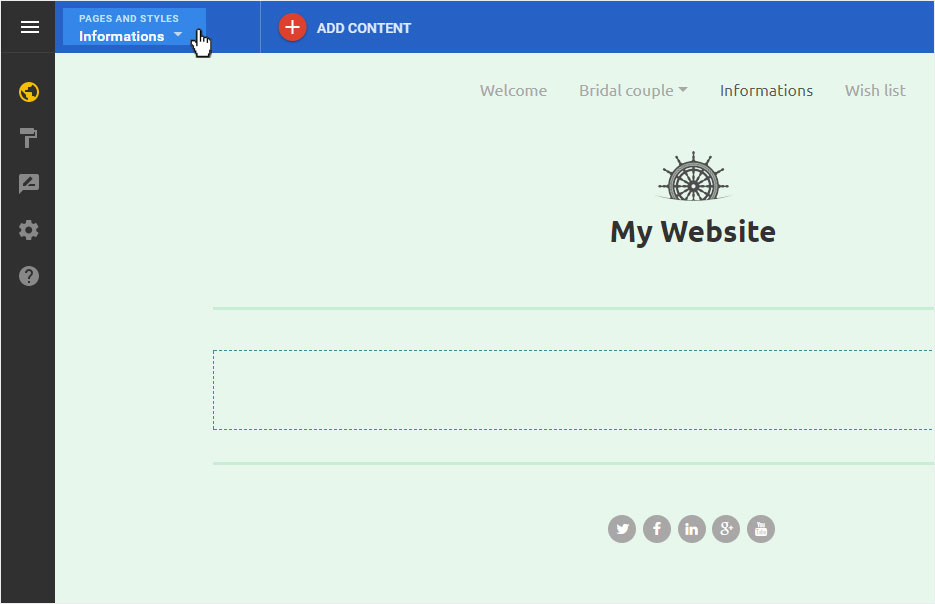
You begin on the home page of Designer's editor and are thus in the Site editor view.
To get to the desired page, click on Pages and Styles on the blue header bar. Select the desired page.
2. Insert PDF
You can insert documents such as PDF files on your website in two ways:
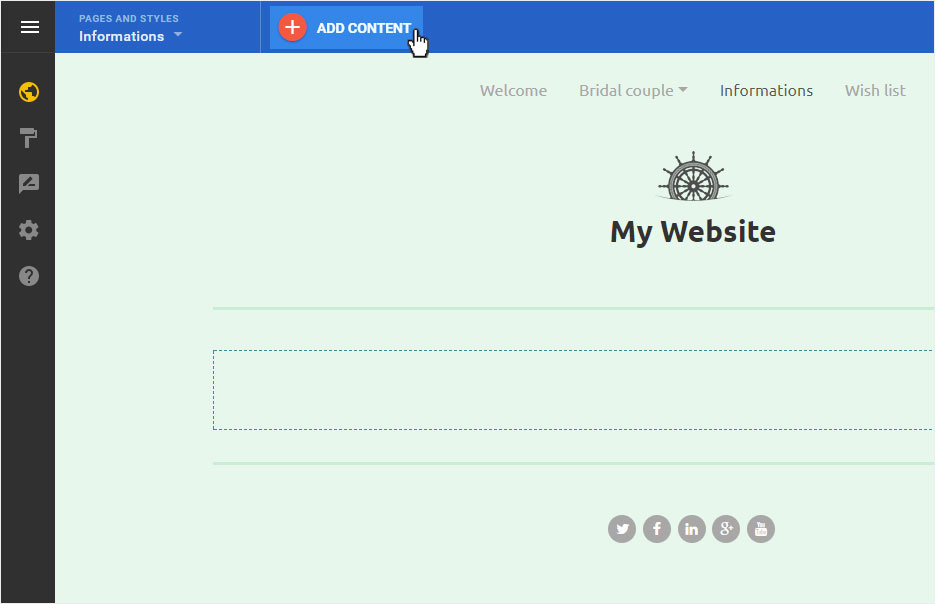
3. Add download button
Click the menu item Add Content or the plus symbol in the red circle.
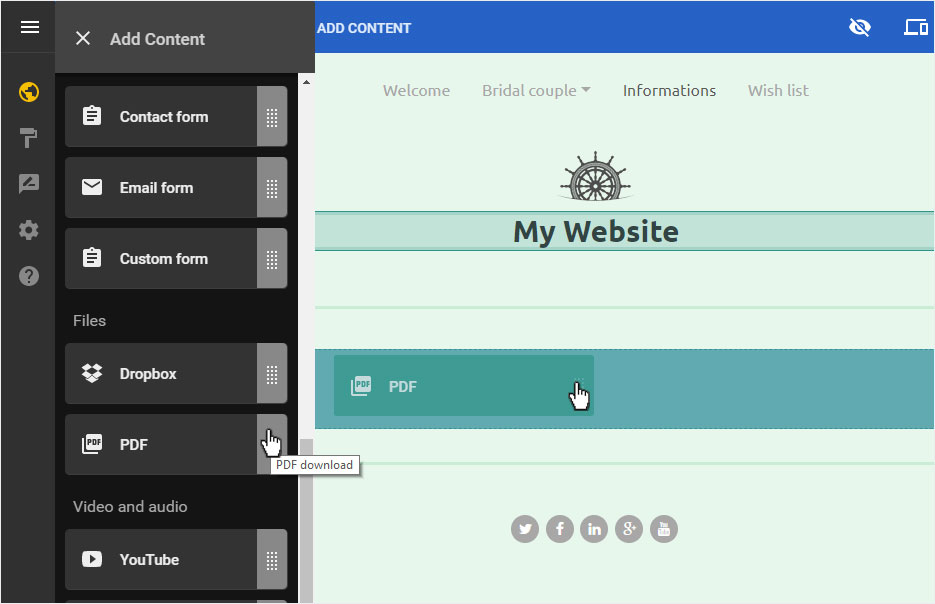
3.1 Select content element
The content menu is now displayed on the left. In the area Files, select the PDF content item and drag it to the page to insert it in the desired place.
3.2 Upload PDF
A popup opens. Here you can now insert the desired PDF file via drag&drop or select it via the Upload new PDF button in the folder structure.
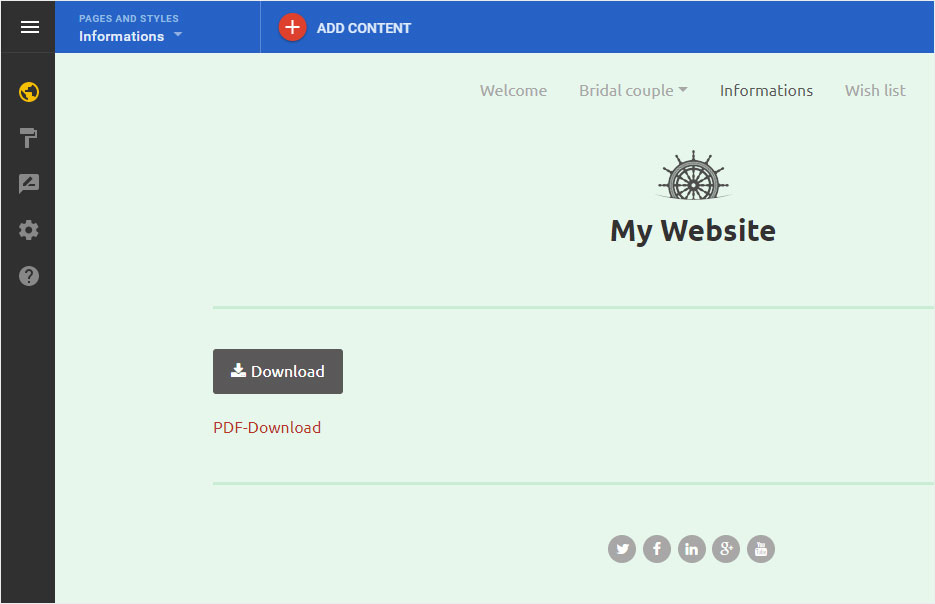
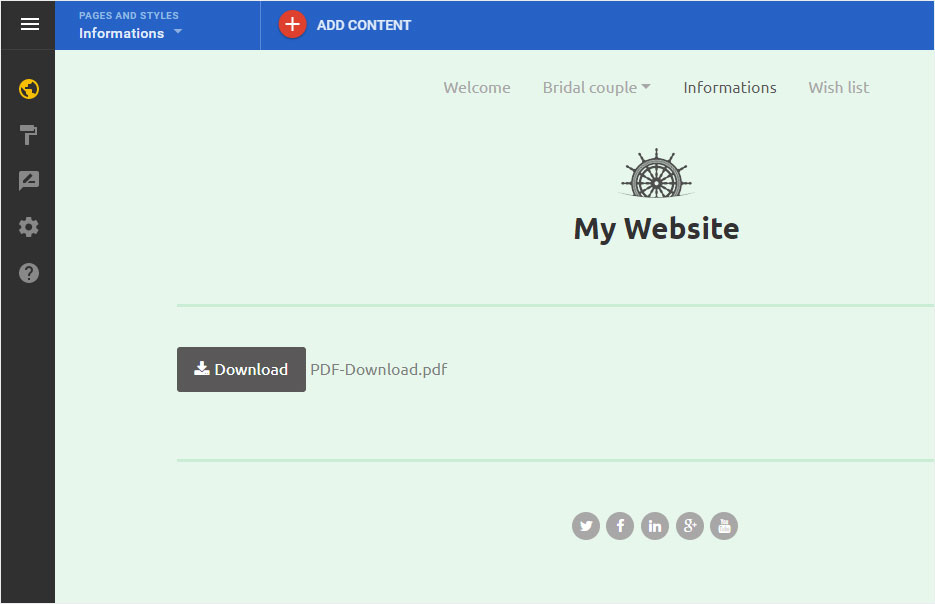
3.3 button placed
The Download button is immediately placed and displayed as well as the file name of the PDF.
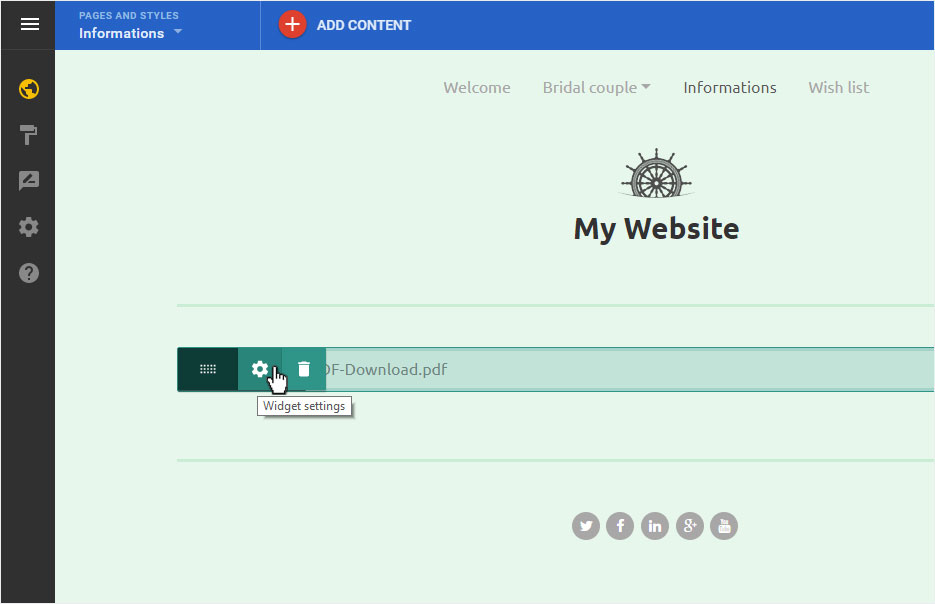
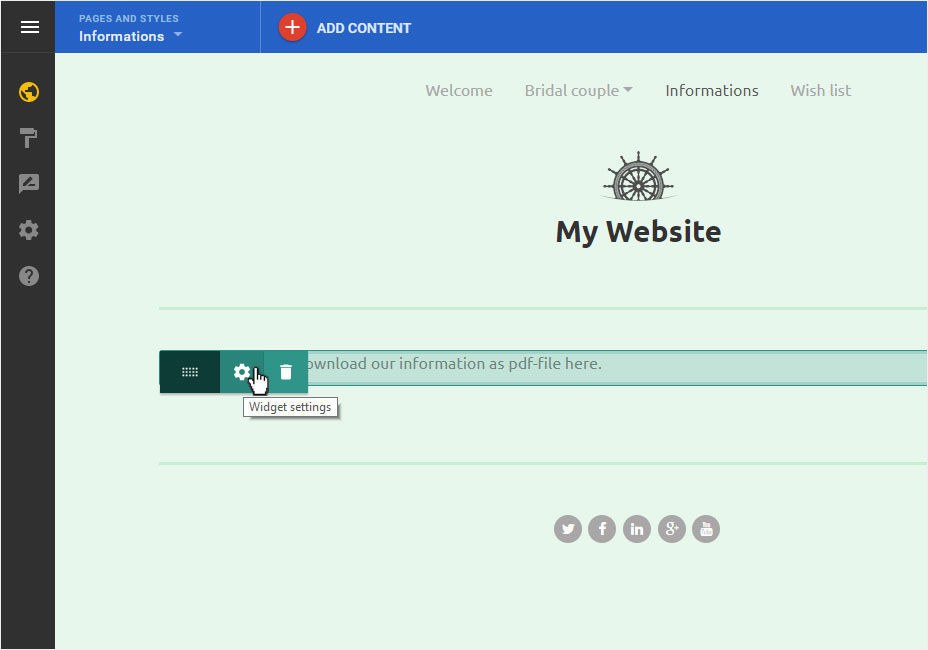
3.4 Settings
To edit the Download button, move the mouse over the Button and click on the Gear icon or the Settings icon.
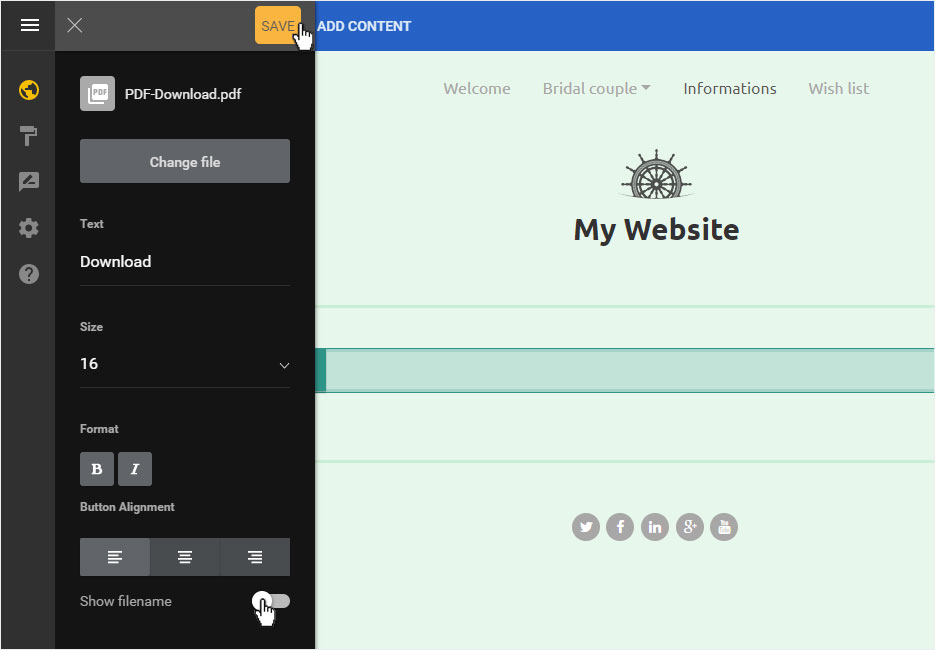
3.5 customizations
Here you can now add the desired button text in the Text area, under Size, Format and Button Alignment you can adjust the display of the button.
At the end you can choose whether you want to show or hide the file name. Then click Save to save the customizations.
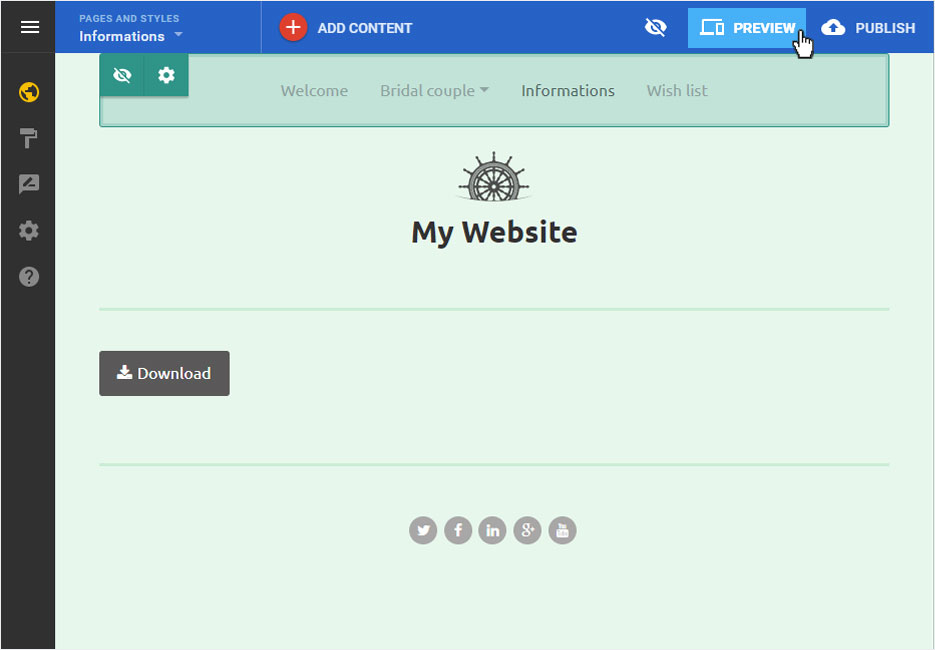
3.6 Preview button link
Now click on Preview in the upper area to test the link of the button.
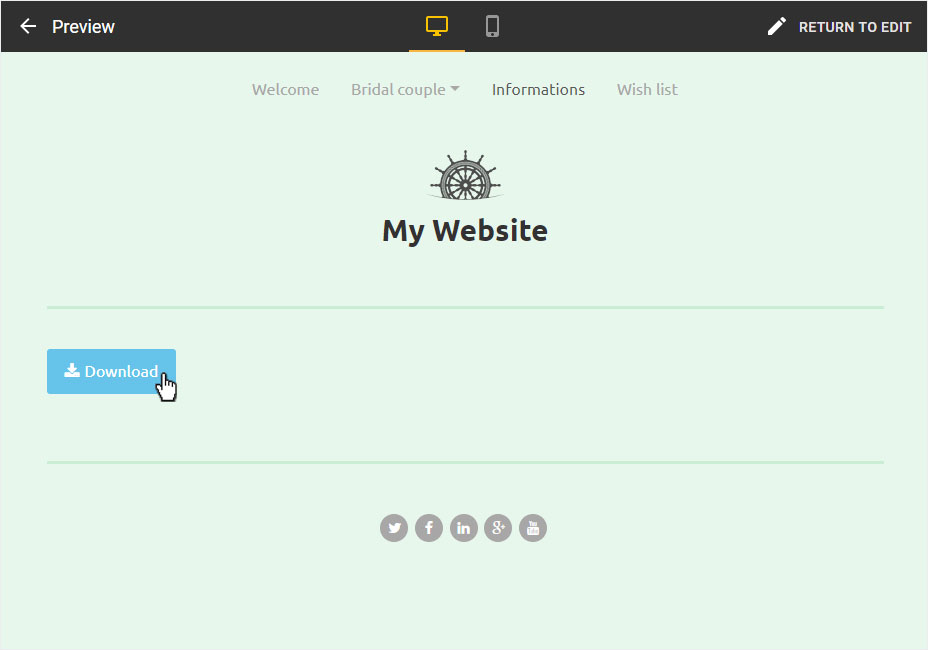
3.7 Preview view
The preview view opens. Now click on the button to open the linked PDF.
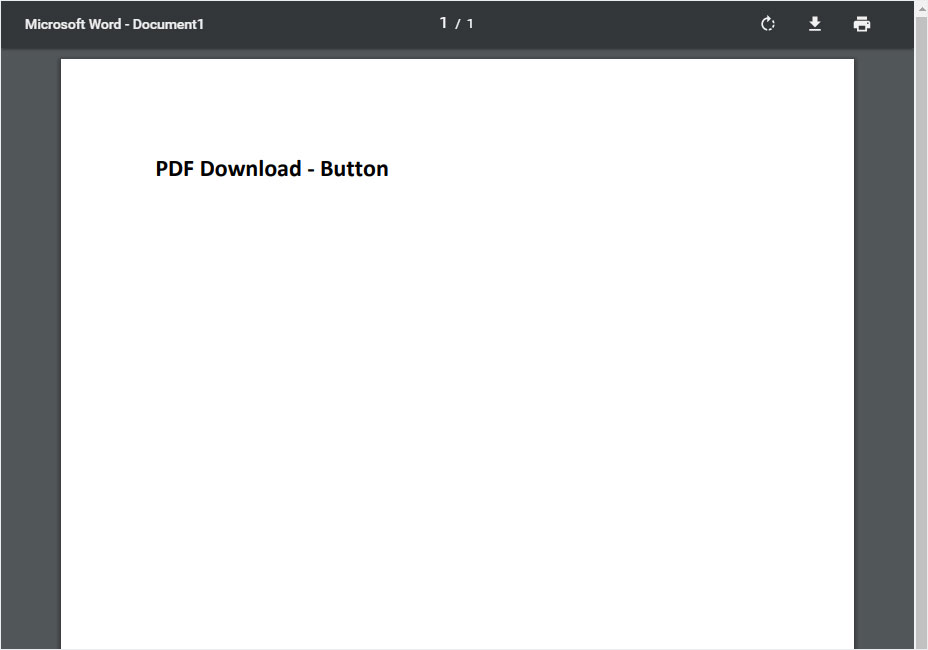
3.8 PDF View
The PDF opens in a new tab.
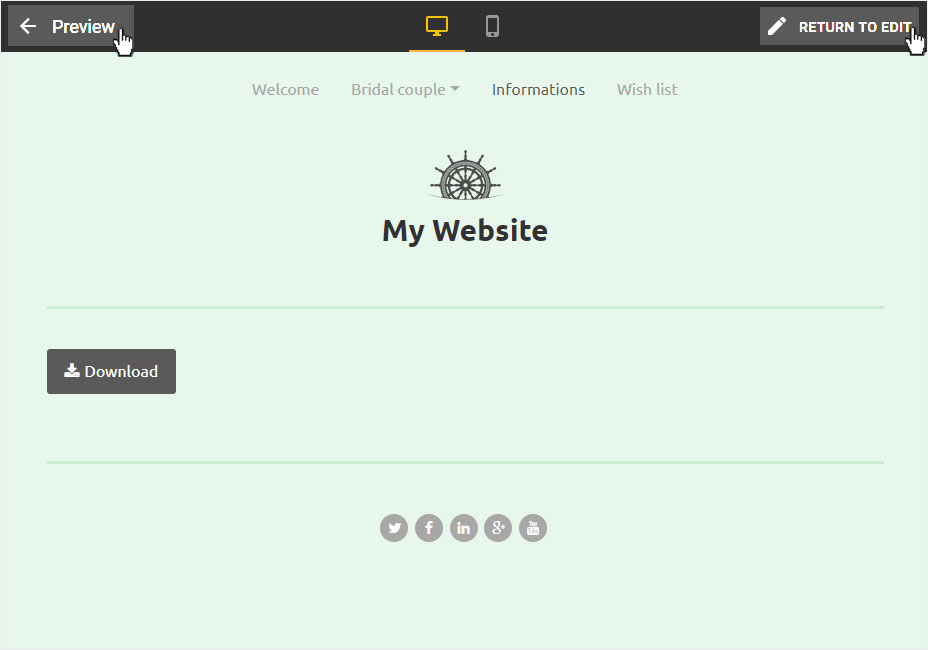
3.9 Edit mode
To return to the editor, click on the Arrow icon in the preview view of the top left of the page or on Back to Edit on the right. You will be redirected to the editor or edit mode immediately.
4. insert Text link
In order to insert a text link for the PDF download, you have to carry out the procedure of the button link first, because in order to insert a text link we need the URL address of the uploaded PDF.

4.1 text settings
To edit the Text, move the mouse over the Text and click on the Gear icon or the Settings icon.
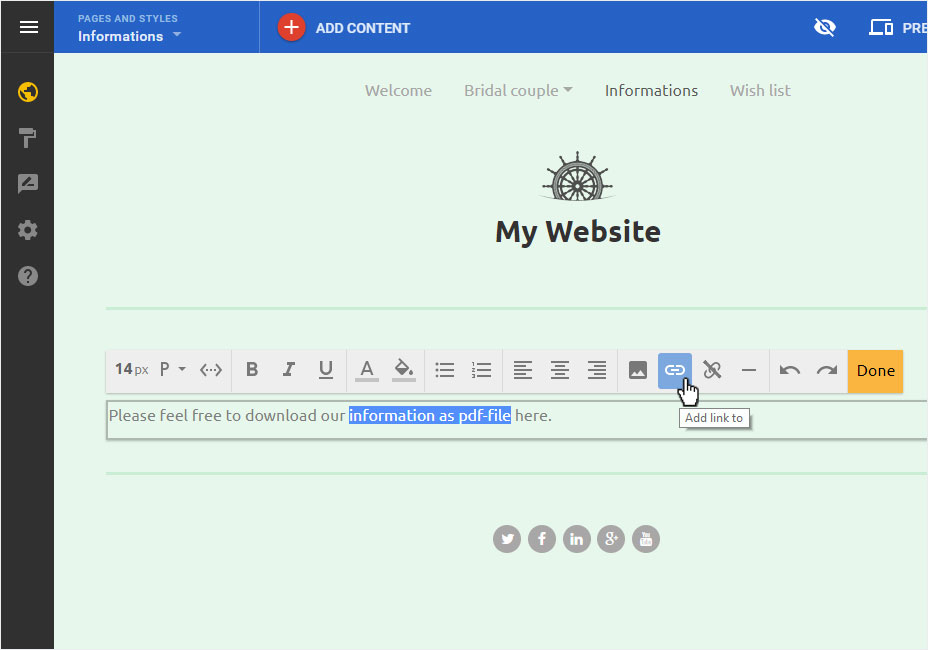
4.2 edit text
In the edit area, select the text you want to mark as a link and then click on the Link icon at the top.
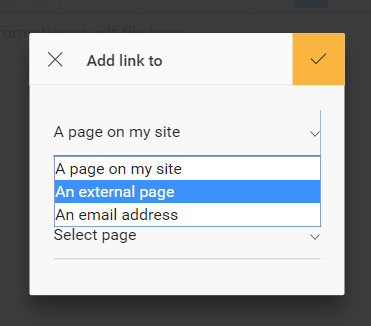
4.3 Select link type
In the popup that now opens, click on the Arrow symbol in the A page on my site area. A drop-down menu opens. Select An external page.
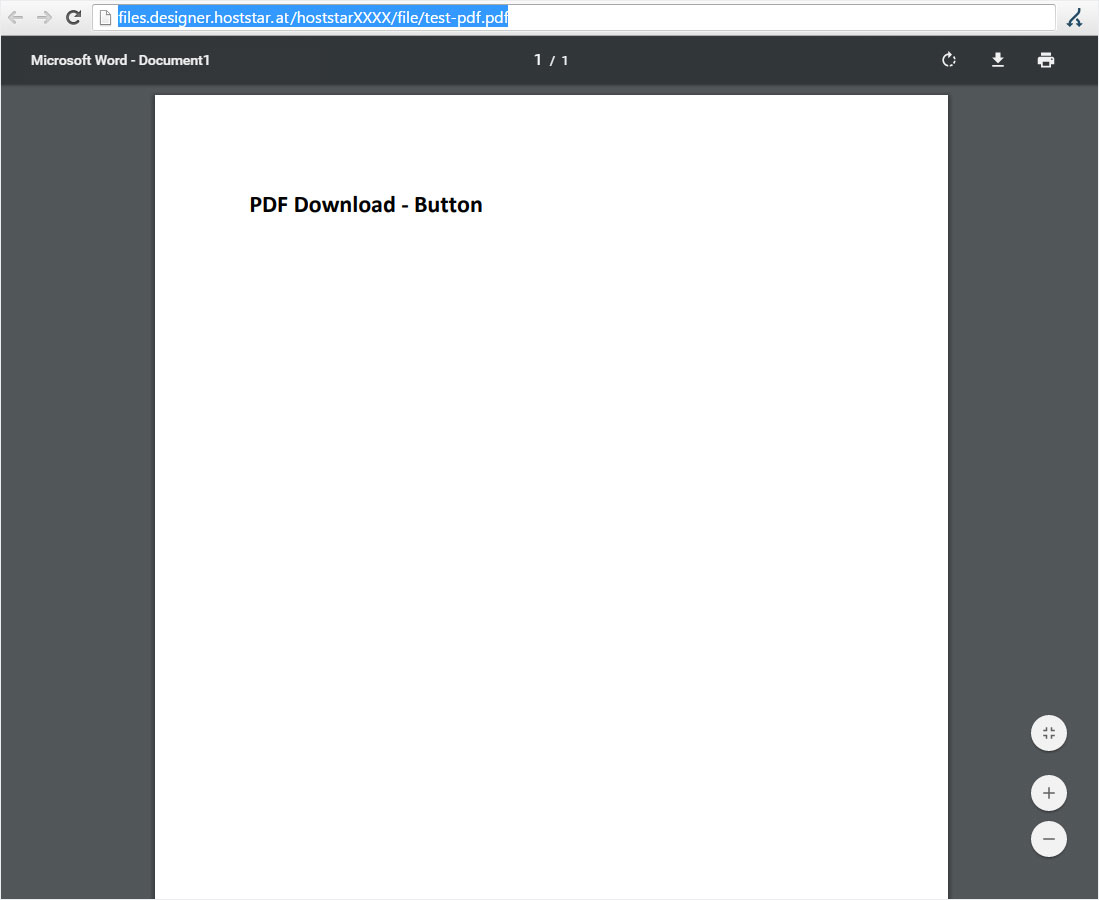
4.4 Copy PDF url
Now go to the PDF preview tab and copy the URL.
4.5 Define Link
Now insert this link in the popup under External Link. Under Target window you can select whether the link should be opened in the current or a new tab.
Then click on the yellow check mark to save the link.

4.6 Preview text link
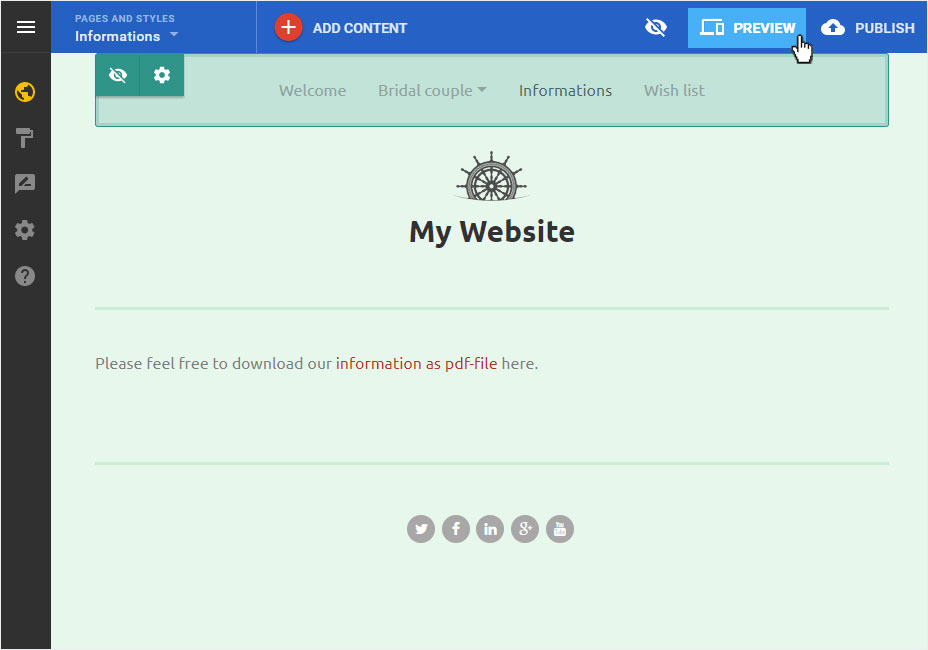
The text link is saved immediately and you will be forwarded to the page view. The text link is now highlighted in color.
Now click on Preview in the upper area to test the link of the text.
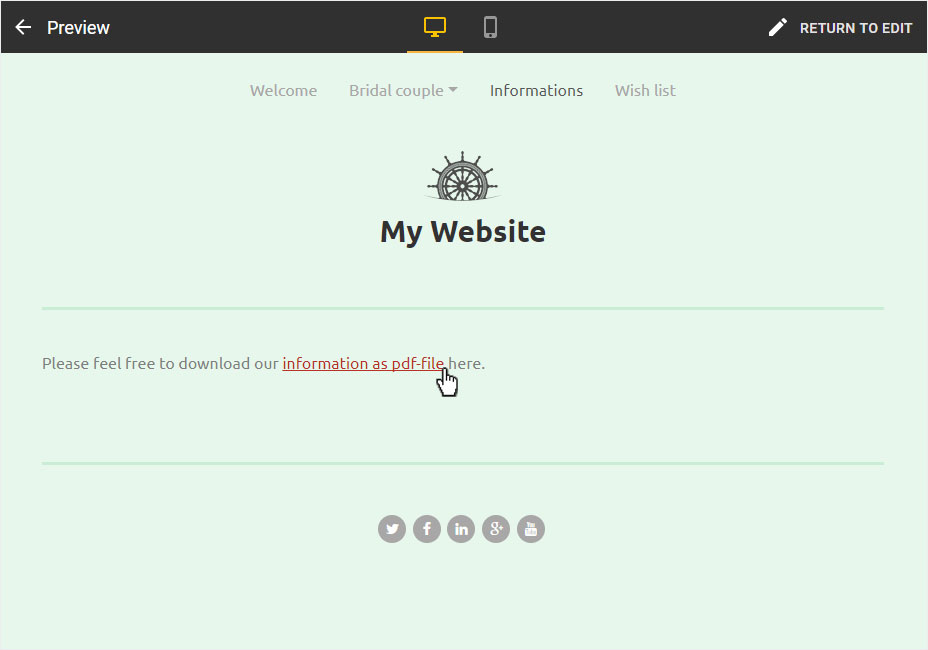
4.7 Preview view
The preview view opens. Now click on the text link to open the linked PDF.
4.8 Preview PDF
The PDF opens in a new tab.
4.9 Edit mode
To return to the editor, click on the Arrow icon in the preview view of the top left of the page or on Back to Edit on the right. You will be redirected to the editor or edit mode immediately.