OTHERS – Android (4.0 and later)
Once you have set up the email address in My Panel, you can then add the account to your Android device. Follow these steps:
1. Open the software
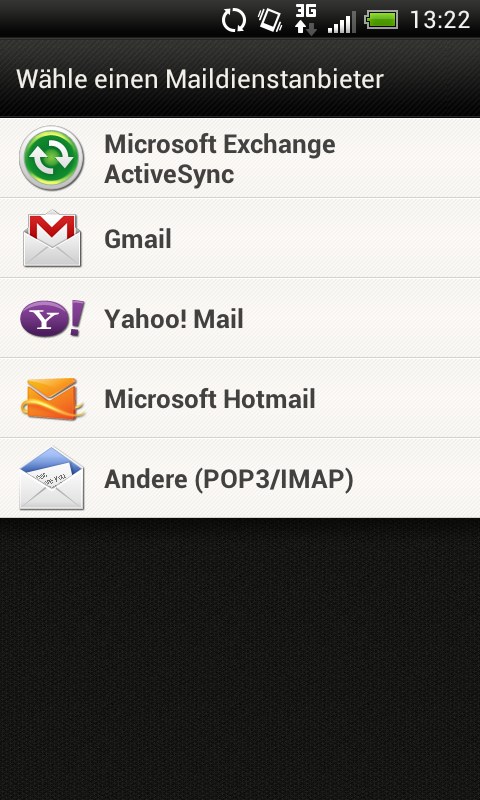
Open the Mail app on your Android device and add an email account. Depending on the device's manufacturer and software, this procedure may vary somewhat.
Select Other (POP3/IMAP) for the account type.
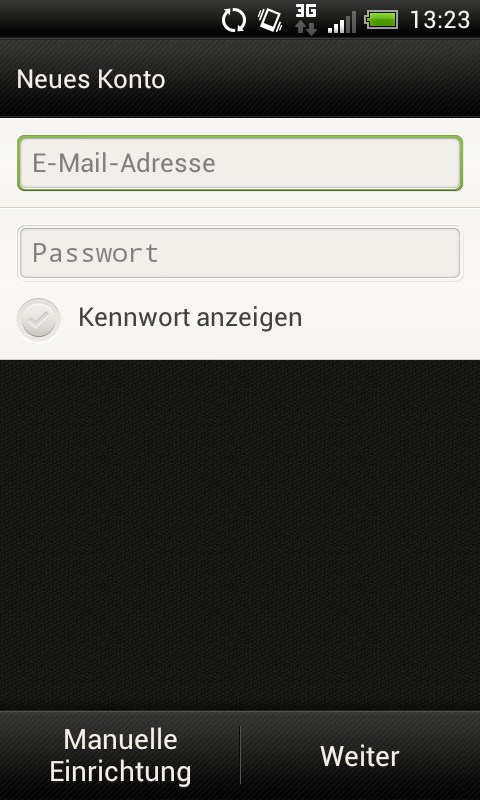
2. Selection
Select Manual Setup to configure all the necessary settings.
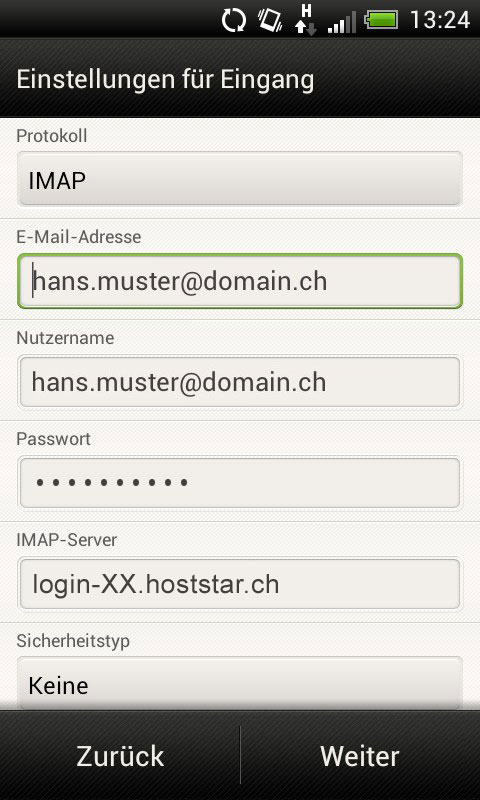
3. Enter the details
Protocol: Select POP3 or IMAP. We recommend using IMAP to access your emails because the emails remain saved on the server. This allows you to read emails from different computers and mobile devices as well. With POP3, the emails are deleted from the server after they are downloaded to the Android device.
Email address: Enter the email address you want to configure.
User name: For the username, enter the email address you want to configure.
Password: The password for the email address you set previously in My Panel. If you do not know the password, refer to the instructions for changing your email password.
IMAP/POP3 server: Enter lx#.hoststar.hosting. (The first letter of the server name is a small L like Linux. Replace # with the effective server number of your hosting).
Security: Select none, TLS or SSL.
Then click Next.
4. SSL and port settings
The port for the incoming mail server varies depending on the protocol you have selected (IMAP or POP3) and whether SSL is enabled. Depending on the configuration, select the following port:
- IMAP without SSL: 143
- IMAP with SSL: 993
- POP3 without SSL: 110
- POP3 with SSL: 995
Then click Next.

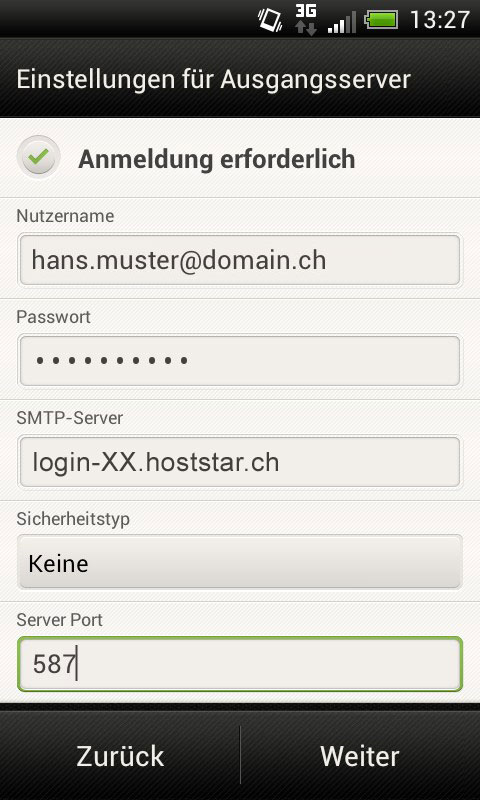
5. Configuring the outgoing mail server
User name: Enter the email address you want to configure.
Password: The password for the email address you set previously in My Panel. If you do not know the password, refer to the instructions for changing your email password.
SMTP server: Enter lx#.hoststar.hosting. (The first letter of the server name is a small L like Linux. Replace # with the effective server number of your hosting).
Security: Select none, TLS or SSL.
Port: Enter port 587 if you are not using SSL or port 465 if you are using SSL.
Then click Next.
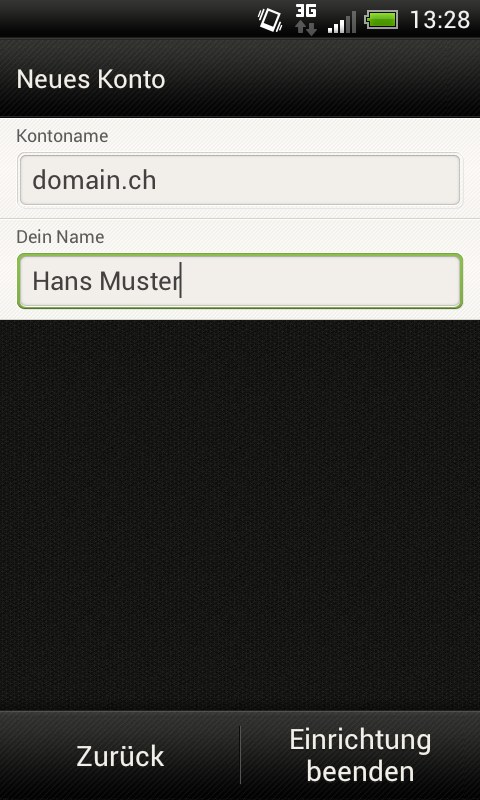
6. Finish
Before completing setup, enter an account name and a personal name. Both values are user-definable.
In the name field, you generally enter first and last name, or company name.
To complete the setup procedure, click Complete setup.