Picture element editing options
Various editing options are available for a picture element.
After you have logged in to the Designer you will find yourself in the Designer Editor on the start page and thus in the Site editor area. Proceed as follows:
1. Customisation options
You have several possibilities to edit the image or the picture element:
1. Edit picture element during insertion
How to insert an image is explained in this guide: Add image
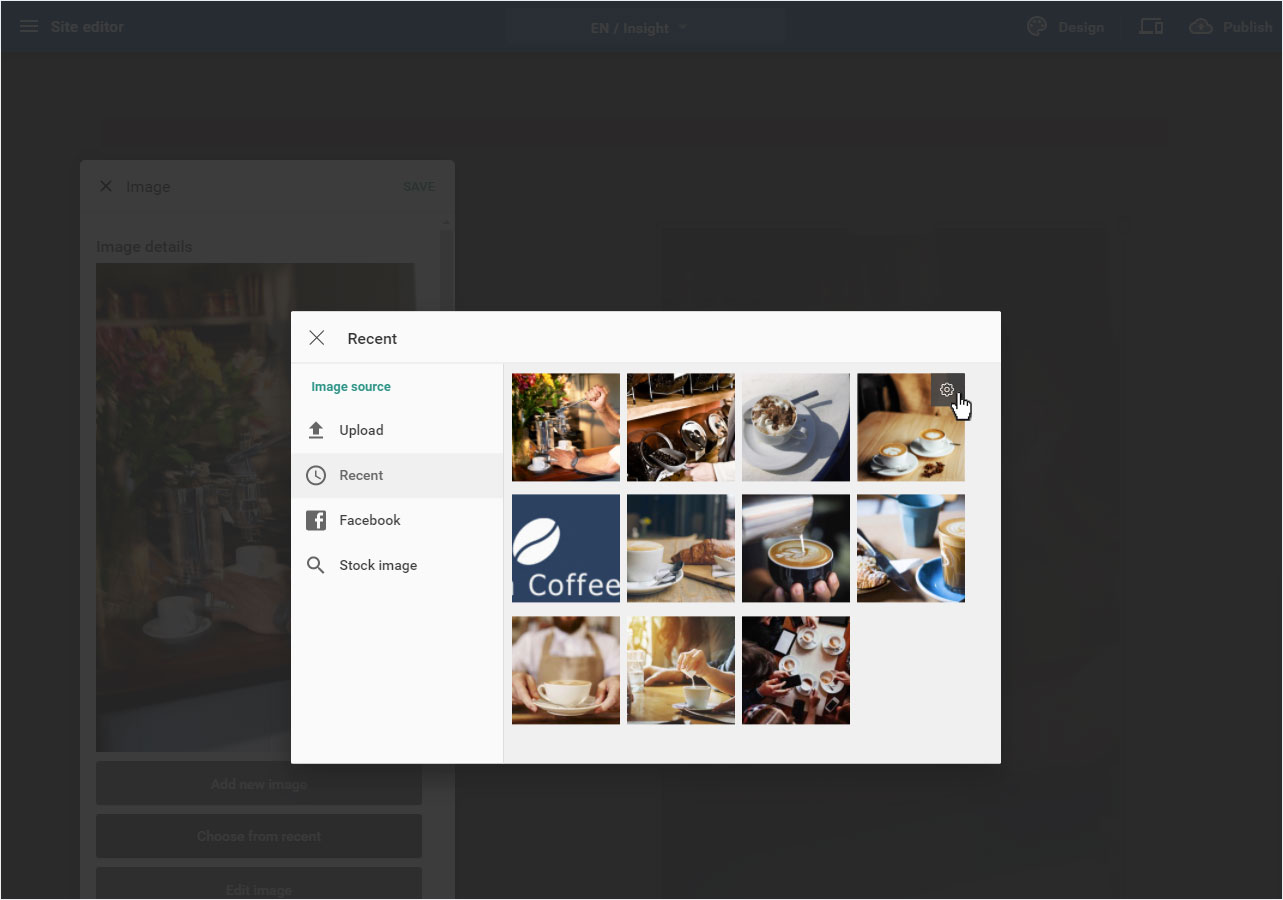
1.1 Picture overview
Select Recent on the overview of the picture source. If you move the mouse over the desired picture in this view, a cogwheel symbol will be displayed. Click on the symbol.
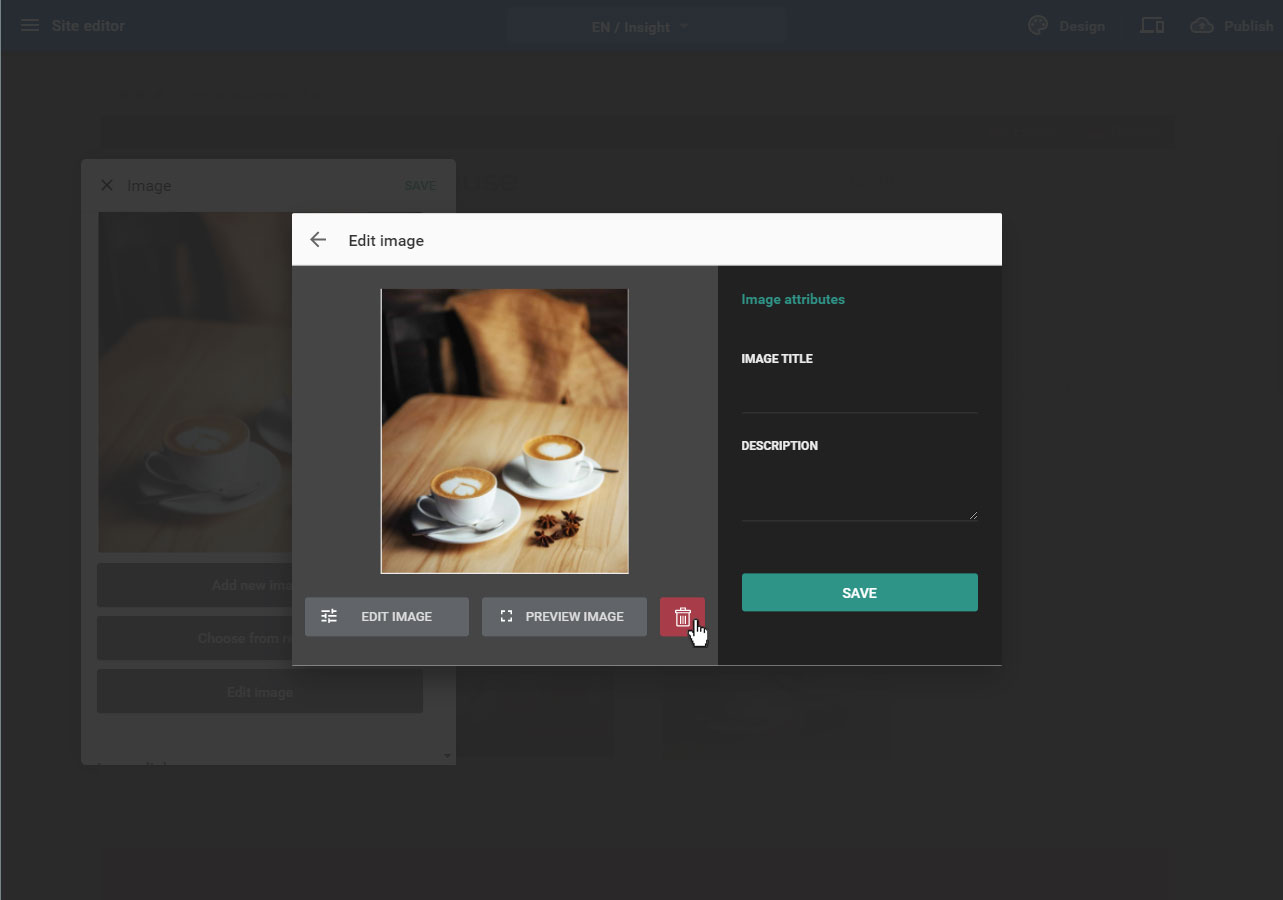
1.2 Picture details
You are in the Edit image view. Here the picture is displayed with 3 buttons:
- Edit image: Click on it to get to the image editor.
- Picture preview: The picture is displayed.
- Trash symbol
To the right of the image you see the image attributes where you can enter the image title and description.

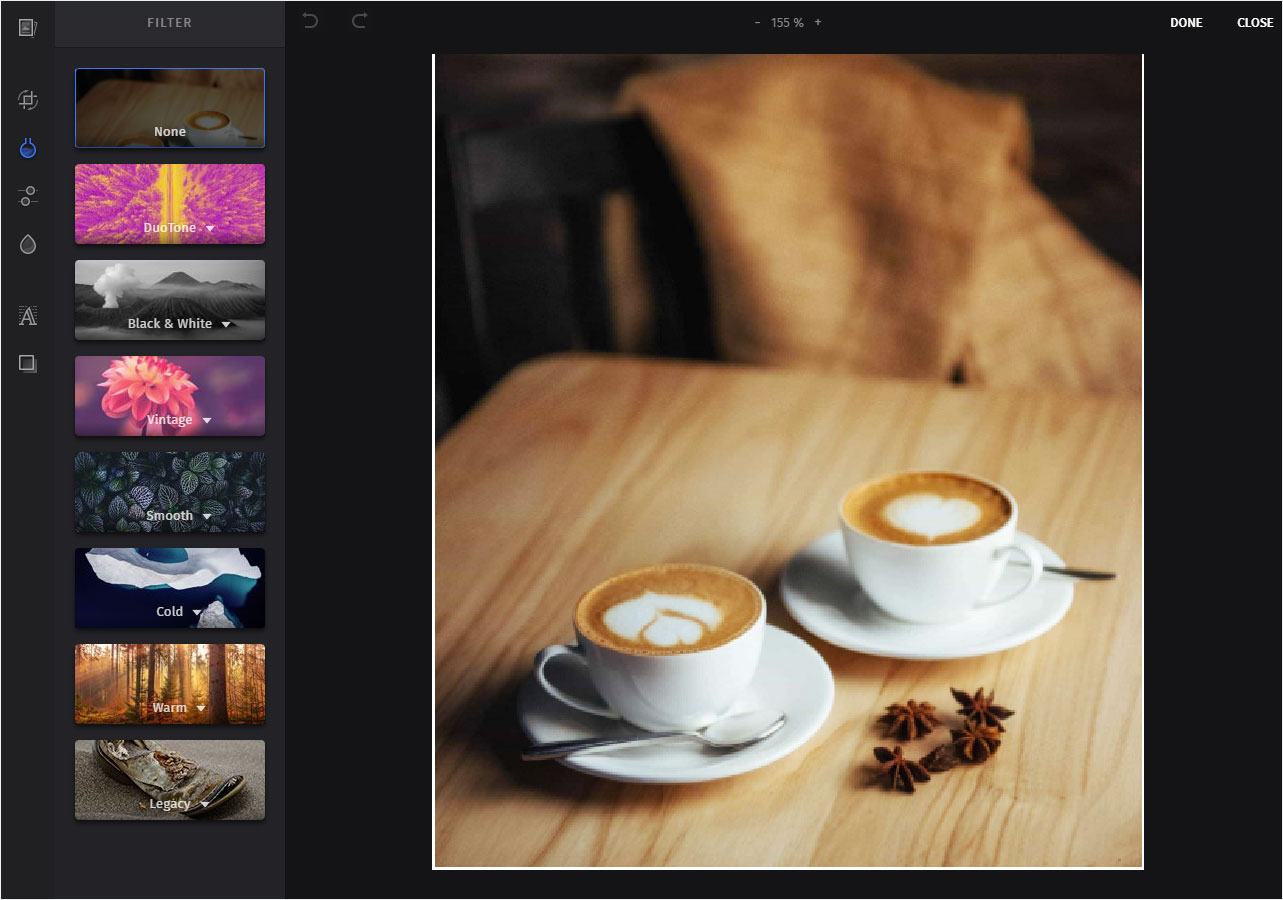
1.3 Edit image
You can learn more about the photo editor under the instructions: Photo Editor / Image Editing.
1.4 Picture preview
By clicking on the button Picture preview the picture is immediately displayed in a large preview. If you would like to return, click on the X symbol or on Close preview at the top left.

1.5 Deleting image permanently
To remove an image from the Designer's image management, i.e. to delete it permanently from your database, click on the Trash symbol.
ATTENTION: Deleting the image is not possible for licence-free images which you have purchased with credits.
The image will be deleted immediately. This step cannot be undone!
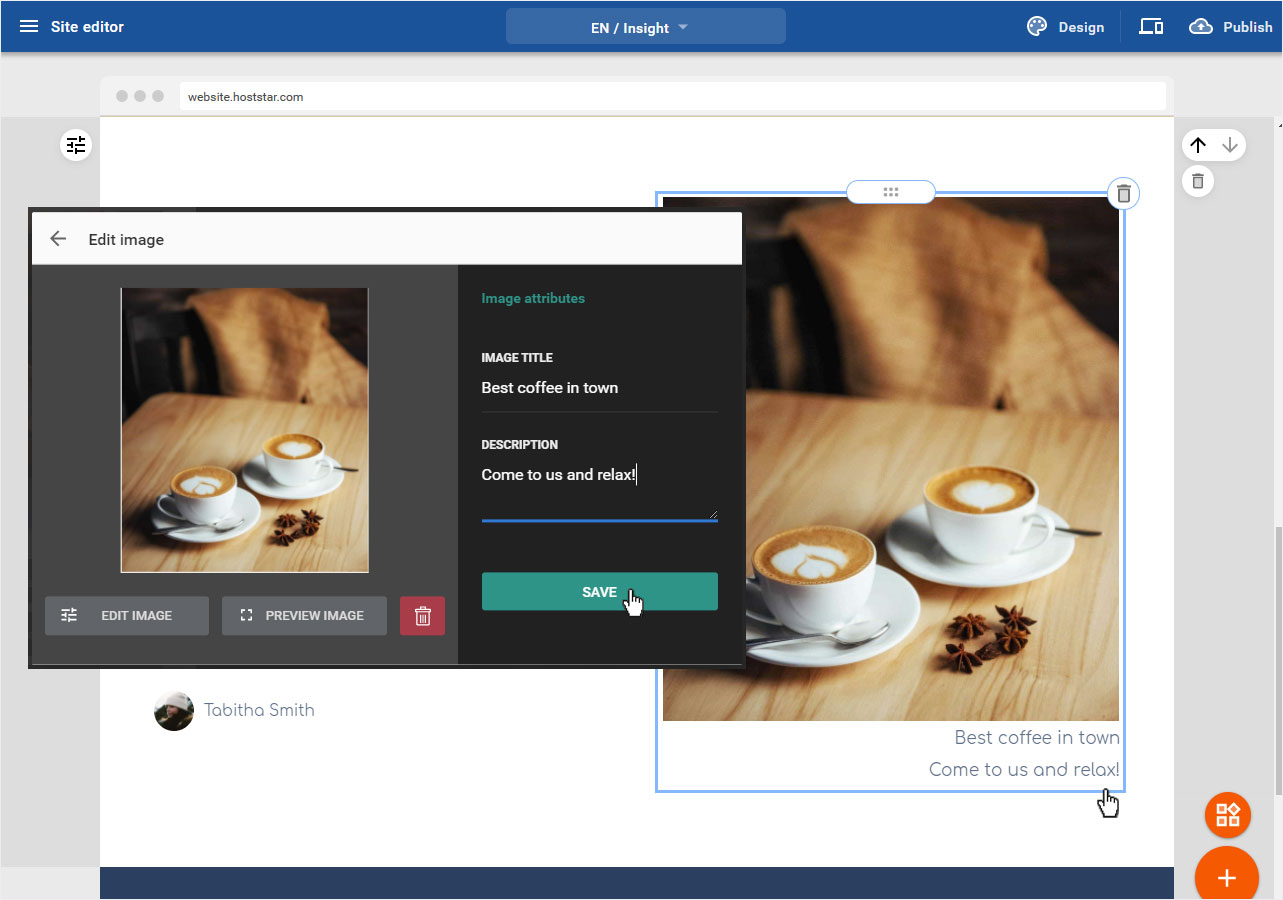
1.6 Image attributes
In the right area the Image attributes are displayed. Here you can enter a picture heading and a description. These are displayed below the image on your website. Then click on Save and then on the Back or Arrow symbol at the top left.
2. Edit picture element after adding
Of course you can also edit, exchange, change etc. any image already placed in your website.
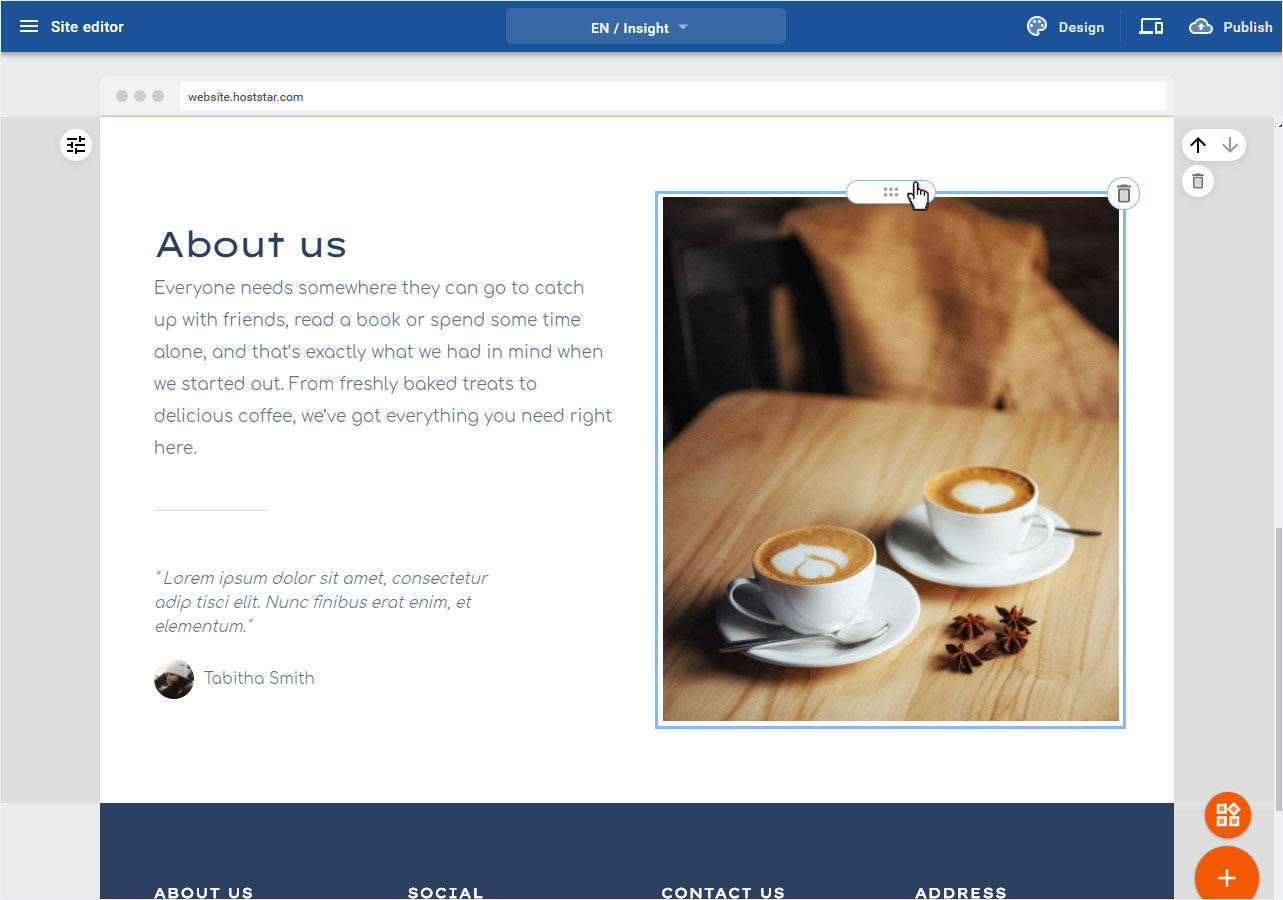
If you have placed an image element on your website, the following editing options are available by clicking on the image or moving the mouse over it:
- Move image element - mouse hower, 6-point icon in the top centre
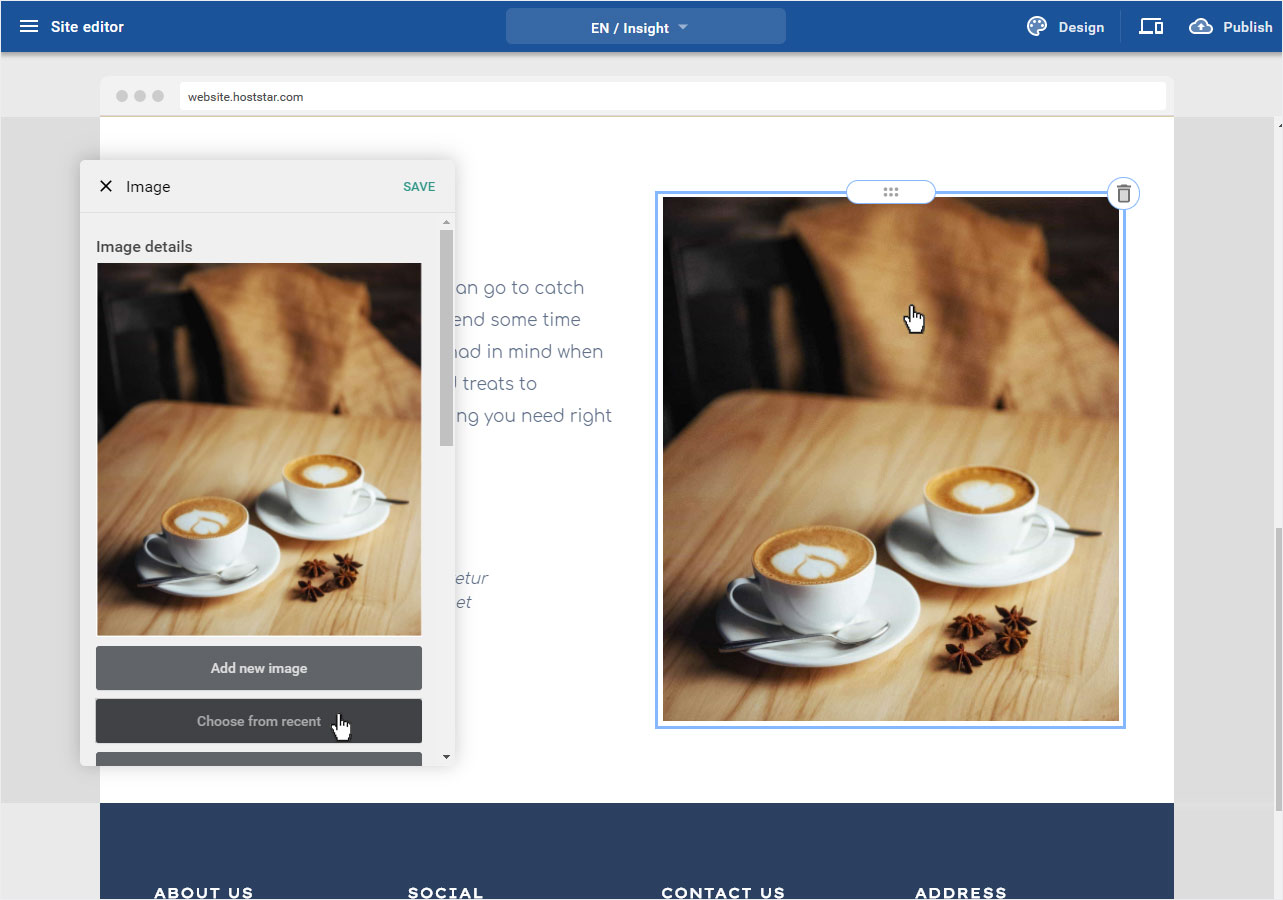
- Change picture - mouse click and click on button Select from existing pictures
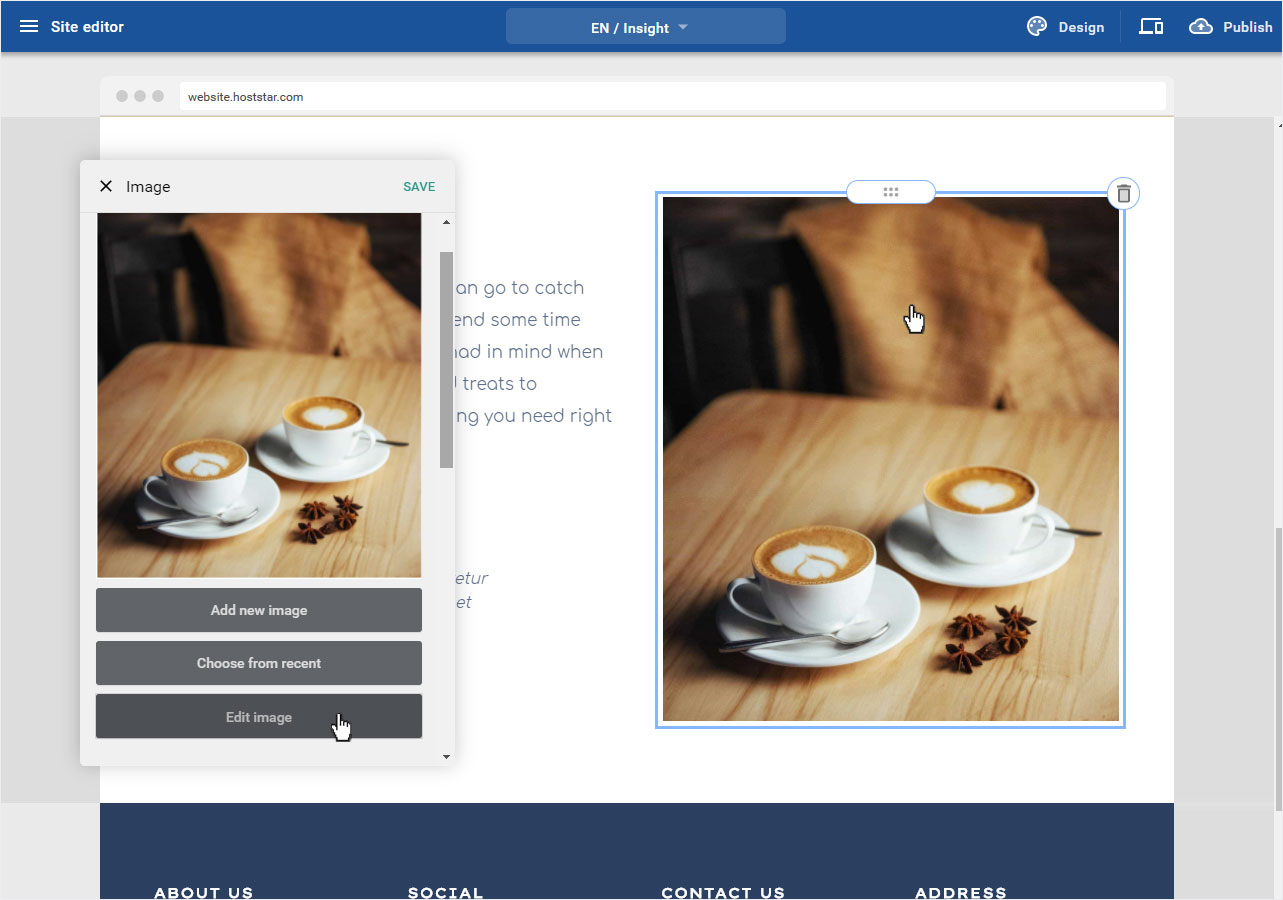
- Photo editor - mouse click and click on button Edit picture
- Element settings - mouse click, all image details and possibilities are displayed
- Delete element - mouse hower, Trash icon on the top right
2.1 Move image element
Click on the Move icon, keep the mouse button pressed and drag the image to the desired location. There release the mouse button and the image will be repositioned. If the newly selected area for the image does not suit you, repeat the process until the structure of the page suits you.
Further or detailed information can be found in this manual.
2.2 Change picture
If you would like to change an image, i.e. replace it, click on the desired image and then on the button Select from existing images. ou will immediately be redirected to the Recentpicture source report. Proceed there according to these instruction to change your picture.
2.3 Photo editor
If you want to edit an image in the photo editor, click on the desired image and then on the button Edit image. You will immediately be redirected to the photo editor.
You can find out more about the photo editor under the instructions: Photo editor / image editing.
2.4 Element settings
In order to make further adjustments to this image, or to store them, click on the image and follow the Instruction from Image link.

2.5 Delete element
To delete an image from a content element, move the mouse over the image area. The image will be marked and the trash icon will appear in the upper right corner. Click on it and the image area will be deleted immediately.
If you have accidentally deleted an element and would like to insert it again, please follow the following Instruction (element).
You can also delete the entire content element (all image and text elements in this area) by clicking on the trash icon outside the area to the right, below the arrows. The content element will be deleted immediately.
If you have accidentally deleted a content area and would like to insert it again, please follow the following Instructions (Content).
